Sending and Receiving Contact Information Through E-Mail
|
| < Day Day Up > |
|
Microsoft Office Specialist Sharing contact information with your co-workers can save you and your co-workers a considerable amount of time and reduce the possibility of errors because the informa tion is entered only once. With Outlook, you can send and receive contact information through e-mail. If the recipient uses Outlook, you can send contact information as an Outlook address card. Otherwise, you can send the contact information as a vCard, the Internet standard for creating and sharing virtual business cards.
In this exercise, you will send contact information through e-mail and save contact information from e-mail to your own Contacts folder.
| Important | You can work through this exercise in your own Contacts folder or in the practice Contacts folder. If you use your own contacts, substitute them for the names given in the exercise. |
USE the SBSContacts data file in the practice file folder for this topic. This practice file is located in the My Documents\Microsoft Press\Outlook 2003 SBS\Contacts folder and can also be accessed by clicking Start/All Programs/Microsoft Press/Outlook 2003 Step by Step.
OPEN the practice Contacts folder.
-
In the Contacts folder, click the entry for Karen Berg.
-
On the Actions menu, click Forward as vCard.
The Forward Message form appears, with the vCard for Karen Berg added as an attachment.
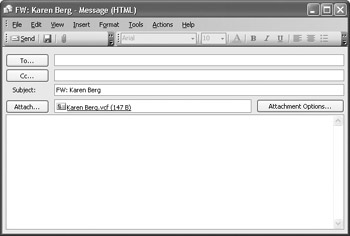
Tip To send information for more than one contact in the same e-mail message, select the contact entries you want to send, and on the Actions menu, click Forward or Forward as vCard. (To select multiple contact entries, hold down the [CTRL] key, and click each entry in turn.)
-
In the To box, type your e-mail address, and click the Send button.
The message is sent.
-
In the Navigation Pane, click the Inbox icon.
The contents of the Inbox are displayed.
Important If your computer is not connected to a network with a mail server, the next step requires that you be connected to the Internet.
-
If the forwarded message has not arrived, on the toolbar, click the Send/Receive button.
The forwarded message appears in your Inbox, with a paper clip icon indicating that the message contains an attachment.
-
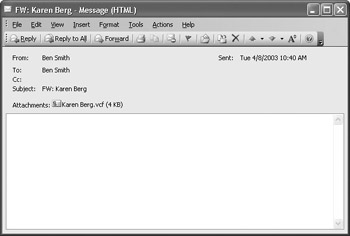
Double-click the forwarded message.
The Message form appears, showing the vCard in the message.
-
Double-click the vCard.
The Opening Mail Attachment dialog box appears.
-
Click the Open button.
The Karen Berg - Contact form appears.
-
Click the Save and Close button.
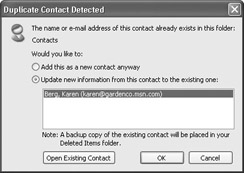
Because the Contacts folder already contains an entry for Karen Berg, the Duplicate Contact Detected dialog appears.
-
Select the Add this as a new contact anyway option, and then click OK.
The contact information is saved in your Contacts folder as a second entry named Karen Berg.
-
Close the e-mail message.
-
In the Navigation Pane, click the Contacts icon.
The contents of your Contacts folder are displayed, including the new contact entry for Karen Berg.
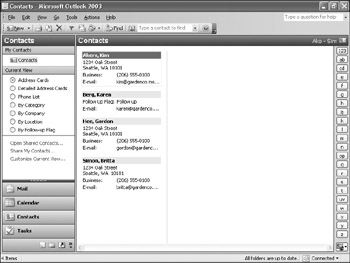
BE SURE TO delete the Karen Berg contact from your own Contacts folder.
|
| < Day Day Up > |
|
EAN: 2147483647
Pages: 116