Chapter 2. Modeling the Skin of a Biped Character
|
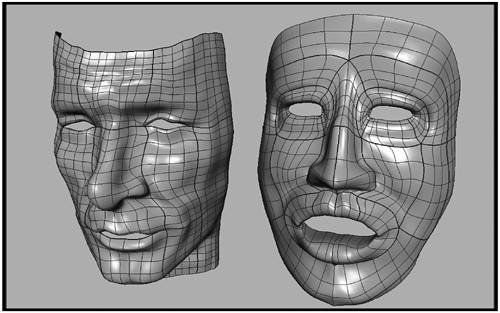
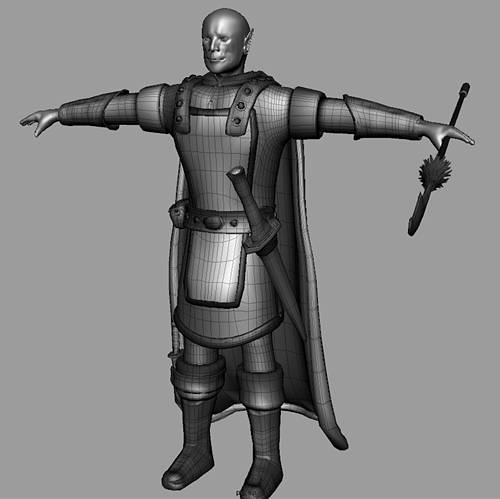
The first step to realizing your character designs in 3D is to create the skin of your character in its default pose, as detailed in your model blueprints (see Figure 2.1). This chapter shows you a process for creating your character's skin that involves working with all the major surface types in Maya. This process requires that you start by roughing out the main body parts for your character using NURBS surfaces. During this stage of the process, you take advantage of NURBS properties such as pickwalking across the UV directions on the surface as well as projecting, manipulating, and duplicating isoparms. After a basic NURBS skin is roughed out with the correct proportions, the next stage in the process requires that you separate your NURBS body parts into multiple patches you can stitch together to increase continuity between the surfaces. Creating tangency at the edges of NURBS patches enables you to convert them to a merged polygon skin. You then use polygon modeling techniques, such as creating edge loops and extruding faces, to add details that would have been inefficient to create on a NURBS skin. The last stage in the modeling process involves preparing your skins for rendering by converting the polygon skin to a smooth subdivision surface skin. 2.1. The first step to realizing your character designs in 3D is to model the skin in the default modeling pose (character model by Jonathan Mariucci).
|
EAN: 2147483647
Pages: 75