Modifying the Table
If you find that a table doesn't contain enough cells, you may need to add a few rows or columns. Or, if you got carried away and have more table space than you need, start deleting extra cells.
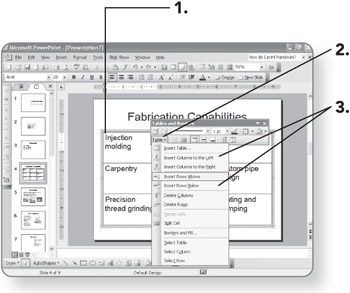
Adding Rows and Columns
-
Click in the row or column that will be adjacent to the new row. The insertion bar will appear in a cell.
-
Click on the Table button on the Tables and Borders toolbar. A menu will appear.
-
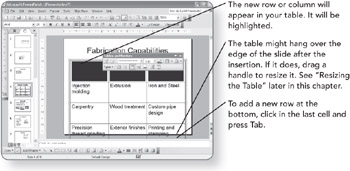
Select one of the Insert commands, depending on what you want to insert and where.
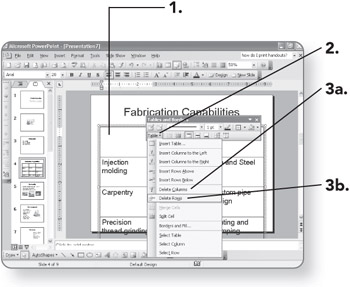
Deleting Rows and Columns
-
Click in a cell that is contained in the row or column that you want to delete. The cursor will appear in the cell.
-
Click on the Table button. A menu will appear.
-
-
Click on Delete Columns. The column in which the insertion point was positioned will be deleted.
OR
-
Click on Delete Rows. The row in which the insertion point was positioned will be deleted.
-
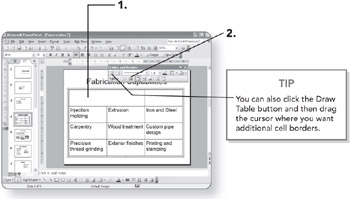
Merging Cells
If you want to create a row across the top of the table in which to make a heading, you can combine several cells into a single cell.
-
Click on the Eraser button. The mouse pointer will turn into an eraser.
-
Click on the cell border between the two cells that you want to merge. The border between the two cells will be deleted.

-
Click on the Eraser button again when you are finished merging cells.
Splitting Cells
You can also split a cell into several cells to make space for additional information.
-
Click in the cell that you want to split into two cells. The insertion bar will appear in the cell.
-
Click on the Split Cell button. A new cell will be added to the table.
EAN: 2147483647
Pages: 158