Task 2 How to Add Canvas

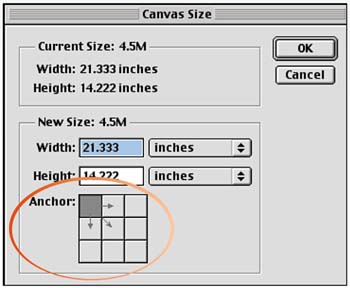
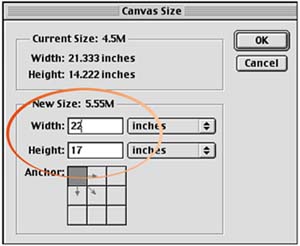
Task 1 looked at how to scale an image up or down by increasing the resolution or dimensions of the image itself. In contrast, this task explains how to keep the image the same size and just add more workspace around it. Photoshop calls this extra workspace canvas and enables you to specify exactly how much is added. Adding canvas is important when adding and combining images, adding flat color for text, or any time you need to increase the image dimensions without enlarging the image data.

  1. Open the Image

    Choose File, Open and select the image file with which you want to work.

    graphics/p7_02fig01.jpg

  2. Set the Background Color

    When you add canvas to an image, the canvas is filled automatically with the current background color. Click the Background color swatch in the toolbox. The Color Picker dialog box opens; use this dialog box to select a color for the background of the canvas you will add. Or, you can move the cursor into the image area to sample a color from the image itself. Alternatively, you can leave the background set to white.

    graphics/p7_02fig02.jpg

  3. Open the Canvas Size Dialog Box

    Choose Image, Canvas Size to open the Canvas Size dialog box.

    graphics/p7_02fig03.jpg

  4. Specify Anchor Placement

    The Anchor diagram lets you specify where the extra canvas is added. The darkened box represents the current image; the remaining grid represents the canvas to be added. Click in the diagram to move the dark box and control where the extra canvas will be placed.

    graphics/p7_02fig04.jpg

  5. Specify Dimensions

    Note the current size of the image at the top of the dialog box. Type values for the new image size in the Width and Height fields in the New Size area. Use the drop-down menus to specify units of measurement if necessary. Click OK to apply the effect.

    graphics/p7_02fig05.jpg

  6. Observe the Results

    This example shows the canvas that was added when I moved the Anchor box to the upper-left corner of the grid and increased the width of the image from 21.333 inches to 22 inches and the height of the image from 14.222 inches to 17 inches. Notice that the extra space appears as blank canvas around the original image.

    graphics/p7_02fig06.jpg

How-To Hints

Transparent Background

When a multi-layered image has no background layer, adding canvas always places transparent canvas rather than canvas that has the background color. To force the added canvas to have a white background, choose Flatten Image from the Layers palette menu. You also can fill the canvas to force the added canvas to white, or fill it by using the Paint Bucket tool, as explained in Part 8, Task 8, "How to Fill with the Paint Bucket."


How to Use Adobe Photoshop 7
ISBN: 0789727706
EAN: 2147483647
Year: 2005
Pages: 144

flylib.com © 2008-2017.
If you may any questions please contact us: flylib@qtcs.net