| Liquify is a fun, interactive technique that allows you to push and smudge the pixels around in an image, creating a brushed-in, fluid distortion. The entire process feels something like finger painting, and you can vary the brush size and pressure as you work. Open the File Choose File, Open and select the file you want to modify. 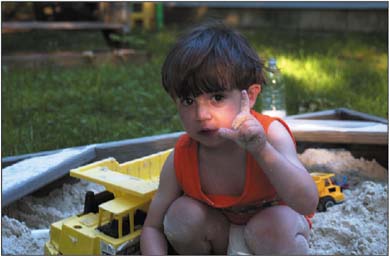
Choose Liquify Choose Image, Liquify to launch the Liquify interface window. 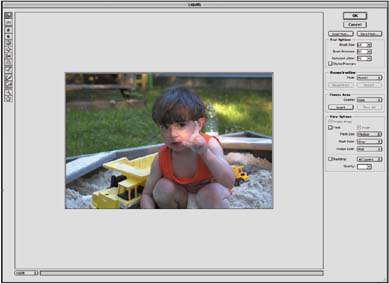
Protect Image Areas Select the Freeze tool from the toolbar on the left of the window, specify the brush size and pressure in the Tool Options section, and brush a mask over the areas you want to protect. The distortion effect will not be applied to the areas you freeze. 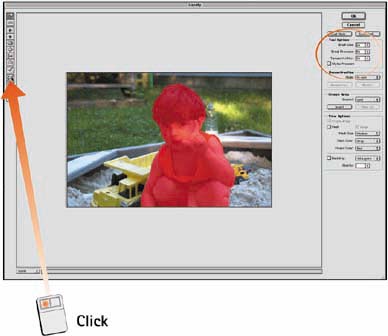
Distort the Image Select any of the distortion brushes from the toolbar. From the Tool Options section, select a brush size and pressure and then paint the effect into the image. Drag the brush with a circular motion and let the effect build to the desired intensity. The distortion tool options include the Warp, Turbulence, Twirl Clockwise, Twirl Counterclockwise, Pucker, Bloat, Shift Pixels, and Reflection. 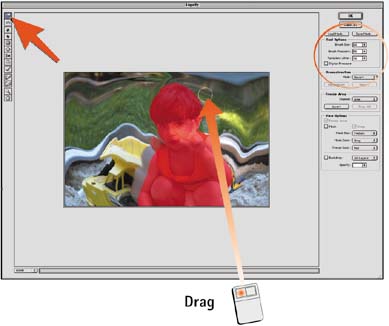
Reconstruct the Original Image To diminish or erase the effect from Step 4, select the Reconstruct tool, and select the desired mode from the Reconstruction section. Brush over the distorted area until the effect is reduced or eliminated. 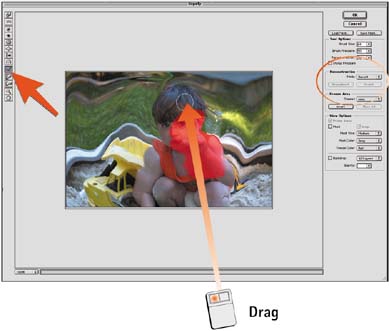
Modify the Protected Area To modify the mask created in Step 3 so that you can make further modifications, select the Thaw tool from the toolbar and brush over the mask to erase or lighten it. You can continue to apply distortions, erase them, and adjust the mask until you achieve the desired effect. Click OK to close the Liquify window. 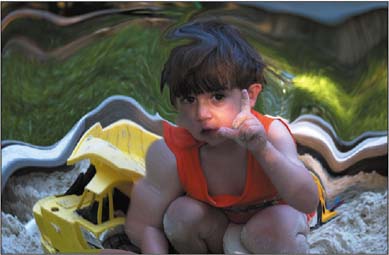
How-To Hints When All Else Fails, Revert! If the distortion gets out of hand and you want to go back to where you started, click the Revert button in the Reconstruction section of the Liquify window. Similarly, you can click the Thaw All button in the Freeze Area section to completely erase an existing mask. Viewing Options To control how effects and masks are presented in the Liquify window, make modifications in the View Options section. You can control the presentation of the mask, image, and the underlying mesh grid that controls the actual distortion. |
|