Task 4 How to Use the History Brush
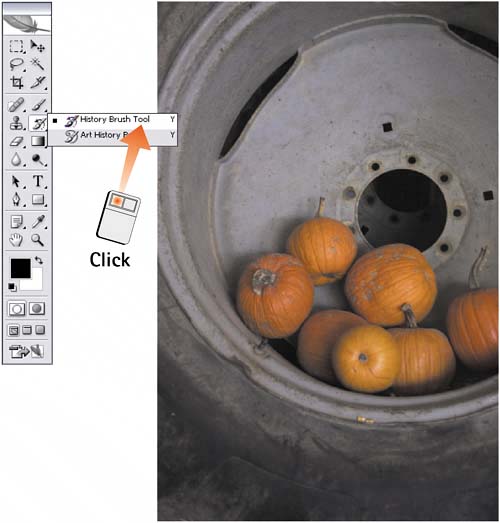
| The History Brush enables you to selectively paint an iteration of an image from a previous state, as displayed in the History palette. Recall that, as you work on an image, previous image states are recorded in the History palette. The History Brush lets you access these previous states as a source file, brushing them back into an image. The History palette stores only a limited number of states as specified in the General Preferences box (select Edit, Preferences, General). As you add states to the palette, you can convert a state to a snapshot to preserve that state. The basic rules of working with the History palette were outlined in Part 2, Task 2, "How to Undo with the History Palette." 1. Select the History Brush ToolWith the image file you want to modify open onscreen, select the History Brush tool from the toolbox. Note that all history states are erased when a file is closed; for this task, be sure you are working with a file that has been modified from its original state since it was opened.
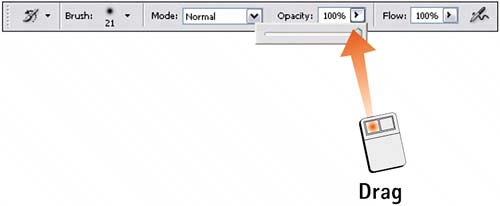
2. Set the OpacityIn the Options bar, set the Opacity slider to determine the transparency or opacity of the brushstroke. For example, set the Opacity slider to 100 to add the history state as a solid area. Lower the value on the Opacity slider to make the brush stroke more transparent.
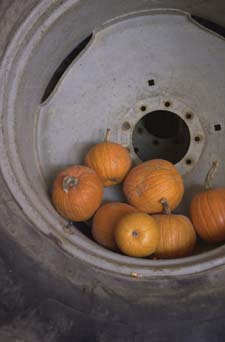
3. Select a BrushSelect a brush size and a feathered effect from the Brush menu in the Options bar. 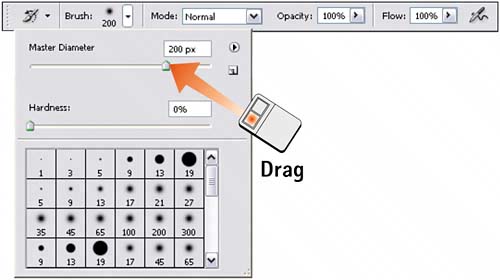 4. Set the SourceSelect Window, History to open the History palette. Compare the various available history states and snapshots, and click the left column to place the source icon (a paintbrush) next to the state or snapshot you want to use as a source. 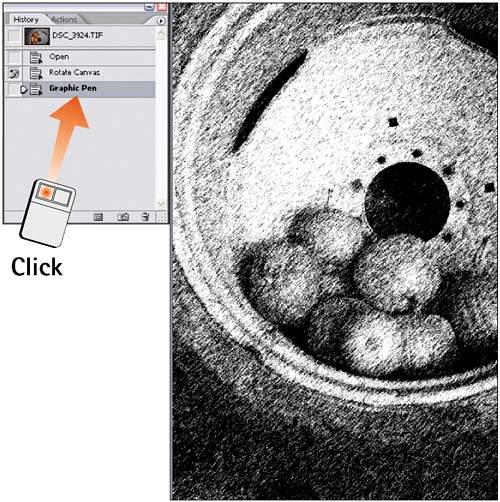 5. Paint the ImageMove the mouse pointer into the image window and click and drag to paint in the source image as it exists in the state you selected from the History palette in step 4. 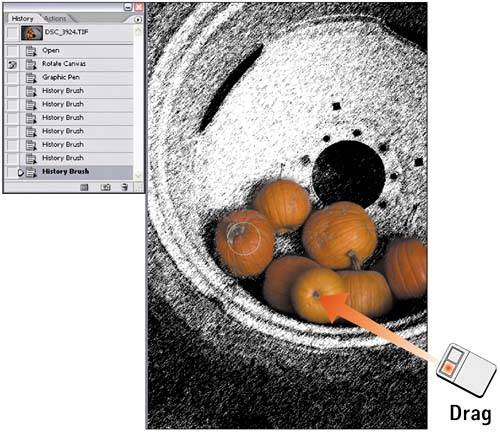 6. Look at the ResultsIn this example, the image was modified with a filter; the original image was used as the source to paint back the unfiltered pumpkins. The before and after images are shown here side by side so you can see the differences. Final version showing original history state painted onto pumpkins
Original version used as history source
|

EAN: 2147483647
Pages: 184
- Chapter I e-Search: A Conceptual Framework of Online Consumer Behavior
- Chapter VII Objective and Perceived Complexity and Their Impacts on Internet Communication
- Chapter X Converting Browsers to Buyers: Key Considerations in Designing Business-to-Consumer Web Sites
- Chapter XIV Product Catalog and Shopping Cart Effective Design
- Chapter XV Customer Trust in Online Commerce