Task 5 How to Use the Clone Stamp
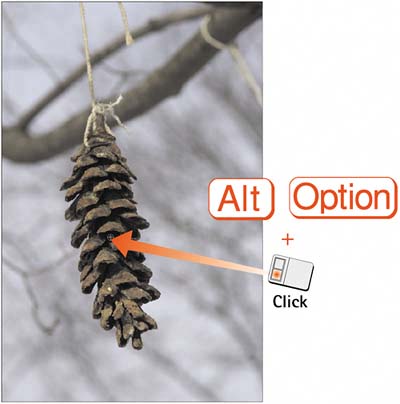
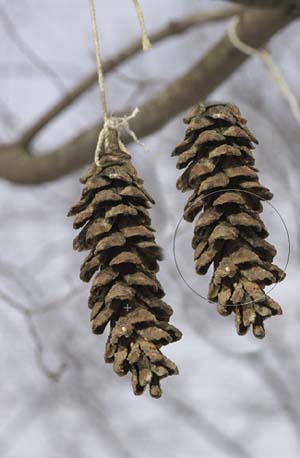
| The Clone Stamp tool "clones" one area of an image, enabling you to paint it into another area. It can be useful for filling in an open area with a pattern or a color or for duplicating or repeating an object. The basic process for using the Clone Stamp tool requires you to set a source point (the point from which the pixel values come) in the image and then to paint that value into another area of the image. 1. Select the Clone Stamp ToolOpen the image file you want to modify and select the Clone Stamp tool from the toolbox. 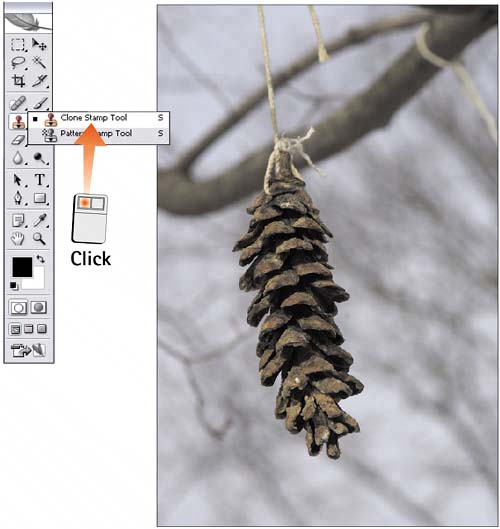 2. Set the OpacityIn the Options bar for the Clone Stamp tool, click and drag the Opacity slider to set the transparency of the effect. For example, if you want to select a part of the image and apply it to another area on the image at the same intensity as the original, set the Opacity slider to 100. Set the slider to 50 if you want the copied area to appear more transparent (lighter) than the original area. 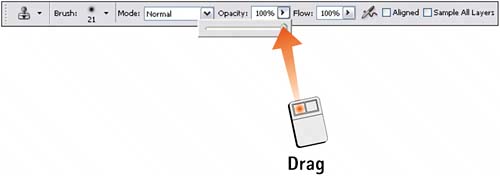 3. Set the Aligned OptionEnable the Aligned check box if you want the reference point to move when you move the brush. For example, if you place the reference point to the left and down 50 pixels from the current brush position, the reference point will always be to the left and down 50 pixels as you paint with the brush. Leave this option disabled if you want the reference point to sample the same area every time you click the brush (the size of the area depends on the brush size you select).  4. Select a BrushSelect a brush size and feather that are appropriate for the image. For the pine cone image, I am cloning a foreground object. A large-size brush with a slightly feathered edge will work to minimize brush strokes while blending with the background. (For the string, I'll use a smaller brush.) Modify the Flow slider if you want to start with a lower opacity and be able to build more opacity on top of the initial strokes. 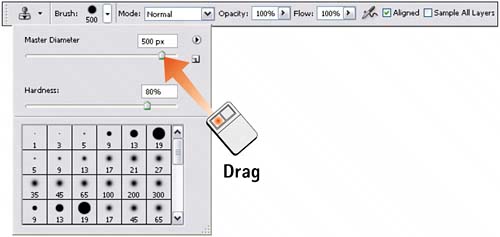 5. Set the Reference PointMove the brush into the image window and position it at the desired reference point. Press and hold the Alt key (Windows users) or the Option key (Mac users) and click to set the reference point. The reference point is the starting point for the area you will clone.
6. Stamp the ImageWith the reference point set, click and drag in a new location (away from the original area) in the image. Notice that a crosshair (the reference point) effectively paints a copy of the original area in the new location. If the Aligned check box was not enabled, the specific area you referenced in step 5 is the starting point, regardless of where you click.
|
EAN: 2147483647
Pages: 184