Inserting Bitmap Images
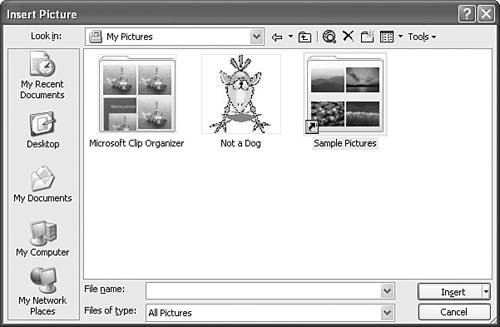
| Bitmap images are a type of graphic object you can use to enhance the visual power of slides. The procedures for obtaining and manipulating these images are sometimes a bit different than those for clip art. Understanding Bitmap ImagesClip art images, like those described earlier in this chapter, are called vector graphics or vector images. For example, a straight line in a vector image consists of two points, or vectors. The computer generates the line between these two points, so regardless how you change the points, the line is always smooth and complete. Bitmap images, on the other hand, require a bit, or dot, at each point along the way. It's as if the line were painted, and if you make it longer, the paint pulls apart. If you stretch a bitmap image, the image distorts because the computer doesn't know how to fill in the missing information. Such distortions are sometimes referred to as the "jaggies" because the image has jagged edges (see Figure 6.16). Figure 6.16. Distorted (enlarged) bitmap images often have jagged edges. Bitmap images (such as photographs or scanned images from books or other sources) usually appear more complete and more realistic that clip art images. Bitmap images are also much larger than vector images when saved to disk. Having many of them in a slide show can slow down the presentation. But the drawbacks of these larger images are usually outweighed by the detail and realism they provide. Inserting Images from FilesBitmap images are typically separate files you save on your hard drive. It helps to remember their filenames and where you saved them. You then can follow these steps to insert a bitmap image:
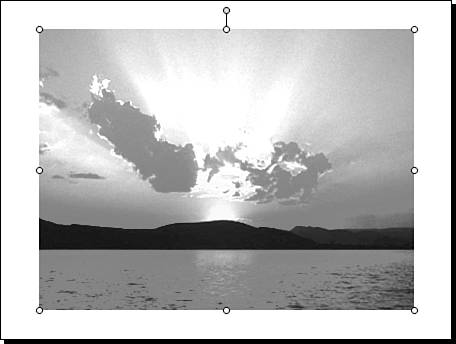
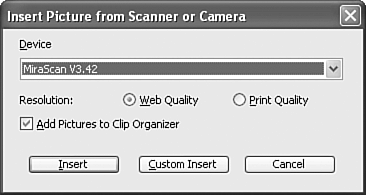
Figure 6.18. Bitmap images can be sized and rotated by using the sizing and rotation handles. Note that the image appears with sizing and rotation handles, just like other images and text objects. You can move, size, or rotate the bitmap image. Acquiring ImagesPowerPoint provides hundreds of clip art images but only a handful of bitmap images. However, for effective presentations, much of what you need will be in the form of bitmap images you acquire through other sources, such as by using a scanner, digital camera, the Internet, or screen shots. Using a ScannerA common source for bitmap images is a scanner. If you don't have ready access to a scanner, you might want to consider purchasing one. Even very inexpensive scanners are quite adequate for the kind of images you use in PowerPoint. You can scan images separately, save them, and later insert them into PowerPoint, or you can scan images directly into PowerPoint. To scan an image directly into PowerPoint, follow these steps:
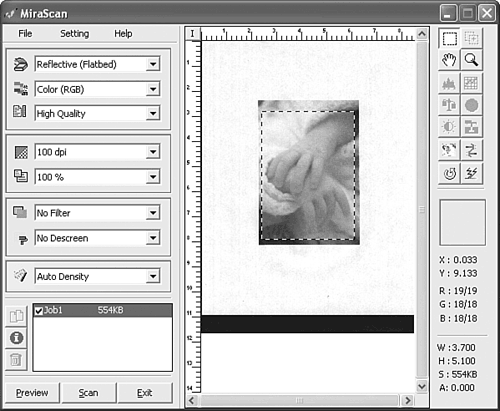
Note that although you can fiddle with scanning and touch-up options when you acquire an image, you'll always get the best results when the original is of high quality. Using Images from a Digital CameraDigital cameras are readily available and make it easy to acquire timely, relevant photos for up-to-the-minute slide shows. You can capture product images, photos of building progress, pictures of company staff, and more (see Figure 6.22). Figure 6.22. Photos captured by a digital camera make it possible to prepare up-to-the-minute presentations. Digital cameras typically come with software that enables you to save images directly to your computer's hard drive. After doing so, you follow the steps for inserting a picture from file, as noted in the "Inserting Images from Files" section, earlier in this chapter. However, you can also insert images directly from your camera if you have the proper connections between your camera and your computer, as well as the software that enables you to do so. If this is set up properly, choose Insert, Picture, From Scanner or Camera and in the resulting dialog box (refer to Figure 6.19), simply choose your camera from the Device drop-down list box. Then choose Custom Insert to select the picture you want. Using Images from the InternetAnother rich resource for bitmap images is the World Wide Web. Although you have to take care to comply with copyright laws, you can find many Web sites that offer free images, including photos, clip art, and decorative lines, borders, and buttons. To insert an image into a slide show from an Internet Web site, follow these steps:
Caution
After PowerPoint inserts the image, you can select the image and move, size, or rotate it as you would any other PowerPoint object. If you don't want to keep the image as a separate file, you can simply right-click the image in your browser, choose Copy from the context menu, and then switch back to PowerPoint and paste the image on a slide. Capturing and Inserting Screen ShotsYou'll find, sometimes, that you'd like to show images from your computer in a slide show. For example, if you're training others in a certain software program, you might want to display dialog boxes or other screen activity. Or if you're teaching students about a Web site but don't have an Internet connection (or have a very slow one), you might want to capture Web site screens as viewed in a browser. To capture an entire screen and insert the screen shot in your slide show, follow these steps:
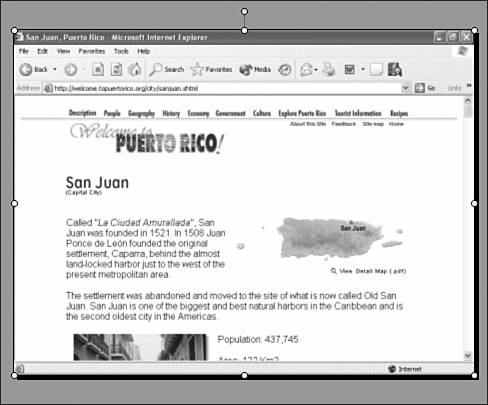
When you play the slide show, it appears that you are showing the actual Web site. In fact, it's so realistic that you might find yourself trying to click buttons on the screen shot of your browser! If you want to copy less than a full screen, you can copy only the active window (for example, a dialog box) by holding down the Alt key and pressing PrtSc. Using the Picture Toolbar to Modify Bitmap ImagesEarlier in this chapter, you learned how to use the Format Picture dialog box to modify clip art images. You can use the same methods to modify bitmap images as well. However, you can also use the Picture toolbar to modify either clip art or bitmap images. To activate the Picture toolbar, simply right-click an image and from the context menu choose Show Picture Toolbar. You can also choose View, Toolbars and select the Picture Toolbar. PowerPoint displays the Picture toolbar (see Figure 6.24). Figure 6.24. Use the Picture toolbar to quickly and easily modify both clip art and bitmap images. From the toolbar, you can quickly access the same features you find in the Format Picture dialog box, but in some cases, the features are even easier to use. For example, cropping an image by using the Picture toolbar icon enables you to see what you're cropping. Hover the mouse pointer over each button to see what it's used for. To close the Picture toolbar, simply click its Close button or right-click an image and from the context menu choose Hide Picture Toolbar. Note
|


EAN: 2147483647
Pages: 154