Creating a Video Podcast on a Windows PC
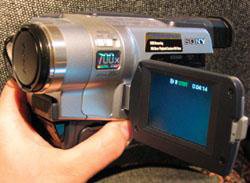
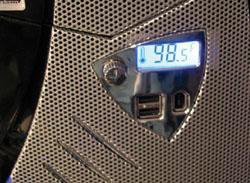
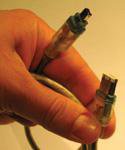
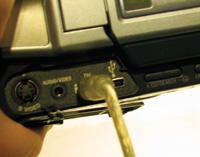
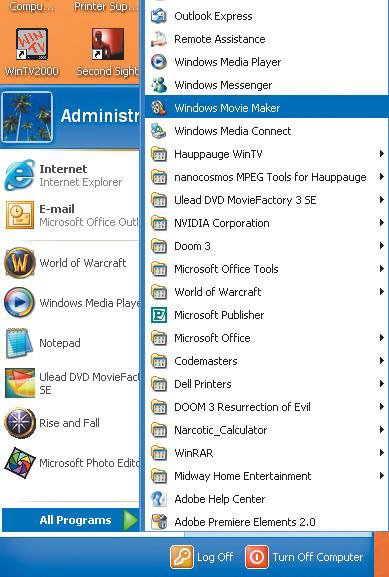
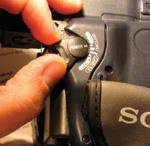
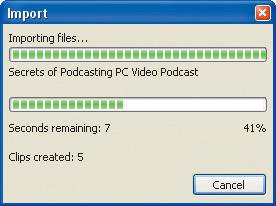
| Because the audio portions of podcast creation are covered in detail in Chapter 3, I don't rehash those aspects here. Indeed, these tutorials are meant to show you how to import, edit, and convert video to a video podcast that you can then publish (see Chapter 5) however you see fit. For this tutorial, I'm using Movie Maker 2 because it is available with Windows XP and is also available for free download from Microsoft's Web site. The following steps show you exactly how to get the video from your digital camcorder onto your computer, and then edit and manipulate the video to make it look as good as possible. Last, I show you how to tweak the audio portion of the vodcast and export it in a format that can be viewed by podcast watchers everywhere. 1. Connect the EquipmentTo connect a digital video camera to a computer, you need either of two connectors: a USB 2.0 connector or an IEEE 1394 FireWire connector. Both of these connectors are high-bandwidth connections, meaning that they can handle the large amount of information that must stream from the camcorder into the computer. An old-fashioned USB 1.1 connector simply isn't fast enough, so you must have either USB 2.0 or FireWire. In this case, I'm using a FireWire connection from my Sony digital Handycam (Figure 4.21) to my custom-made Athlon-powered PC with a FireWire jack right on the front (Figure 4.22). Figure 4.21. A Sony digital camcorder (in this case, a DCR-TRV350). Figure 4.22. My PC has a FireWire jack on the front. Many computers now do. To connect the camcorder and the computer, you need the correct cable, which can be purchased separately but often comes with the camcorder. In this case, it's an IEEE 1394 cable (Figure 4.23) Start by connecting one end of the cable to the camcorder (Figure 4.24) and the other end to the computer (Figure 4.25). Figure 4.23. An IEEE 1394 cable. Figure 4.24. Connect the IEEE 1394 cable to the camcorder. Figure 4.25. Connect the other end of the IEEE 1394 cable to the computer. 2. Start the Software and Turn on the CamcorderNext, you need to open Movie Maker 2 (Figure 4.26) and power up your camcorder into VCR mode (Figure 4.27). Doing this allows Movie Maker to control your camcorder directly, which means that you can forget about fumbling with the camcorder's controls and can just stick with the controls in Movie Maker 2. Figure 4.26. Open Movie Maker 2. Figure 4.27. Set your camcorder to VCR mode. 3. Import the video into Movie MakerWhen Movie Maker 2 is open and the camcorder is connected, the program immediately senses the camcorder, and the connection happens automatically. When this occurs, you immediately face the Video Capture Wizard (Figure 4.28), where you enter the name of the video and pick the location where it is to be saved on the hard drive. Figure 4.28. In the Video Capture Wizard,enter the name of the video, and choose where you want to save it.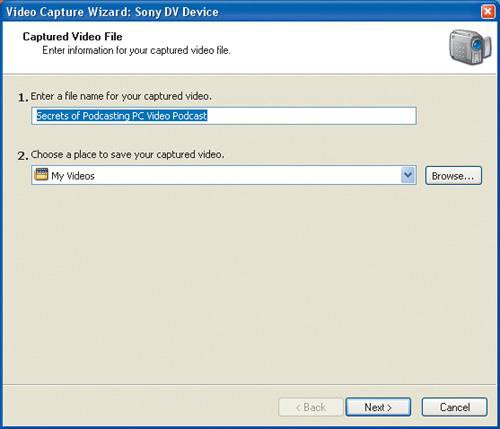 When that's done, you must go through a few more steps (Figures 4.29 through 4.32) to get the video streaming onto your machine. Figure 4.29. Choose the quality you desire. Unless hard drive space is an issue, choose Best Quality for Playback on My Computer, because you can change the size and/or quality of the finished product later.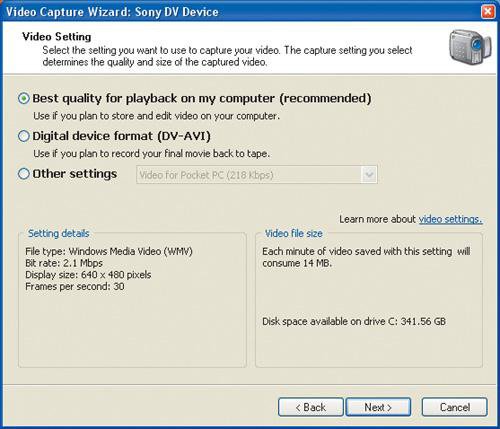 Figure 4.30. Next, you get to choose whether the entire tape will be entered automatically or whether you'll choose which bits to import yourself. Figure 4.31. Now you get buttons that allow you to control your camcorder right from the wizard (below the heading DV Camera Controls on the right side of the window). Check the Create Clips When Wizard Finishes check box; then click the Start Capture button.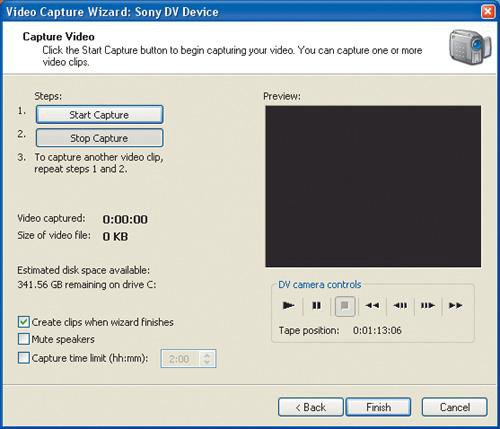 Figure 4.32. When the video you wanted to import has been imported, click the Stop Capture button and then the Finish button. When you click Finish, Movie Maker 2 imports the files, and you see this window as it does so. 4. Import Pictures or Audio (If Needed)Next, you can import any audio files that you want to include. If you have a voice-over for the video that you created as a separate audio podcast, for example, you can import it now by clicking the Import Audio or Music link below Capture Video on the left side of the screen (Figure 4.33). Figure 4.33. Click the Import Audio or Music link to import any sound files you want to include.
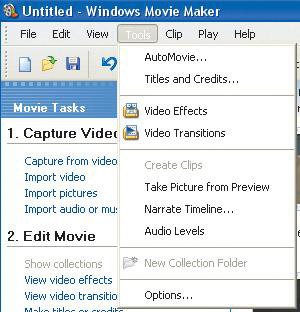
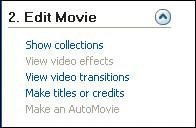
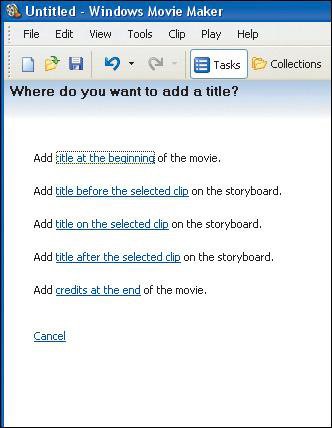
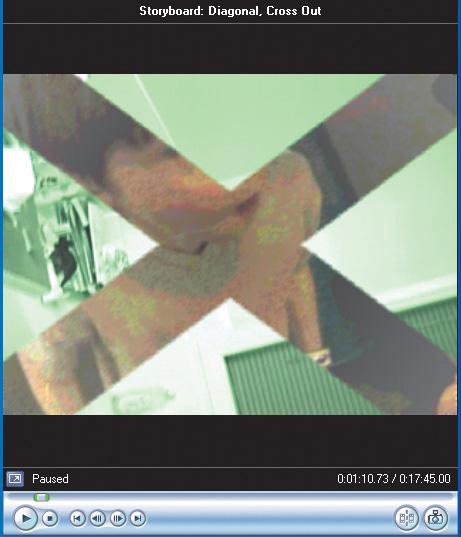
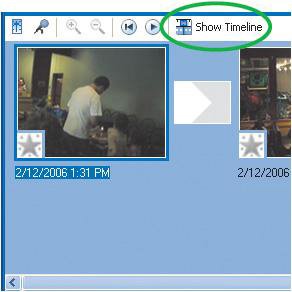
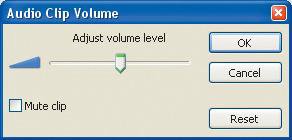
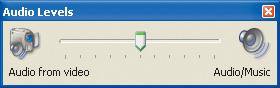
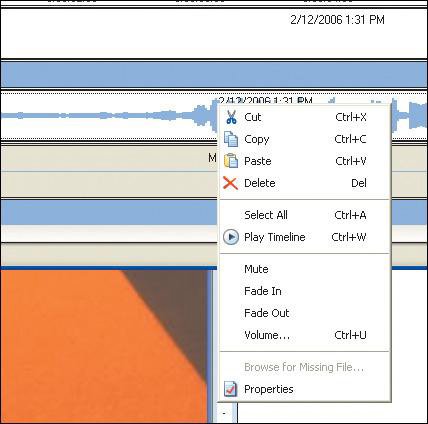
You most certainly do not have to import this content at this point, however; in fact, you can go back at any point and insert audio tracks. The same goes for any pictures you want to include; you can import them at any point by clicking the Import Pictures link. When you click the Import Audio or Music link, the Import File dialog box opens. Select the audio files you want to import (Figure 4.34), and click Import. These files show up as audio files in the clips area of the Movie Maker window (Figure 4.35) and can be dragged down to the timeline area of the window (Figure 4.36) at any time. When the files are in the timeline area, you can edit them and adjust the volume. Figure 4.34. Choose which audio files to import.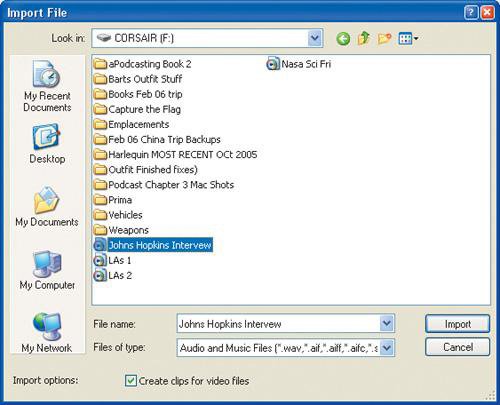 Figure 4.35. The clips area.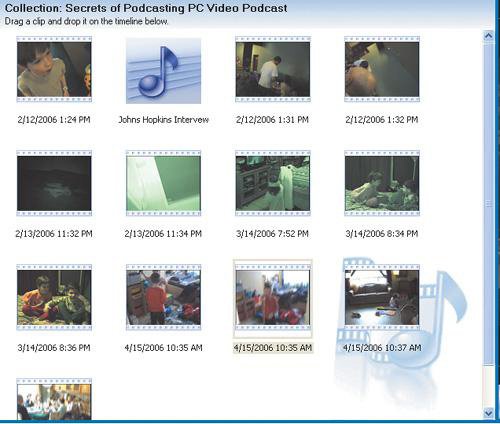 Figure 4.36. The timeline area. 5. Place Video Segments in the Timeline AreaNow that all your video clips are sitting in the clips area, you can drag them one at a time into the timeline area at the bottom of the window. To add clips, you need only grab the clips you want to insert and drag them down to the timeline (Figure 4.37). Figure 4.37. Add clips to the timeline area.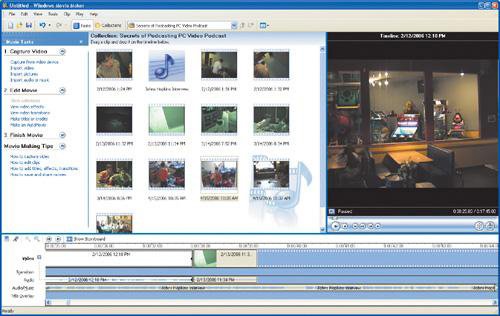 When the clips are in place, you can view them in the player window on the right side of the window (Figure 4.38). The timeline shows exactly how long each clip is; the storyboard at the bottom of the window shows the first frame of each clip and the transitions between clips (Figure 4.39). Figure 4.38. The player window on the right side of the Movie Maker window is where you can view each clip. Figure 4.39. The storyboard at the bottom of the window shows the first frame of each clip and the transitions between clips.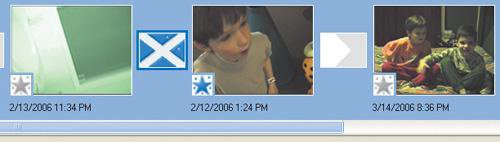 6. Add Text and Digital EffectsIf you want to gussy up the video with professional-looking transitions and digital effects, now is the time to do it. If you're going to be adding digital effects and text to particular video clips, you must do this before you put the transitions in place. To add a digital effect, follow the directions in Figure 4.40 and Figure 4.41. Figure 4.40. Choose Tools > Video Effects to open the Video Effects window. Figure 4.41. There are 28 effects to choose among. To add an effect, simply drag it from the Video Effects window to the clip you want to apply it to. When the effect is applied, the result appears in the player window on the right side of the screen. In this case, I added Film Age, Old to a clip.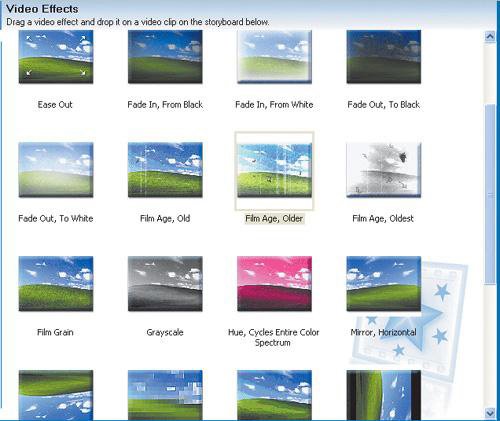 After you've added all the digital/visual effects that you want, it's time to add any text that you might want to use in the video. This can include credits, titles, or even music videotype headers that simply tell the audience who is being interviewed. To add text, click the Make Titles and Credits link below Edit Movie on the left side of the screen (Figure 4.42). At this point, you get to choose when you are going to insert the title or credit: at the beginning of the movie, before a clip, on a clip, after a clip, or as credits at the end of the movie (Figure 4.43). Figure 4.42. Click Make Titles and Credits. Figure 4.43. You get to choose where to put the text. Finally, you come to the Enter Text for Title window (Figure 4.44). The text you enter here is shown to you as a preview in the player window on the right side of the screen (Figure 4.45). When you're finished, click Done, Add Title to Movie. That's it! Figure 4.44. Enter the text here.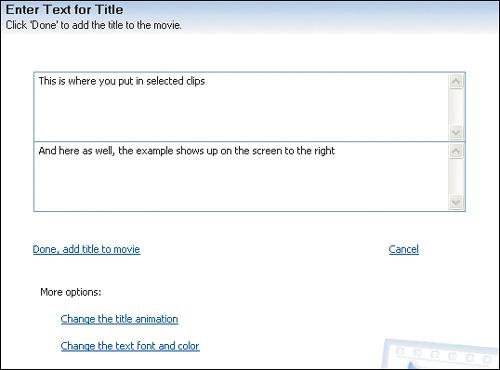 Figure 4.45. When the text is entered, it's previewed in the player window on the right.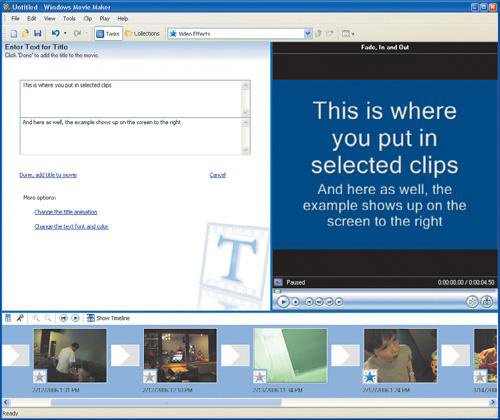 7. Insert TransitionsIn my opinion, video transitions are what make a presentation look really professional. A transition is simply how the video flows or changes from one video clip to another. There are hundreds of ways to do this, and Movie Maker 2 has 64 built-in transitions to help you spice up your production. This section (Figure 4.46 through Figure 4.49) walks you through the process of inserting transitions between video clips. Figure 4.46. Choose Tools > Video Transitions to open the Video Transitions window. Figure 4.47. There are a whopping 64 transitions to choose among.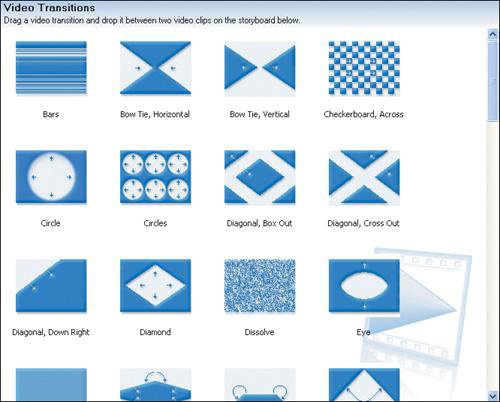 Figure 4.48. Drag the transition into the box between the clips in the storyboard.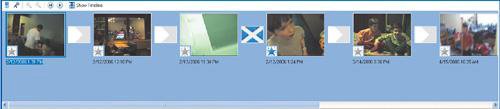 Figure 4.49. The transitions can be previewed in the player window on the right. This shows a transition in action! 8. Adjust Audio Levels and Clean UpYou're nearly there. Now it's time to go into timeline mode, line up your audio portions with your video portions, and adjust the various audio levels to get your video podcast perfect. Figure 4.50 through Figure 4.54 show you how to adjust these levels. Figure 4.50. Select timeline mode. Figure 4.51. Add any extra audio you want and then drag it along the timeline to line it up appropriately. This includes background music.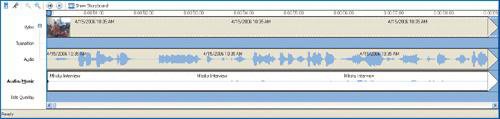 Figure 4.52. You can adjust the volume of each clip by pressing Ctrl+U to open the Audio Clip Volume dialog box. Figure 4.53. Choose Tools > Audio Levels to open the Audio Levels window, which allows you to control the overall audio level between the video's audio track and any supplementary tracks you may have added. Figure 4.54. You can also mute, fade in, or fade out of any audio track by right-clicking the track and choosing the appropriate command from the context menu.
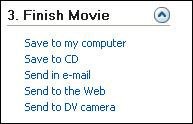
Movie Maker 2 has a Narrate Timeline function that allows you to record your audio right over the video as you watch it. For some video podcasters, this is the perfect tool. When you do this, you should use a quality microphone (see Chapter 3) and a script to ensure that you sound as professional and relaxed as possible while recording. 9. Save the Movie and Send It to the WebTo finish, you need to save your movie and then export it in a format that can be used for vodcasting. Figure 4.55 through Figure 4.58 show you how to wrap up the process. Figure 4.55. Save the project first (choose File > Save).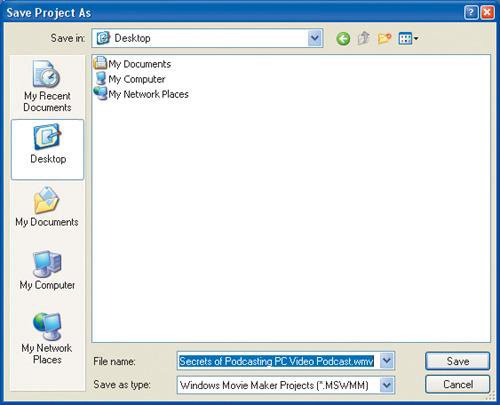 Figure 4.56. Below the Finish Movie heading in the Movie Maker window, click Send to the Web. Figure 4.57. In the Save Movie Wizard, choose what size you want the movie to be.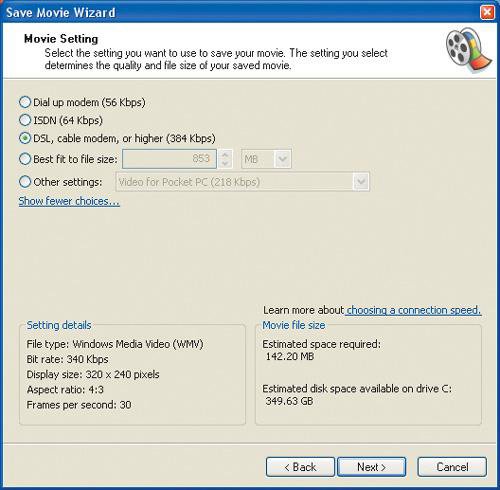 Figure 4.58. The movie will be converted, and you're done.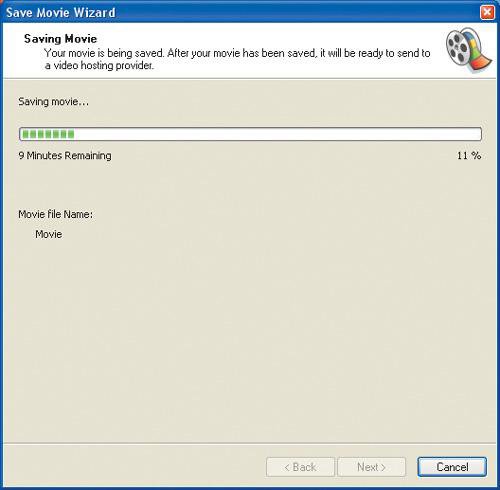 |


EAN: 2147483647
Pages: 89