Using SendReceive Groups
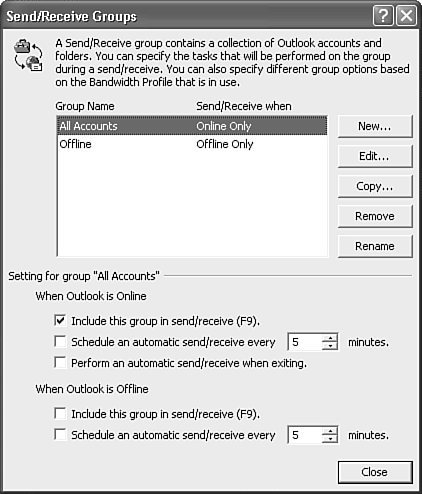
Using Send/Receive GroupsAfter you create all your mail accounts, you can tell Outlook how and when to access them. Outlook enables you to create multiple Send/Receive groups for use at different times. You can create an Offline group, an Online group, and even a Vacation group. Each group has its own send and receive settings that you can customize. Defining Send/Receive GroupsTo create a Send/Receive group, select Tools, Send/Receive, Send/Receive Settings, Define Send/Receive Groups (see Figure 17.19). Figure 17.19. Use this dialog box to control your Send/Receive groups.
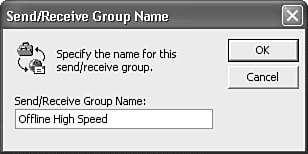
By default, Outlook installs with only one Send/Receive group that contains all accounts. Any new account you create is automatically added to the All Accounts group. The lower half of the Send/Receive Groups box shows the general settings for the selected Send/Receive group. In the case of Figure 17.19, all accounts in the All Accounts group are included when a Send/Receive is initiated no matter whether Outlook is online or offline. There is no automatic Send/Receive configured. You can change any of these settings directly from this window. To create a new Send/Receive Group, click the New button (see Figure 17.20). Figure 17.20. Name your Send/Receive group.
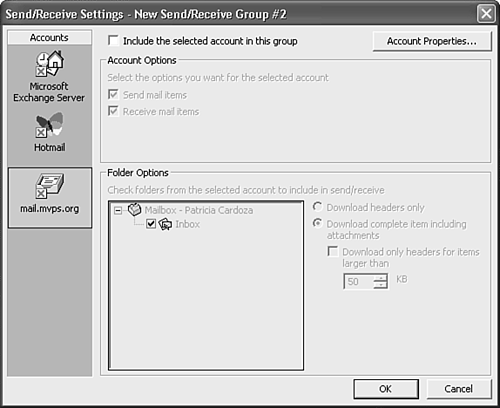
Enter a name for your Send/Receive group and click OK to display the Send/Receive Settings window (see Figure 17.21). Figure 17.21. Use this window to configure your Send/Receive group.
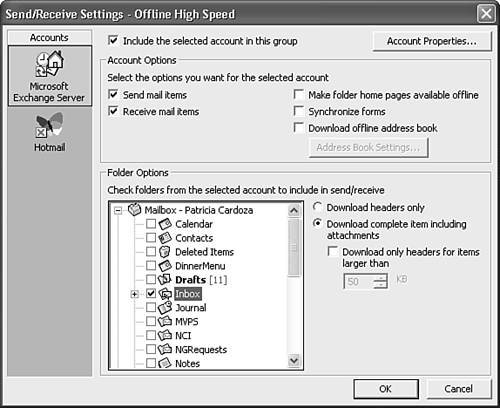
All available accounts are listed down the left side of this window, and the individual settings for the accounts are controlled in the main window. By default, no accounts are included in your new Send/Receive group. To include an account, click Include the Selected Account in This Group. Each account type you choose will have different options to configure. Figure 17.22 shows the options for an Exchange Server account. Figure 17.22. The Send/Receive options for an Exchange Server account.
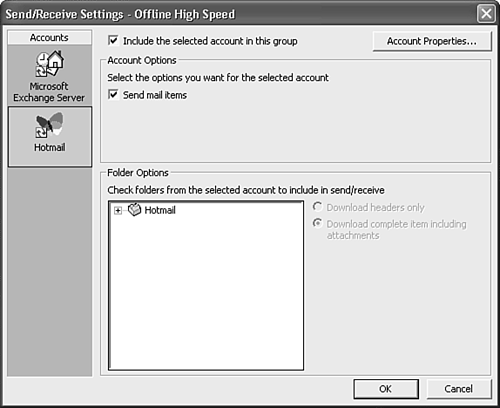
For an Exchange account, you can select to use the account for sending only, receiving only, or both sending and receiving. You can synchronize forms, folder home pages, and the address book. You can also choose which folders to include in the synchronization. A typical use for a Send/Receive group is configuring different settings for offline versus online access. If you're connected to your Exchange Server over a dial-up VPN connection, you probably don't want to synchronize all of your folders. You might find that synchronizing the Inbox and the Sent Items folder is enough. For each folder, you can select to download only headers, the complete item, or the complete item up to a certain size and then just the headers. Click OK to save your changes or click another account to set send/receive settings for other accounts. Figure 17.23 shows the send/receive settings for a Hotmail account. Figure 17.23. The send/receive settings for a Hotmail account.
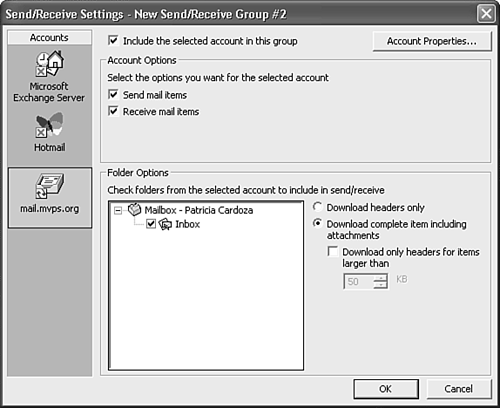
The Hotmail account settings are much more limited than the Exchange settings. You can choose whether to send items using this account, and you can select which Hotmail folders to synchronize. You can also choose whether to download headers or complete items. Figure 17.24 shows the send/receive settings for a POP3 account. You can choose to use the account for sending, receiving, or both. You can also select whether to download the headers, complete items, or complete items under a certain size. You cannot choose to synchronize multiple folders because a POP3 account recognizes only the Inbox folder. Figure 17.24. The send/receive settings for a POP3 account.
The send/receive settings for an IMAP account are similar to those for a POP3 account except that you can choose to synchronize multiple folders in an IMAP account. After you've completed your settings, click OK to return to the main Send/Receive Groups window where you can tell Outlook when to use your newly created Send/Receive group. From this screen, you can edit an existing Send/Receive group, rename an existing group, copy a group, or remove a group. Using Multiple Send/Receive GroupsMultiple Send/Receive groups are typically used when you plan to use Outlook in a variety of connection settings. If you typically access Outlook at the office on a high-speed Internet connection, you probably want to receive the entire message, no matter what the size, from each of your accounts. However, when you take your laptop on a business trip and the hotel doesn't have high-speed Internet access, you might want to restrict Outlook to downloading only headers from your main account. After you've downloaded a header, you can always go back and mark the message for download to retrieve the entire message on the next send/receive. You can configure as many Send/Receive groups as you need. You can perform a manual send/receive of your entire Send/Receive group by selecting Tools, Send/Receive, and choosing the group name you want. This performs a send/receive according to the group's settings no matter whether Outlook is online or offline. TIP If you feel overloaded with email accounts, you can create a separate Send/Receive group for each account, each with its own settings. Then select Tools, Send/Receive, and your group name to synchronize that particular account. |
EAN: 2147483647
Pages: 426
