Rendering a Realtime Filter Realtime filters provide a preview of the effect without having to render it. To do so, they use a complex set of codecs, which allow you to see the effect right away. With the right hardware (the MovieBox Pro or the AGP Pro card from Pinnacle) you can even view these filters on an external TV. The quality is so good that you're forgiven for thinking it has already been rendered. The clue is the slice above the clips that have filters applied to them (Figure 9.24). If this is yellow, then you're looking at a real-time preview and you need to render this before you can create a DVD or output the Timeline to tape. Figure 9.24. A yellow slice above a clip indicates the presence of an RT filter. 
To render a yellow slice, simply click the Render icon in the Liquid Edition taskbar (Figure 9.25). Then, check the include yellow slices check box. When you do, all yellow slices on the Timeline begin to render (Figure 9.26). If the rendering doesn't start, make sure you haven't previously stopped it by clicking the Stop/Start Rendering button to the left of the include yellow slices check box. in the Liquid Edition taskbar (Figure 9.25). Then, check the include yellow slices check box. When you do, all yellow slices on the Timeline begin to render (Figure 9.26). If the rendering doesn't start, make sure you haven't previously stopped it by clicking the Stop/Start Rendering button to the left of the include yellow slices check box. Figure 9.25. The Liquid Edition taskbar containing the Render icon. (PAL, top. NTSC, bottom.) 
Figure 9.26. The Render View. 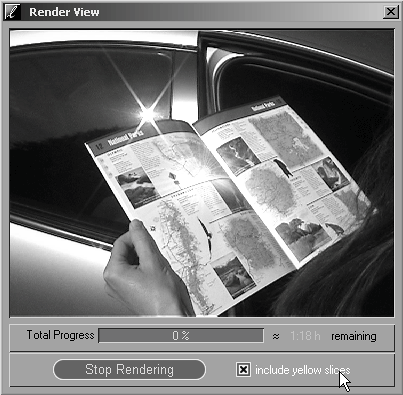
Note: A red slice indicates the presence of a non-Realtime filter. A green slice indicates a clip has been rendered. A gray slice indicates a clip that does not require rendering. | 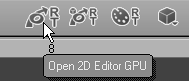
 Tip
Tip