Attaching Code to a Custom Menu Item
We have yet to write any VBA code. However, once we start, we will probably want to have end users access the code via menus and buttons in the application. Up to this point, all we have done is create a few simple macros. We are going to put one of the macros we created on our little menu bar and then, in Chapter 13, use exactly the same technique to attach VBA code to a command bar.
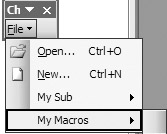
For our example, let’s add a New Menu item as we just did in the previous steps. Rename this new menu item My Macros. The custom menu should look like this:
If you now select the All Macros category in the Customize dialog box, you should see a list of any macros you have created to this point. For the sake of simplicity, Figure 4-9 just shows the macFirst macro.
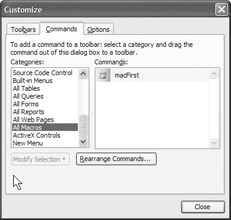
Figure 4-9: The All Macros category
You simply drag the macro’s icon and place it as a submenu item as you did with the previous menu item.
Let’s take a look at a menu feature we have not had a chance to look at yet by right-clicking on the new macro menu command we just put on the menu bar. A menu should come up, and when you select Properties, you should see the same dialog box shown in Figure 4-10.
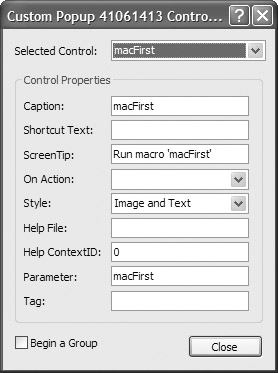
Figure 4-10: Menu Control Properties dialog box
Here you can exercise some fine control over your menus as follows:
-
The Caption allows you to control the menu’s text. As you did earlier, you can place an & before any letter you want to contain the underscore.
-
In the Shortcut Text, you can specify what key combination will be used to trigger this menu item. You must be careful not to use one already used elsewhere. For instance, Ctrl + C is the combination for the Copy command.
-
The ScreenTip is the helping text that pops up when the mouse rolls over the menu item.
-
On Action is the important option. This is where you select the name of the macro or VBA code you want associated with the menu command. You can also enter simple function procedures into the field, such as iif, by beginning them with an = sign (similar to entering functions in Microsoft Excel).
-
The Style option allows you to select either text, buttons, or a combination of both in your menu display.
-
The next two option items, Help File and Help ContextID, allow you to associate a help file with this menu item. The first identifies the help file to open when you select the What’s This? button. The second identifies the place in the file that contains help on this item.
-
The Parameter button allows you to send any parameters, should it be necessary, to the VBA code or macro named in the On Action box.
-
Tag allows you to give the menu command a unique name so that, if you need to, you can refer to it in the VBA code.
Note that if you now close the Customize dialog box and go to run this last macro, you will probably end up with the error message shown here.
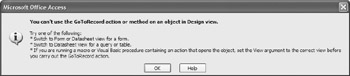
This macro is associated with a form that we worked on earlier (its purpose is to take us to the first record in the form). Because the form is not open, the macro simply does not know what to do. In order for this macro to function properly, you would need to have the frmCustomer open so that it could go to the first record.
If you select OK in the first message box, the Action Failed message box, shown next, opens, allowing you to stop the macro.
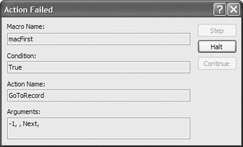
Select Halt to shut down the macro.
In order for this macro to function properly, we would need to have the frmCustomer open so that it could go to the first record.
EAN: 2147483647
Pages: 214