While the first two techniques rely on the effects of a filter, this time around you will have a much greater influence on the result by painting on the layer mask. The first few steps in this technique are the same as in the previous techniques, so I'll go through them pretty quickly without explaining each step.
key concepts:
layer masks
define brush
Step One.
Press Command-J (PC: Control-J) to duplicate the Background layer.
Step Two.
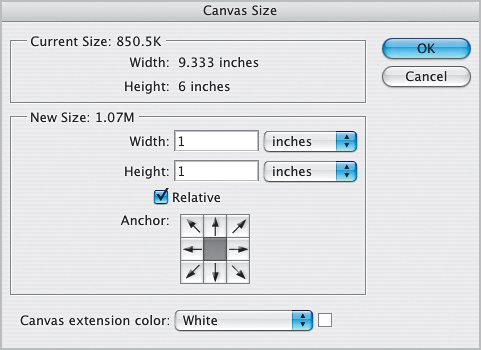
From the Image menu, choose Canvas Size (or press Command-Option-C [PC: Control-Alt-C]). In the Canvas Size dialog, make sure the Relative checkbox is turned on and enter 1 inch in both the Width and Height fields.
Step Three.
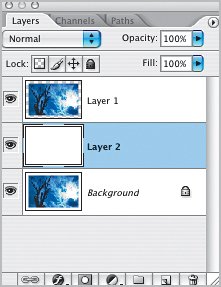
Press-and-hold the Command key (PC: Control key) and click on the Create a New Layer icon at the bottom of the Layers palette to create a layer below the current layer. Press D to set your Foreground and Background to the default colors. Then press Command-Delete (PC: Control-Backspace) to fill the new layer with white.
Step Four.
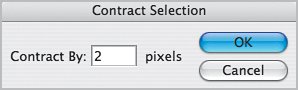
Press-and-hold the Command key (PC: Control key) and click on the top layer's thumbnail (the copied Background layer) to load it as a selection. From the Select menu, choose Modify>Contract, enter 2 pixels as the Contract By amount, and click OK (for higher resolution images try 510 pixels).
Step Five.
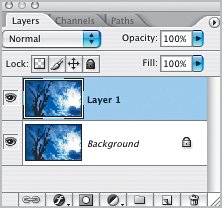
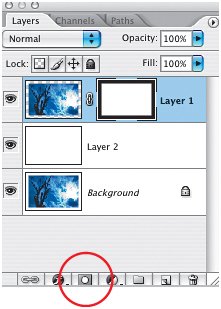
Make sure that the top layer is active and click on the Add Layer Mask icon at the bottom of the Layers palette to create a layer mask from your selection.
Step Six.
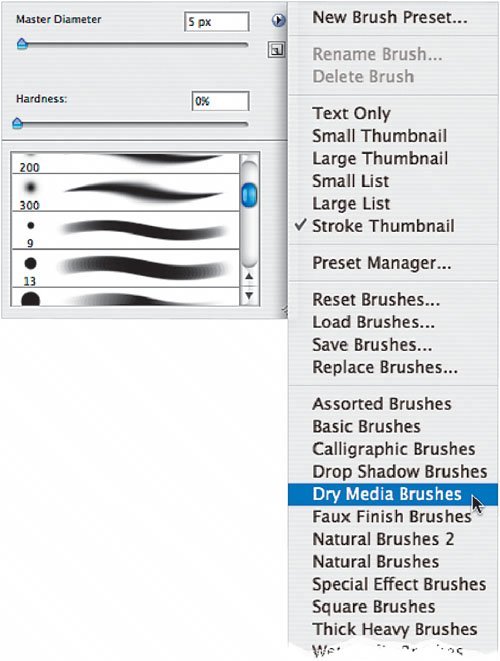
From the Toolbox, choose the Brush tool (B), and then in the Options Bar, click on the Brush thumbnail. In the resulting Brush Picker, click on the right-facing triangle and choose Dry Media Brushes from the flyout menu. Go ahead and click OK in the resulting dialog and replace your current brushesyou can always choose Reset Brushes from the same flyout menu to get back to the default set. Choose one of the Dry Media brushes. I chose Pastel Medium Tip for this example.
Step Seven.
Make sure the layer mask is still active and click once on the top-right corner of the photo. Press-and-hold the Shift key, move to the topleft corner of the photo, and click again. The Brush tool will paint a straight line between your two clicks.
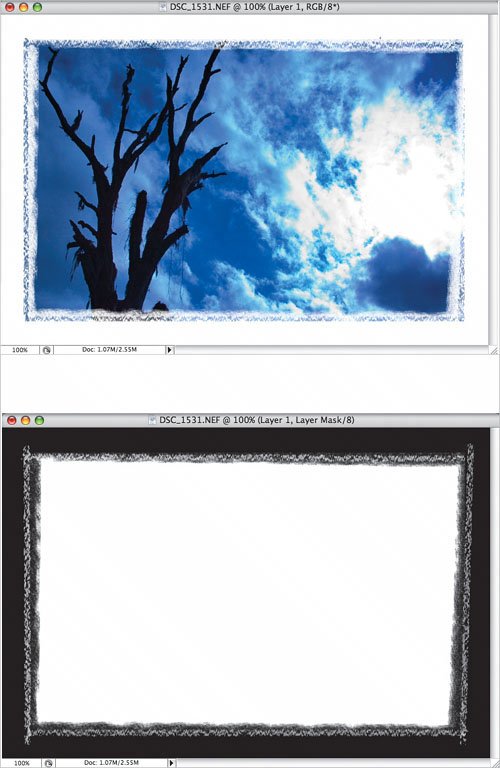
Step Eight.
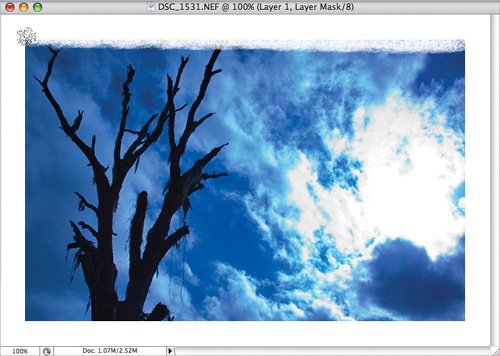
Repeat this operation for all four sides of the photo, and don't worry about trying to stay perfectly horizontal or vertical. In fact, you can add to the randomness of the effect by deliberately painting slightly askew. Here's the result, along with a view of the layer mask.
Of course, each brush will have a different effect and you shouldn't restrict yourself to just the Dry Media brushes. You can try any of the built-in brushes or, as we'll see in the next technique, make your own.
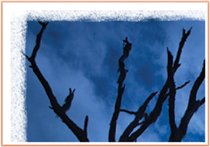
Here's another example where I chose a smaller brush, changed the Foreground color to white, and lowered the Brush tool's opacity (in the Options Bar) to around 60%.
 Here's another example where I chose a smaller brush, changed the Foreground color to white, and lowered the Brush tool's opacity (in the Options Bar) to around 60%.