Saving Custom Settings in Your Filters
| If you already know how to save your custom settings in a filter, I urge you to read on anyway. This is a very cool technique for adding a vignette to a photo. I never realized the power of being able to save your filter settings until my buddy (and boss, for that matter) Scott Kelby showed me this trick for adding a vignette to your photos using the Lens Correction filter in Photoshop CS2. What's a Vignette?A vignette is a darkening of the edges around a photo. Sometimes it's caused by a poor-quality lens and sometimes it's caused by certain filters that are added to the lens, or sometimes it's both. Usually, it's something that photographers want to avoid, but at times it really makes a nice special effect to help draw the viewer's attention to a specific area of a photo. A photo with no vignette 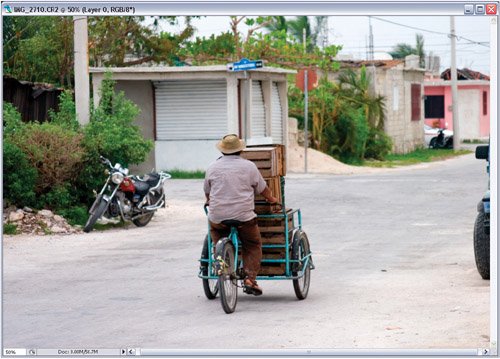 ©MATT KLOSKOWSKI The same photo with a vignette 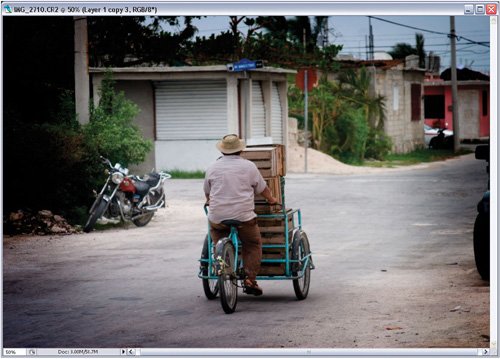
Step OneOpen any photo that you'd like to add a vignette effect to. I've found this effect works best when you have an area in the center of a photo that you want to draw the viewer's attention to. 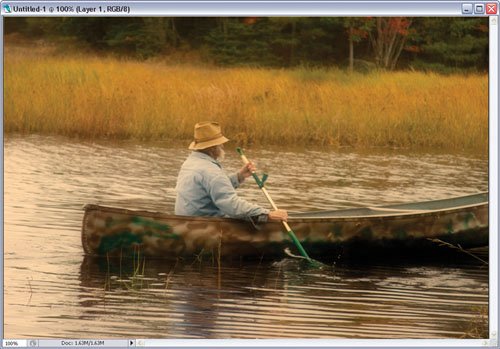 ©MATT KLOSKOWSKI Step TwoChoose Filter>Distort>Lens Correction. The Lens Correction dialog will open and you'll see one very annoying thing to start off withthe grid. It totally ruins the photo and just makes it very hard to edit here. So, the first thing I do is turn off the Show Grid checkbox below the image preview. 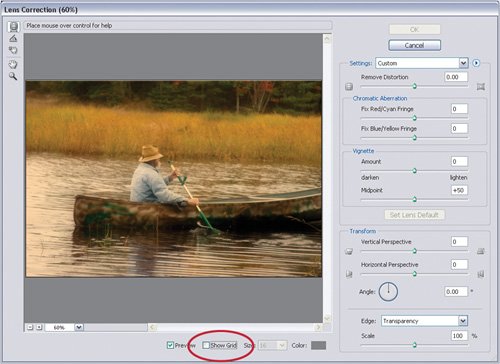 Step ThreeNext, we're going to add the vignette to the photo. (Keep in mind that this isn't necessarily the purpose of the Lens Correction filter, but it's a nice trick nonetheless.) Look in, you guessed it, the Vignette section on the right side of the dialog. First, adjust the Amount setting by dragging it to the left. This will start darkening the edges, thus adding a fake vignette to the photo. I find that somewhere around -80 to -90 usually works pretty good here. 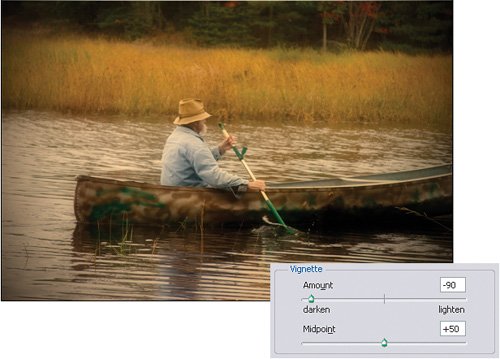
Step FourNow, adjust the Midpoint setting right below Amount. This controls the center point of the vignette. Moving the setting to the left brings the darkening effect toward the center (or midpoint) of the photo. Moving this setting to the right pushes the darkening effect more toward the edges of the photo. I usually move this setting to +60 or so, but that may vary depending on your photo. 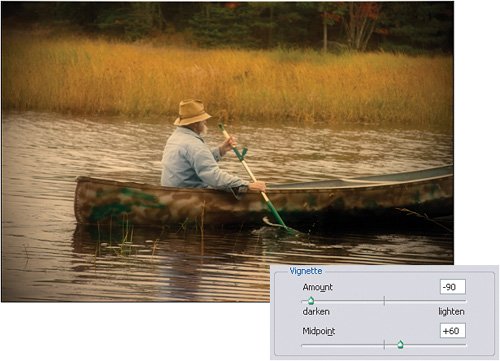 Step FiveNow that you've adjusted the settings the way you want, you'll need to save them. Click the small, right-facing triangle next to Settings and choose Save Settings from the flyout menu. Enter a name for your custom setting, such as "Vignette," and press Save. 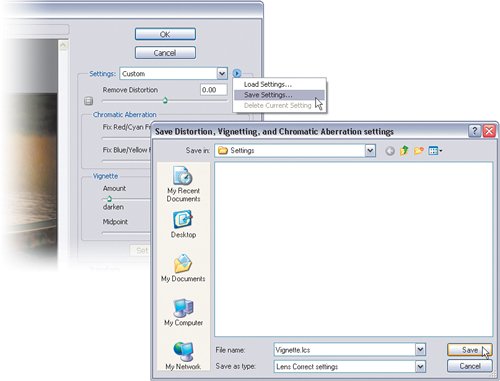 Step SixIf you ever want to automatically use these settings on another photo without having to select them all over again, just open the filter and choose Vignette from the Settings pop-up menu. 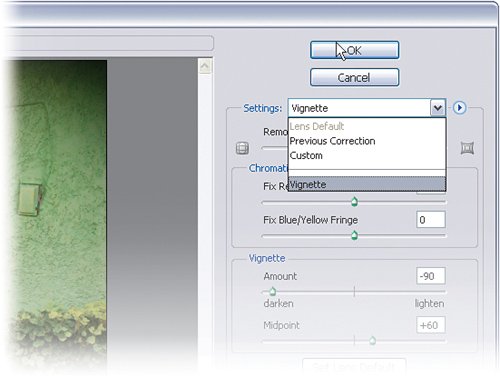 ©MATT KLOSKOWSKI
|


EAN: 2147483647
Pages: 113