Section 53. Track Audio Volume
53. Track Audio Volume
20 Navigate the Monitor Panel 29 About the Timeline and Video Tracks 33 Add or Move a Clip on the Timeline
54 Raise, Lower, and Normalize Sound Volume 55 Filter Audio with Dynamic Effects 56 Balance Sound over Left and Right Channels 53. Track Audio Volume
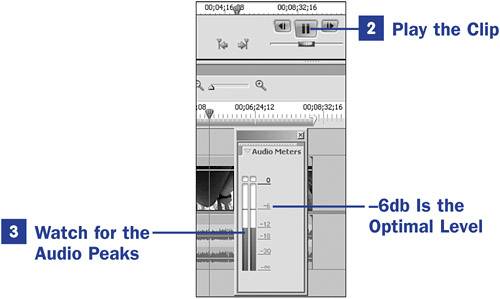 If you don't keep an eye on the audio levels in your movie project, you might have a surprise after you view the DVD on a television. Even though the audio might sound okay on your computer speakers, it might not sound that way after putting it onto a DVD or exporting the movie project. One of the ways to avoid audio volume issues in a pro-active way is by using the Audio Meters feature. The Audio Meters window helps you determine whether any portions, or possibly all, of your audio clips are over (or under) the recommended levels. To monitor your audio levels, open the Audio Meters window and play your clip while watching what the meters do.
Watch for levels that get above 6db (between 6 and 0) and adjust the volume accordingly. Constant levels of between 12db and 6db, with the peaks below 0db, are the best. An average level of 6db is optimal. |
 BEFORE YOU BEGIN
 SEE ALSO
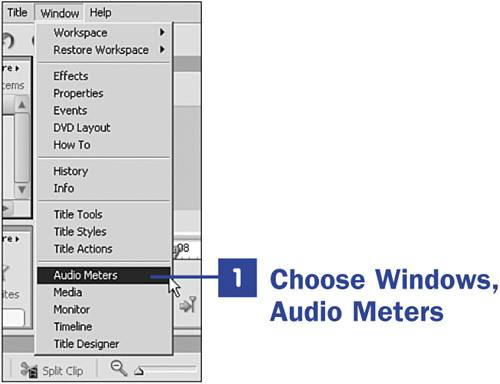
 NOTE
NOTEEAN: 2147483647
Pages: 199