Setting the Report Details, Defining the Sort , and Printing the Report
The Details tab of the Report dialog lets you set some important options regarding the data your report will contain. This section shows you how to set the detail settings for your reports . Equally important is the way that your report will be sorted. Sorting by the right field is important because it helps the readers of your report orient themselves with the data they are viewing. This section also examines how to define the sort your report will use. Finally, this section shows you how to actually print your report.
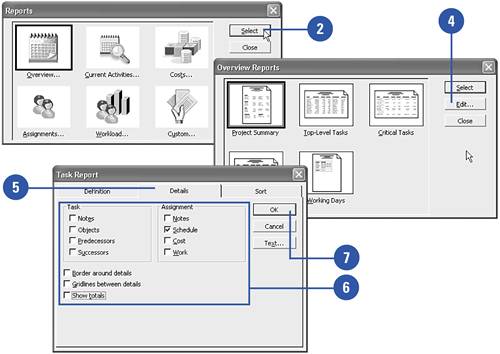
Defining the Report Details
Select the View, Reports menu item.
Choose the category of report you want to edit and click Select.
Select the report you want to edit.
Click the Edit button.
Click the Details tab.
Select the detail options you want to display for this report.
Click OK when you are finished.
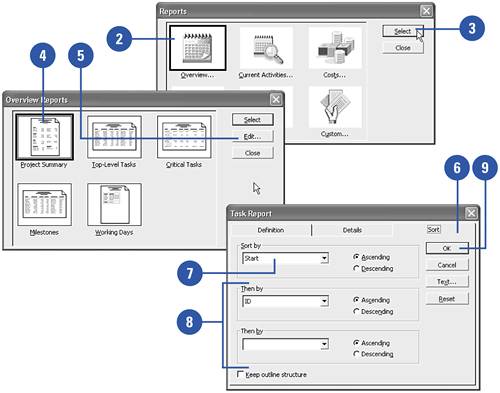
Defining the Report Sort
Select the View, Reports menu item.
Select the category of report you want to edit.
Click the Select button.
Select the report you want to edit.
Click the Edit button.
Click the Sort tab.
Define the first field that should be used to sort the data in this report.
Repeat for the second and third criteria if necessary.
Click OK when finished.
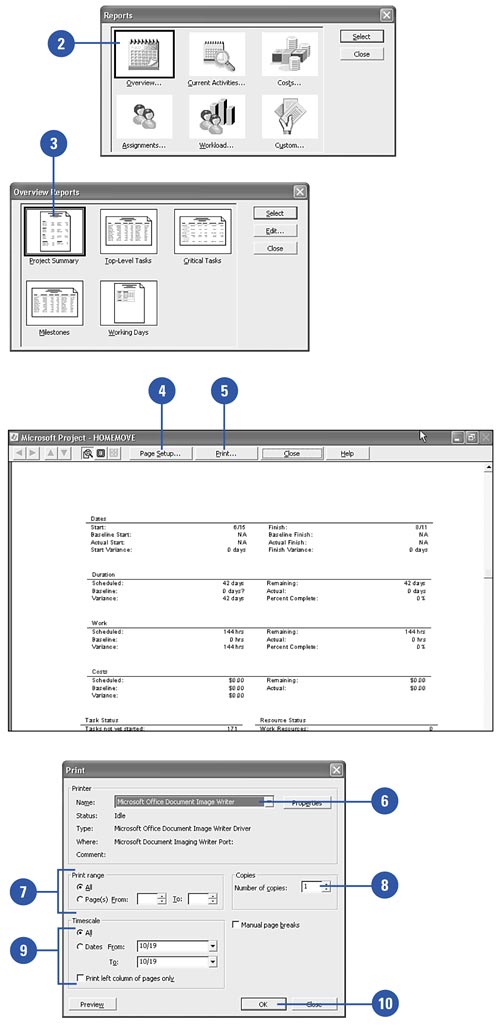
Printing a Report
Select the View, Reports menu item.
Double-click the category of report you want to print.
Double-click the report you want to print.
Click the Page Setup button to define the orientation, scaling, paper size , margin, and header/footer information.
Click the Print button.
Select a printer.
Define the print range.
Select a number of copies to print.
Select a timescale \date range to print.
Click OK to print your report.
Did You Know?
If do not have a printer installed, you will not be able to access the Print Preview screen.