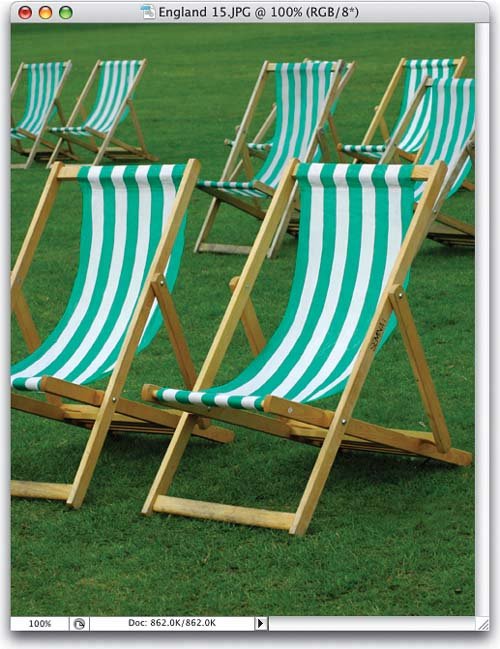
| HOW TO AVOID EXAGGERATING NOISE IN THE IMAGE BY USING THREE DIFFERENT CHANNEL TECHNIQUES Noise stinks. In classic film cameras, we used to call any noise that was visible in our photos "grain," but now with digital imaging, we call that grain "noise." It's basically the same thing, and we have basically the same goalavoiding it. As annoying as noise is on its own, there's one way to make it even worsesharpen it. That's right. Sharpening sharpens everything, including the noise, and usually any noise that's visible becomes even more so after sharpening. That's why we're starting this chapter off by showing you three techniques for minimizing noise, while maximizing your sharpening, all through the use of channels. So, you know what we're afterthe ability to sharpen our photos to make them as crisp as possible, while avoiding (as much as possible) making the noise that's already in our images even worse. Luckily, it's easier than you'd think (thanks to channels). Step 1. | OPEN THE COLOR PHOTO YOU WANT TO SHARPEN
Open the photo you want to sharpen, while avoiding the noise that can appear in certain channels.
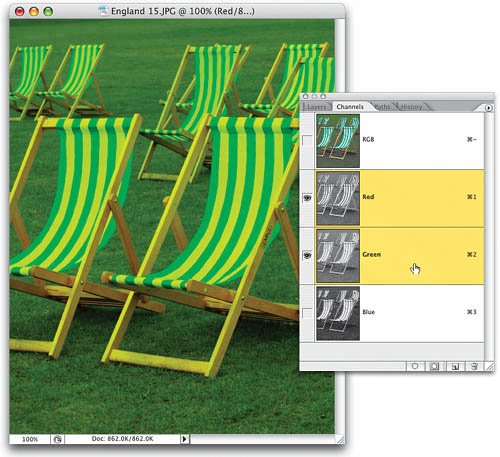
 ©SCOTT KELBY | | | Step 2. | CLICK ON THE RED CHANNEL, THEN SHIFT-CLICK ON THE GREEN CHANNEL
The Blue channel is infamous for being "the noisy channel," so in our first technique we will completely avoid sharpening the Blue channel. Including the Blue channel in our sharpening would make the noise in it more noticeable. So basically, you're going to apply the sharpening to just the Red and Green channels, and you can do so to both at the same time. Go to the Channels palette and click on the Red channel. Then hold the Shift key and click on the Green channel to select them both at the same time. (Holding the Shift key lets you add another channel, along with the first channel you selected.)
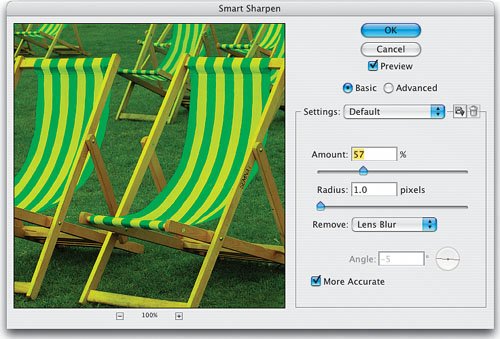
 | Step 3. | APPLY YOUR SHARPENING TO JUST THESE TWO CHANNELS. PRESS THE ~ KEY TO SEE A FULL-COLOR PREVIEW
You can now apply your sharpening to just the two channels you selected in the previous step (the Red and Green channels), thus avoiding the Blue channel altogether (I love getting to use the word "thus" in a sentence. I feel so Shakespearean). Although you have just two channels selected, it's helpful to see the full-color image as you apply your sharpening, so press the ~ (Tilde) key. Then from the Filter menu, under Sharpen, you can apply the Unsharp Mask filter, or if you have Photoshop CS2, you can apply the Smart Sharpen filter if you prefer. Some sample settings that I use in my own work (actually, they're not just sample settings, they're my favorite settings) are shown here.
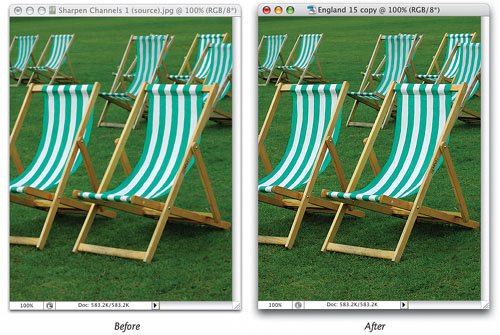
 | | | Step 4. | HERE'S A BEFORE AND AFTER OF SHARPENING WHILE AVOIDING THE BLUE CHANNEL
Here's a before and after, with the original unsharpened image on the left, and the sharpened version (sharpening just the Red and Green channels) on the right. Now, let's look at another noise-avoiding technique.
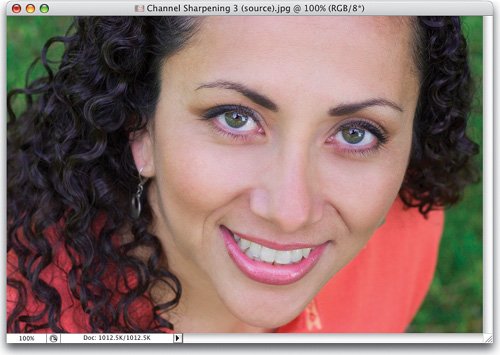
 | | | Step 5. | WE USE A DIFFERENT METHOD FOR SHARPENING PORTRAITS OF WOMEN
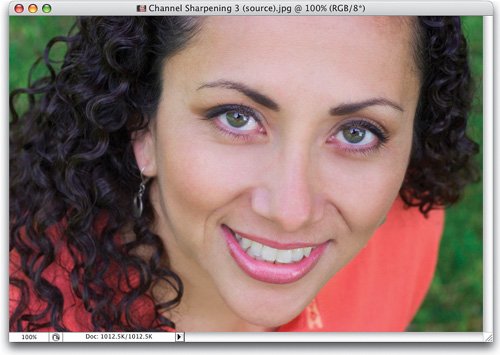
You'll want to use this technique when you're sharpening portraits of women, because not only does this channel sharpening method avoid the noise in the Blue channel, but it also avoids adding texture to their skin. This is something we try to avoid with female skintone. Start by opening a portrait of a woman.
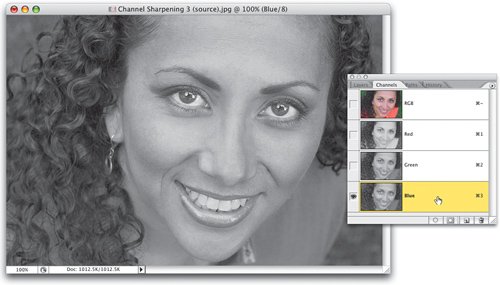
 ©ISTOCKPHOTO/JASON STITT | Step 6. | LOOK AT THE BLUE CHANNELIT NOT ONLY HAS NOISE, BUT THE SKIN TEXTURE IS EQUALLY AS BAD
Just so you'll have a better understanding of why we're going through this extra step of avoiding the other channels, click on the Blue channel (as shown here). See all the noise and texture in her skin? Right. That's why we want to avoid this channel.
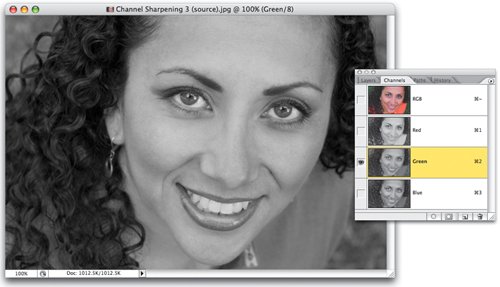
 | | | Step 7. | THE GREEN CHANNEL HAS LESS NOISE, BUT STILL HAS LOTS OF TEXTURE
Go ahead and take a look at the Green channel while you're there. Although you'll see much less noise, you will notice lots of texture in her skin, which would be more apparent after sharpening, so it's best to avoid this channel, too.
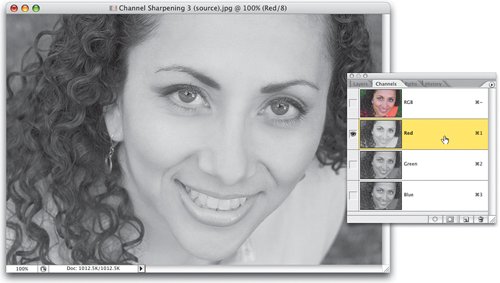
 | Step 8. | THE RED CHANNEL HAS LITTLE NOISE, AND LITTLE TEXTURE, SO TARGET THIS CHANNEL FOR SHARPENING
So, in portraits of women, first click on the Red channel, and then apply your sharpening. This avoids the texture in the Green channel, and the noise and texture in the Blue channel.
 | | | Step 9. | HERE'S THE FINAL IMAGE, SHARPENING JUST THE RED CHANNEL
Here's the final result of sharpening just the Red channel. As you can see, even though I applied the Smart Sharpen filter (using the same settings I used in the previous example), the sharpening appears very subtle in her skin, but her hair, eyebrows, and eyes have a nice level of sharpening.
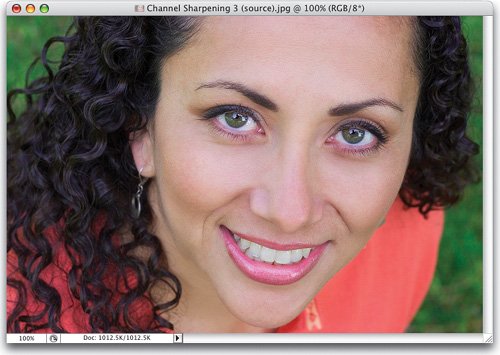
 | Step 10. | HERE'S WHAT WOULD HAPPEN IF YOU SHARPENED THE ENTIRE RGB COMPOSITE IMAGE
Just so you'd be able to see the difference, I went ahead and applied the same filter, using the same settings, to the entire image (without targeting just the Red channel). You can see how the texture in her skin is much more apparent (which is a bad thing in portraits of women). Well, I say you can see a big difference, but the image is a screen capture and fairly small, so if you don't see a big difference here, don't worryyou will onscreen and at full size in print, when you try this technique on your own.
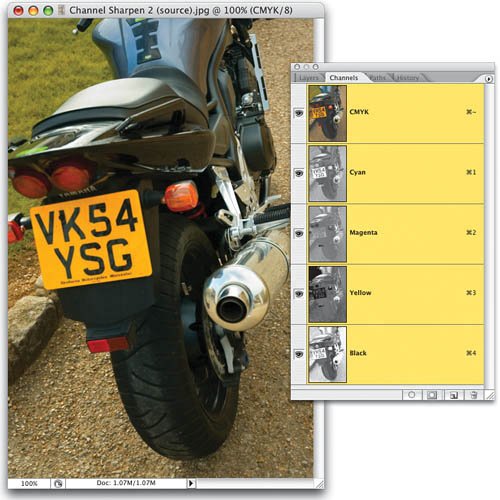
 | | | Step 11. | THERE'S A DIFFERENT TECHNIQUE IF YOUR FILE IS GOING TO PRESS: FIRST CONVERT TO CMYK
Here's another technique for avoiding noise. You would only use this channel technique, though, when you're going to be color separating the image for printing on an actual printing press. If this is the case, you'll wait to apply your sharpening until you've converted the image to CMYK mode, you've done all your color correction and image editing, and you're about to save the file (because we always do our sharpening as the very last thing we do, before saving the file). If you look in the Channels palette when you're in CMYK mode, you can see the image is now made up of four channels: a Cyan channel, a Magenta channel, a Yellow channel, and a Black channel.
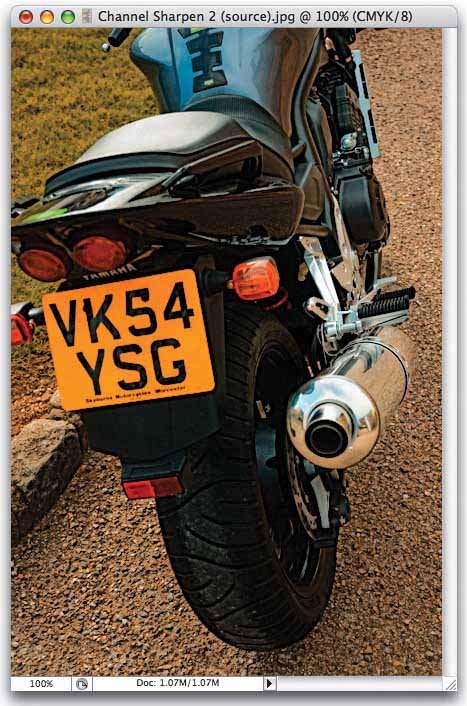
 ©SCOTT KELBY | Step 12. | TARGET THE BLACK CHANNEL AND APPLY YOUR SHARPENING THERE
When it's time to apply your sharpening, go to the Channels palette, click on the Black channel (where much of the detail is held), and apply your sharpening there.
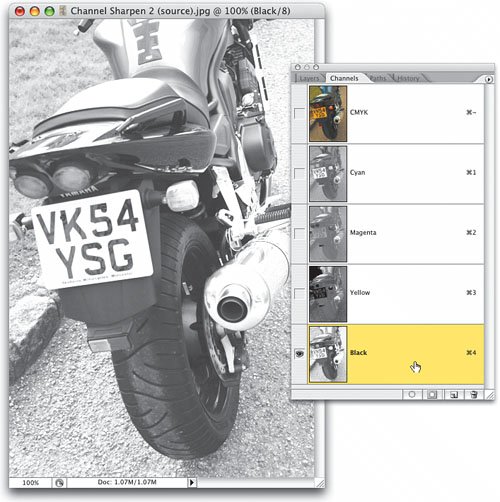 | | | Step 13. | SHARPENING THE BLACK CHANNEL LEAVES COLORS UNDAMAGED
Sharpening the Black channel helps to avoid color halos, noise, and other nasty side effects of sharpening color channels. Here is the final CMYK image after sharpening.
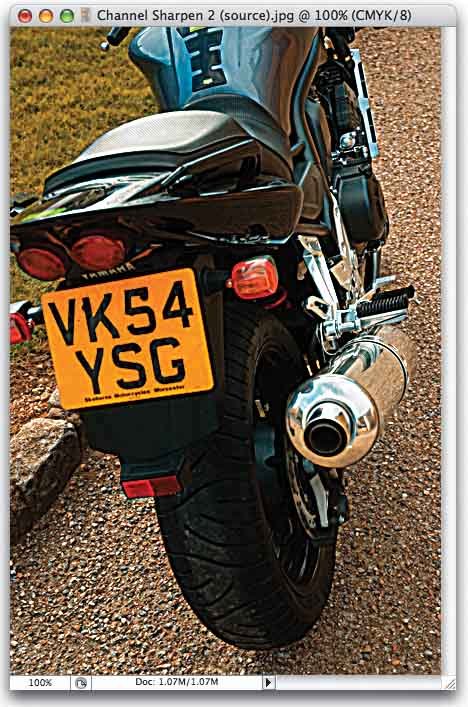
 | Step 14. | HERE'S WHAT HAPPENS WHEN YOU SHARPEN THE ENTIRE IMAGE
Here I applied the same Smart Sharpen filter with the same settings to the entire CMYK image. Notice the color halos on the license plate and motorcycle, and the noise in the grass and pebbles.
 |
|