Removing Lots of Specks, Dust, and Scratches
| If you've used Elements' Dust & Scratches filter, you've probably already learned how lame the filter really is. That is, unless you use this cool workaround that takes it from a useless piece of fluff, to a…well…reasonably useful piece of fluff. This technique works brilliantly for removing these types of artifacts (that's Elements-speak for specks, dust, and other junk that winds up) on the background areas of your photos. Step One©DAVE MOSER 
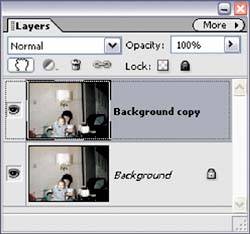
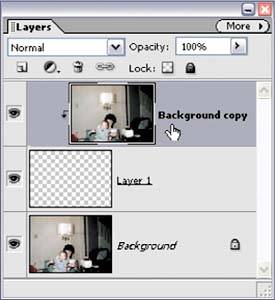
Open the photo that needs specks, dust, and/or scratches repaired. Duplicate the Background layer by dragging it to the Create a New Layer icon at the top of the Layers palette. This creates a layer called "Background copy." Step Two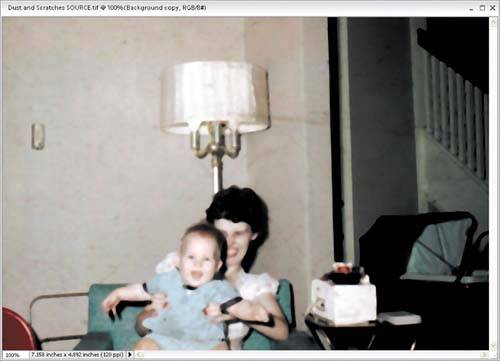
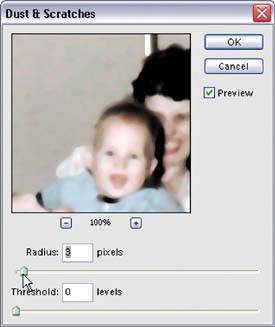
Go under the Filter menu, under Noise, and choose Dust & Scratches. When the Dust & Scratches dialog appears, drag both sliders all the way to the left, then slowly drag the top slider (Radius) back to the right until the specks, dust, and scratches are no longer visible (most likely this will make your photo very blurry, but don't sweat itmake sure the specks are gone, no matter how blurry it looks), and then click OK. Step Three
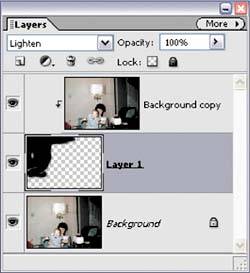
In the Layers palette, hold the Control key and click on the Create a New Layer icon to create a new blank layer beneath your current layer. Now, click back on the top layer and press Control-G to group your blurred layer with the blank layer beneath it. Doing this hides the effect of the Dust & Scratches filter you applied in Step 2. Step Four
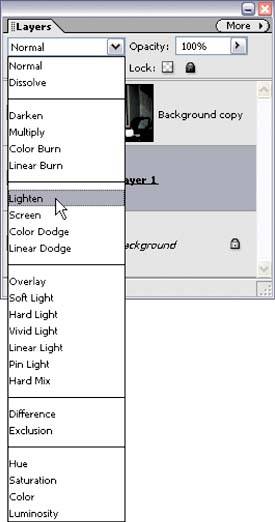
Press the letter D to set your Foreground color to black. Press B to switch to the Brush tool, click the Brush thumbnail in the Options Bar, and when the Brush Picker appears, choose a medium-sized, soft-edged brush. Now go to the Layers palette, click on your middle, blank layer, and change the layer blend mode pop-up menu from Normal to Lighten. This causes the changes you make with the Brush tool to only affect the pixels that are darker than the area you're painting on this layer. Note: Another method for doing this is to change the Brush tool's blend mode to Lighten in the Options Bar. However, I like the layer version better, because you can always change the layer's blend mode later if you don't like how it looks, and you don't get that "after-the-fact" option with the Brush tool. Step Five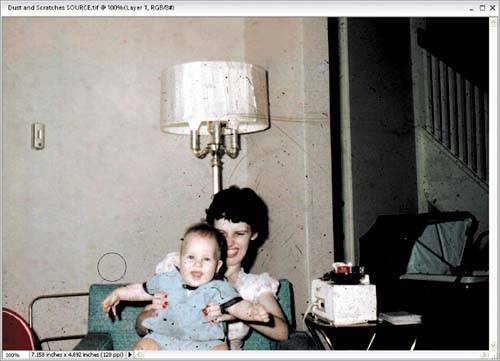
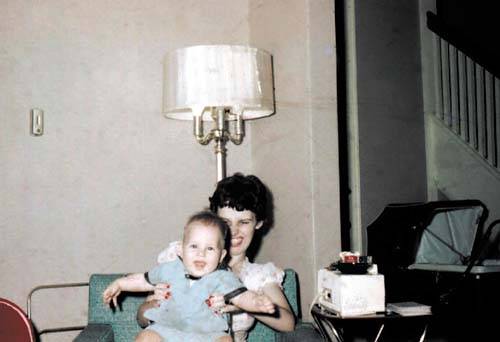
With the middle, blank layer active, paint directly over the areas of your photo that have specks. As you paint, the specks and dust will disappear (you're actually revealing the blurred layer above, where you applied the Dust & Scratches filter). Again, this technique works best on background areas, but it can also be useful for cleaning detailed areas. Just use a very small brush to minimize any blurring that may occur, and rather than painting strokes, just move over the speck and click once or twice. Before
After
|

EAN: 2147483647
Pages: 201