| When you want to add new text to your publication, you need to create a text frame. Using the Text Frame tool, you drag a rectangle that will contain your text. When you release the mouse, the insertion point blinks inside the frame, indicating that you can start typing. After entering text, you can resize and move the text box, or format the text to change its font, size, and color. Similarly, you can also change the color of the background of the frame (behind the text) and add interesting borders to the frame. Create a Text Frame -
 | Click the Text Box button on the Objects toolbar. | -
 | Position the mouse pointer where you want the frame to start. | -
 | Click and Drag to create a rectangle the size you want. | -
 | Type the text you want in the frame. | 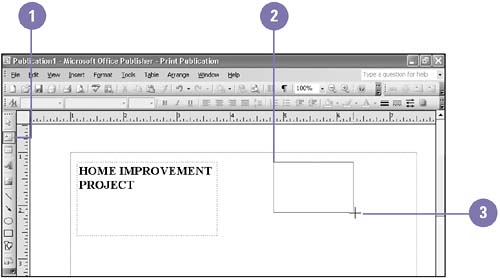 Resize or Move a Text Frame -
| | Click the text frame to select it. | -
| | To resize a text frame, drag a handle. | -
| | To move a text frame, position the pointer over the dotted edge of the frame, and then drag the text frame to a new location. | 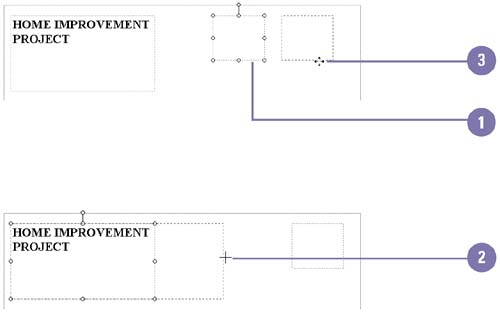 Format Text in a Frame -
| | Select the text that you want to format. | -
| | Right-click the selected text. | -
| | Point to Change Text. | -
| | Click a command to change a specific characteristic of the text in the selected frame. | -
 | Select the format options you want. | -
 | Click OK. | 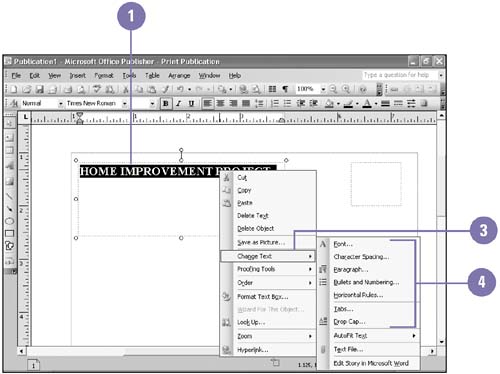 Format a Text Frame -
| | Select the text frame you want to format. | -
| | Use the Fill Color, Line Color, Font Style, Line/Border Style, Dash Style, Arrow Style, and Shadow Style buttons on the Formatting toolbar. | 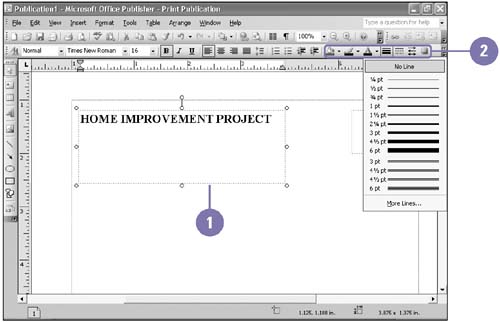 Did You Know? You can improve the appearance of large fonts by changing character spacing . Characters formatted in very large fonts often look too far apart. To adjust the space between characters , click the Format menu, and then click Character Spacing. You can change line spacing . Adjust the amount of space between lines of text with the Paragraph command on the Format menu. | |