Inheriting a Form by Using the Inheritance Picker
Inheriting a Form by Using the Inheritance Picker
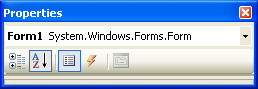
In object-oriented programming syntax, inheritance means having one class receive the objects, properties, methods, and other attributes of another class. As I mentioned in the section “Adding New Forms to a Program” in Chapter 14, “Managing Windows Forms and Controls at Run Time,” Visual Basic goes through this process routinely when it creates a new form in the development environment. The first form in a project (Form1) relies on the System.Windows.Forms.Form class for its definition and default values. In fact, this class is identified in the Properties window when you select a form in the Designer, as shown in the following illustration:
Although you haven't realized it, you've been using inheritance all along to define the Windows forms that you've been using to build Visual Basic applications. Although existing forms can be inherited by using program code as well, the designers of Microsoft Visual Studio considered the task to be so important that they designed a special dialog box in the development environment to facilitate the process. This dialog box is called the Inheritance Picker, and it's accessed through the Add New Item command on the Project menu. In the following exercise, you'll use the Inheritance Picker to create a second copy of a dialog box in a project.
Inherit a simple dialog box
Start Visual Studio, and create a new Visual Basic Windows Application project named My Form Inheritance.
Display the form in the project, and use the Button control to add two button objects at the bottom of the form, positioned side by side.
Change the Text properties of the Button1 and Button2 buttons to OK and Cancel, respectively.
Double-click the OK button to display the Button1_Click event procedure in the Code Editor.
Type the following program statement:
MsgBox("You clicked OK")Display the form again, double-click the Cancel button, and then type the following program statement in the Button2_Click event procedure:
MsgBox("You clicked Cancel")Display the form again, and set the Text property of the form to “Dialog Box”.
You now have a simple form that can be used as the basis of a dialog box in a program. With some customization, you can use this basic form to process several tasks—you just need to add the controls that are specific to your individual application.
Click the Save All button to save your project, and specify the c:\vb05sbs\chap16 folder as the location.
Now you'll practice inheriting the form. The first step in this process is building, or compiling, the project because you can inherit only from forms that are compiled into .exe or .dll files. Each time the base form is recompiled, changes made to the base form are passed to the derived (inherited) form.
Click the Build My Form Inheritance command on the Build menu.
Visual Basic compiles your project and creates an .exe file.
Click the Add New Item command on the Project menu, and then click the Inherited Form template.
The Add New Item dialog box looks as shown on the next page.
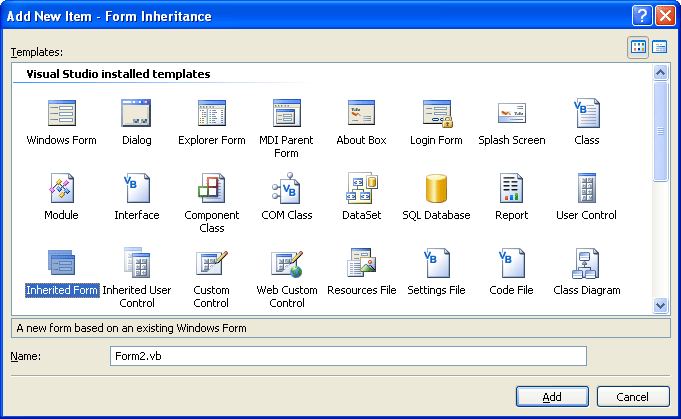
As usual, Visual Studio lists all the possible templates you could include in your projects, not just those related to inheritance. The Inherited Form template gives you access to the Inheritance Picker dialog box.
You can use the Name text box at the bottom of the dialog box to assign a name to your inherited form. This name will appear in Solution Explorer and in the file name of the form on disk.
Click Add to accept the default settings for the new, inherited form.
Visual Studio displays the Inheritance Picker dialog box, as shown here:
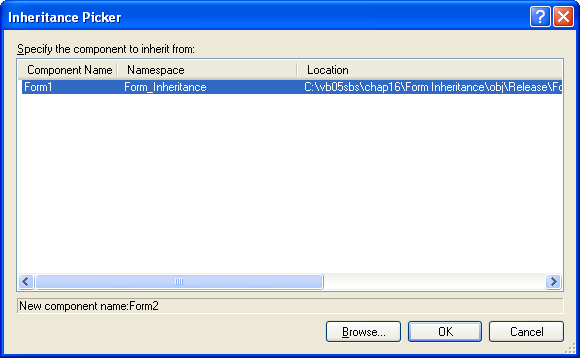
This dialog box lists all the inheritable forms in the current project. If you want to browse for other compiled forms, click the Browse button, and locate the .dll file on your hard disk.
NOTE
If you want to inherit a form that isn't a component of the current project, the form must be compiled as a .dll file.Click Form1 in the Inheritance Picker dialog box, and then click OK.
Visual Studio creates the Form2.vb entry in Solution Explorer and displays the inherited form in the Designer. Notice in the following figure that the form looks identical to the Form1 window you created earlier, except that the two buttons contain tiny icons, which indicate that the objects come from an inherited source:
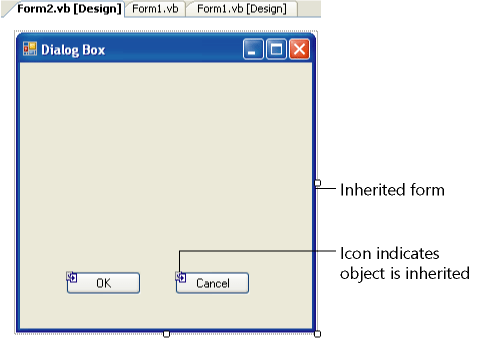
It can be difficult to tell an inherited form from a base form (the tiny inheritance icons aren't that obvious), but you can also use Solution Explorer and the IDE tabs to distinguish between the forms.
Now you'll add a few new elements to the inherited form.
Customize the inherited form
Use the Button control to add a third button object to Form2 (the inherited form).
Set the Text property for the button object to “Click Me!”
Double-click the Click Me! button.
In the Button3_Click event procedure, type the following program statement:
MsgBox("This is the inherited form!")Display Form2 again, and then try double-clicking the OK and Cancel buttons on the form.
You can't display or edit the event procedures or properties for these inherited objects without taking additional steps that are beyond the scope of this chapter. (Tiny “lock” icons indicate that the inherited objects are read only.) However, you can add new objects to the form to customize it.
Enlarge the form.
You can also change other characteristics of the form, such as its size and location. Notice that if you use the Properties window to customize a form, the Object list box displays the form from which the current form is derived.
Now set the startup object to Form2.
Click the Properties command on the Project menu.
The Project Designer, first introduced in Chapter 14, “Managing Windows Forms and Controls at Run Time,” appears.
Click the Startup Form list box, click Form2, and then close the Project Designer.
Now run the new project.
Click the Start Debugging button.
The inherited form opens, as shown here:
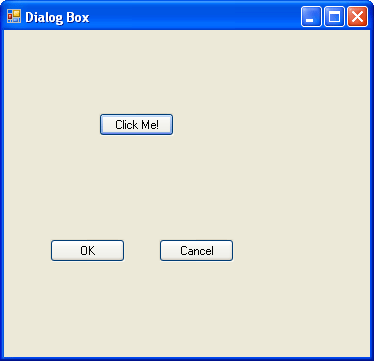
Click the OK button.
The inherited form runs the event procedure it inherited from Form1, and the event procedure displays the following message box:
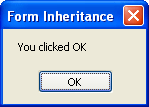
Click OK, and then click the Click Me! button.
Form2 displays the inherited form message.
The inherited form has been customized to include the new object as well as the two inherited button objects. Congratulations! You've taken your first steps with inheritance by using the Inheritance Picker dialog box.
Click OK to close the message box, and then click Close on the form to end the program.
The program stops, and the IDE returns.
EAN: N/A
Pages: 168