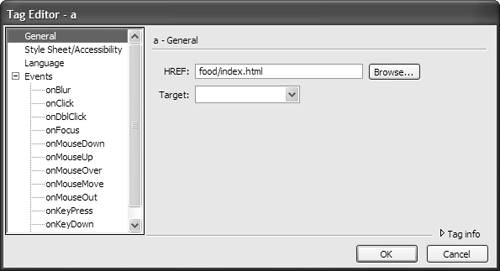
Using the Tag Editor
| You've seen the Quick Tag Editor; now here's the Tag Editor itself. It's not really slower than the Quick version, and it's handy for when you want more control than you can get in, say, the Property Inspector, but you don't want to deal with actual HTML tags. To use the Tag Editor:
|

 Tips
Tips 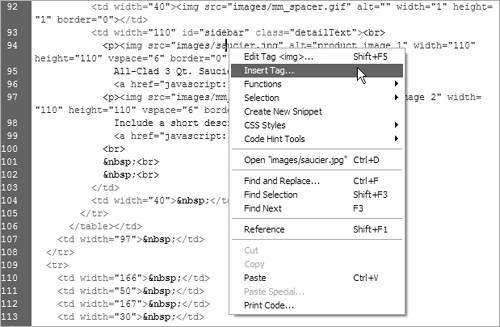
Macromedia Dreamweaver 8 for Windows & Macintosh
ISBN: 0321350278
EAN: 2147483647
EAN: 2147483647
Year: 2005
Pages: 239
Pages: 239
Authors: Tom Negrino, Dori Smith