| 1. | Prepare two images, such as those in Figures 12.7 and 12.8 , for the rollover's Up and Over states.  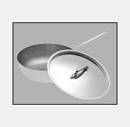 |
| 2. | Position the insertion point in the document where you want the rollover to appear.
|
| 3. | On the Common tab of the Insert Bar, click the arrow beside the image icon ( Figure 12.9 ). 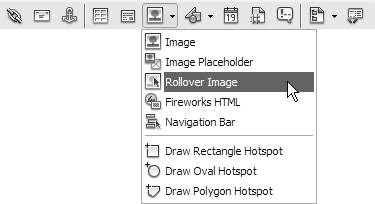 |
| 4. | Select Rollover Image.
or
Select Insert > Image Objects > Rollover Image.
|
| 5. | The Insert Rollover Image dialog appears ( Figure 12.10 ). Fill out the fields: - Image name : This is the name that JavaScript will use internally to refer to this image.
- Original image: The Up state of the image, which is what will display when the page is loaded.
- Rollover image: The Over state of the image, which is what will display when the user 's cursor is over the image.
- Preload rollover image: This should be selected so the Over version of the image is in the browser's cache when it's needed. Don't make the users wait for the Over image to downloadthey might think the page isn't working and give up on your site.
- Alternate text: This is the alternate information for users with non-graphical browsers.
- When clicked, Go to URL: This is the URL of the Web page you want to open when the user clicks the image.
 |
| 6. | Click OK to accept the changes.
|
| 7. | Check the default event in the Behaviors panel to be sure it's the one you want ( Figure 12.11 ). 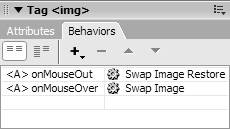 |
 Tips
Tips