| The Trax Editor is another useful animation editor in Maya, incorporating a nonlinear approach to animation. Nonlinear animation lets you create clips of animation and arrange them in any manner you wish. For example, if you have a ball in your scene, you can have a bouncing clip, a rolling clip, and a deflating clip. You can then blend, rearrange, add, duplicate, or delete these clips, making new animations without touching a keyframe, as well as other commonly used functions: Cut, Copy, Paste, Duplicate Select the clip you want to edit; then, from the Edit menu, select Cut, Copy, Paste, or Duplicate. Attribute Editor A clip's Attribute Editor lets you adjust the scale, offset, and cycling of the clip you've selected. To see the Attribute Editor, select a clip and select Modify > Attribute Editor. Animation Curves To see and adjust the original animation curves in the Graph Editor, select a clip and then click the Graph Anim Curves icon  . .
At the heart of the Trax Editor is the character set. The character set defines a set of keyframable attributes. What those attributes are is up to you. A character set isn't necessarily a complex, rigged character; it could just be a sphere. Because the character set lets you treat a complex rig with lots of controls as one object, it's most useful on a character. For instance, when you create a keyframe while using a character set, all the attributes in that character set are keyed, no matter how many objects the attributes belong to. For this reason, many animators like to use character sets even if they're not using the Trax Editor. To create a character set: 1. | Create a NURBS sphere and a polygon cube.
| 2. | Translate the cube 1.5 units above the sphere.
This will be your character.
| 3. | To create the character set, select the sphere and the cube.
| 4. | From the Character menu, select the check box next to Create Character Set (Figure 12.66).
Figure 12.66. Open the Create Character Set options. 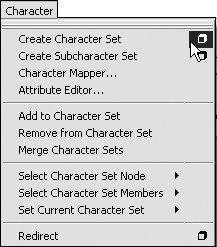
The Create Character Set Options dialog box opens.
| 5. | Change the name of the character set to All (Figure 12.67).
Figure 12.67. Set the options for the character, including what will be keyable. 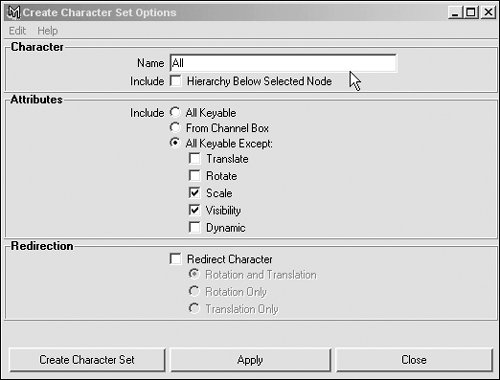
| 6. | Click Create Character Set.
A character set is created that includes your two objects. Next you'll create subcharacter sets for the sphere and cube individually.
| 7. | Select the sphere.
| 8. | From the Character menu, select the check box next to Create Subcharacter Set (Figure 12.68).
Figure 12.68. Display the options for creating a subcharacter set. 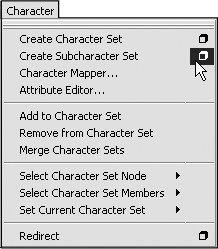
The Create Subcharacter Set Options dialog box opens.
| | | 9. | Change the Name value to Ball and click Create Subcharacter Set (Figure 12.69)
Figure 12.69. Set the options for the subcharacter set. 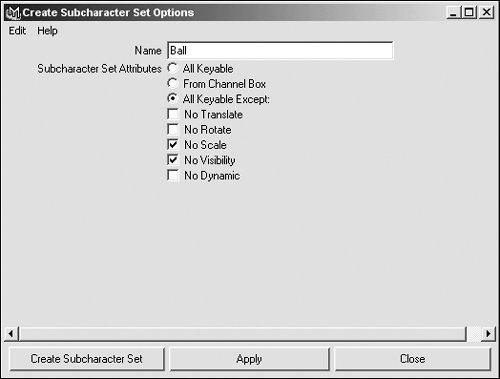
| 10. | Select the cube.
| 11. | From the Character menu, select the check box next to Create Subcharacter Set.
| 12. | Change the Name value to Box, and click Create Subcharacter Set.
| 13. | Navigate to the current character set menu below the playback controls.
| 14. | Click the arrow, and select All (Figure 12.70).
Figure 12.70. Use the menu in the bottomright corner of the interface to select the character set you're working with. 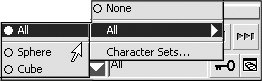
This menu is where you choose the character or subcharacter you'll be working with.
|
To create a clip: 1. | With All selected in the Current Character Set menu, go to frame 0 in the timeline.
| 2. | Select the sphere and the cube, and press  . .
| 3. | Move to frame 10 in the timeline.
| 4. | Translate the sphere 1 unit up in the y direction.
| 5. | Translate the cube 0.5 unit up in the y direction; press .
This keyframes the sphere and the cube because they're both in the selected character set. When you keyframe any object in a character set, all objects are keyframed automatically.
| | | 6. | Move to frame 20 in the timeline.
| 7. | Translate the sphere back down 1 unit so it's back in its original position.
| 8. | Translate the cube back to its original position, and press .
Both the sphere and cube move up and back down as you drag through the timeline.
| 9. | Choose Window > Animation Editors > Trax Editor.
The Trax Editor opens.
| 10. | Click the Load Selected Characters icon  . .
Two tracks appear, representing your characters.
| 11. | From the Create menu in the Trax Editor, select the check box next to Clip (Figure 12.71).
Figure 12.71. Clips contain all the keyframes for all the objects in your character set's animation. The clips can then be manipulated in the Trax Editor. 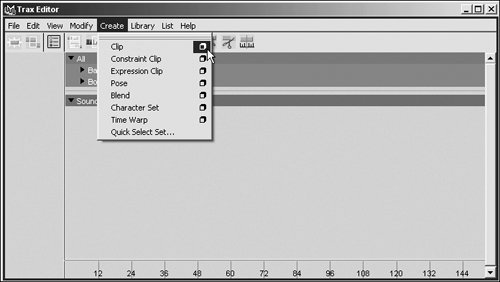
| 12. | Change the Name to Bounce, and click Create Clip (Figure 12.72).
Figure 12.72. In the Create Clip Options dialog box, you can give the clip a unique name and set specific options for the clip's length and content. 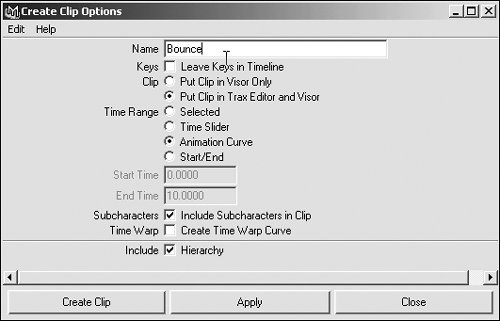
Two clips appear in the Trax timeline: Bounce and Bounce1. One clip is assigned to the box and one to the ball.
|
To manipulate a clip: 1. | Hold  and select both clips from the previous task (Figure 12.73) and select both clips from the previous task (Figure 12.73)
Figure 12.73. Collapsing the All character set lets you work with clips under the main character set. You see one clip as opposed to two subcharacter clips. 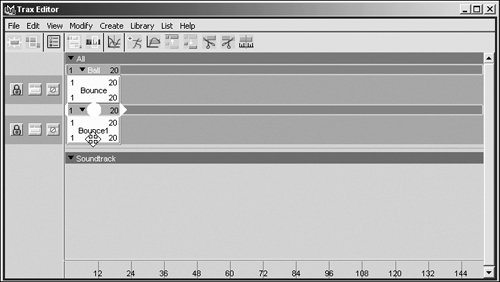
Arrows appear on both sides of the selected clips, indicating that they can be manipulated together.
| 2. | Scale the clip by clicking the arrow near the right end of the clip and then dragging the clip (Figure 12.74).
Figure 12.74. Scaling the clip. 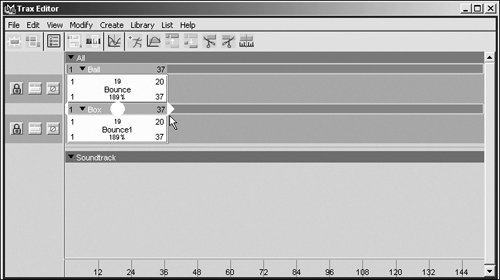
| 3. | Click the middle of the clip, and drag to move it in the timeline.
| 4. | Click the All character set to deselect the two clips (Figure 12.75).
Figure 12.75. Click the arrow next to your main character set to reveal the subcharacter clips. 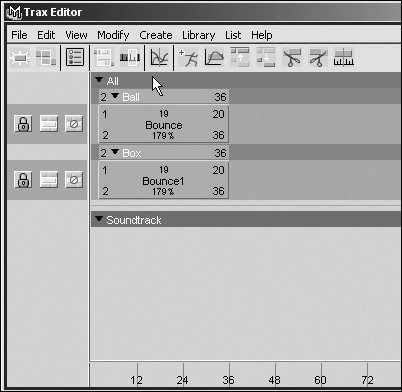
| | | 5. | Position the cursor over the upper-right corner of the ball's Bounce clip until you see a double-headed arrow with a line in the middle (Figure 12.76). Drag the clip to the left until it becomes smaller.
Figure 12.76. Cutting off the clip at a certain point doesn't destroy the original animation. You can adjust this at any time in the Trax Editor. 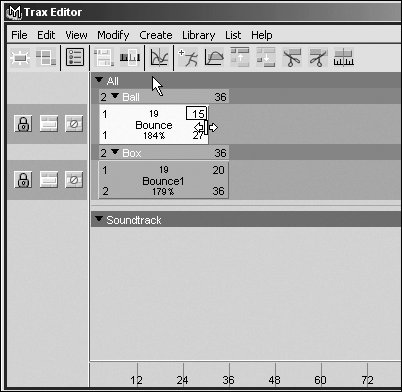
The animation in that clip is cut off at that point.
or
Position the Current Time indicator at the point in the clip where you would like to trim it, and click the Trim Clip After Current Time icon  . .
| 6. | Right-click the Bounce clip, and select Duplicate Clip (Figure 12.77).
Figure 12.77. You can duplicate clips and distribute them wherever you need in your timeline. 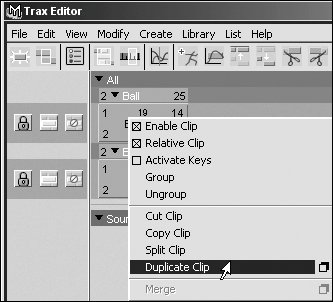
This inserts the same clip at the position of the cursor in the timeline.
| 7. | Drag the new Bounce2 clip to the left so that it overlaps the Bounce clip.
The Trax Editor creates a new track for Bounce2 (Figure 12.78).
Figure 12.78. Drag Bounce2 to the left so that it overlaps Bounce. The Trax Editor creates a new track for Bounce2. 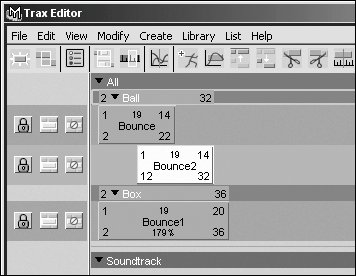
| 8. | Select Bounce2 and Bounce, and click the Create Blend icon  . .
The two animation clips are blended together to create a smooth transition between them (Figure 12.79).
Figure 12.79. The Blend function creates a spline curve between the last frame of one clip and the first frame of another clip. 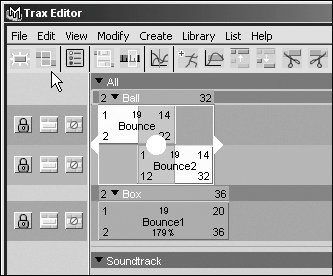
| | | 9. | Select Bounce2, and drag it to the right so that it no longer overlaps with Bounce (Figure 12.80)
Figure 12.80. Drag Bounce2 to the right so that it doesn't overlap Bounce. Currently there is no interpolation between the two clips because the Offset of Bounce2 is set to Relative. 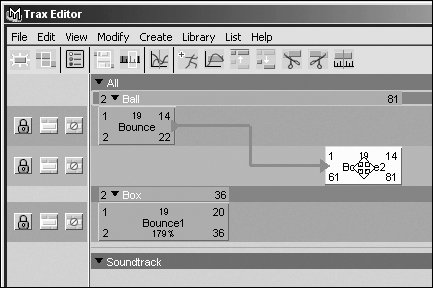
There is currently no translation between the two clips, even though a blend has been assigned, because Bounce2 is set to a Relative Offset.
| 10. | Select Bounce2; in the Channel Box, click in the field next to Offset, and select Absolute.
The blend interpolates between the end position of the last clip and the next clip.
| 11. | Right-click Bounce1 in the Box track, and select Duplicate.
| 12. | Select the new clip, position the Current Time indicator so that it's halfway through the clip, and click the Trim Clip After Current Time icon (Figure 12.81).
Figure 12.81. The Trax Editor lets you have multiple tracks for each character or subcharacter. By using multiple tracks, you can have more than one clip playing at the same time for the same character. 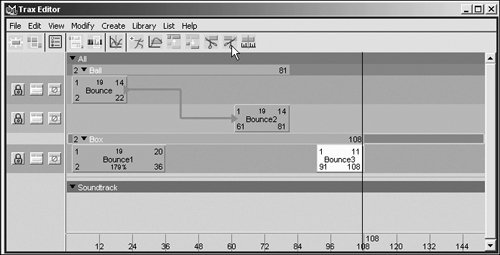
This trims the clip so the Box goes up but doesn't come down.
| 13. | Right-click the new clip, and select Duplicate. Repeat this step several times to add several instances of the shortened clip to the track (Figure 12.82).
Figure 12.82. The same clip can be imported and moved to a new track. There it can be placed to overlap the original clip, adding to the motion of the original animation. 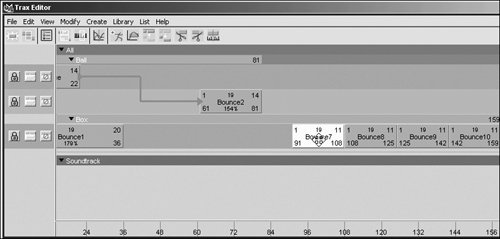
You now have several clips of the same animation one after each other for the Box subcharacter. The Bounce2 clip has an additive affect because the Offset on each clip is set to Relative; so, the box should bounce higher and higher.
|
|