Making Changes to the Worksheet
| In a perfect society, you'd never need to edit your work. However, in the real world, you'll find yourself editing your cell entries time and time again. In addition to editing entries, you can delete an entry you've made. In fact, you can delete an entire row or column. You can also add rows and columns . A worksheet is a work-in-progress and, accordingly , can always be changed or improved. Editing Cell ContentsEditing cell contents is easy. Double-click the cell that you want to edit and make your changes. You can edit the existing cell contents or replace them. When you're done, press the Enter key or one of the directional arrows, or click the green check mark on the Formula bar to enter the new data into the cell. Cancel the edit by pressing Esc.
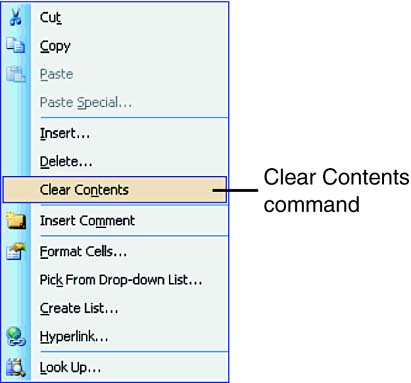
Clearing Cell ContentsInstead of editing a cell, you can clear the cell's contents. Clearing the contents of a cell is like using an eraser end of a pencil on the cell. Select the cells you want to clear and click the right mouse button. Choose Clear Contents from the shortcut menu, as shown in Figure 2.10. Keep in mind that the Clear Contents command does not place the cell contents on the Clipboard. Figure 2.10. Use the shortcut menu to clear the contents of a cell. |
EAN: 2147483647
Pages: 279