Object Browser
| The Object Browser is similar in functionality and look and feel to the Class View window. It provides a hierarchical view of projects, assemblies, namespaces, types, enums, and interfaces. Unlike the Class View window, however, the Object Browser is capable of a much wider scope of objects. In addition to the currently loaded projects, the Object Browser is capable of displaying items from the entire .NET Framework, up to and including COM components and externally accessible objects. This is a great tool for finding and inspecting types, regardless of where they are physically located. Changing the ScopeYou can use the toolbar's Browse drop-down to filter or change the scope of the objects displayed within the Object Browser. The four different scoping options offered are shown in Table 5.10.
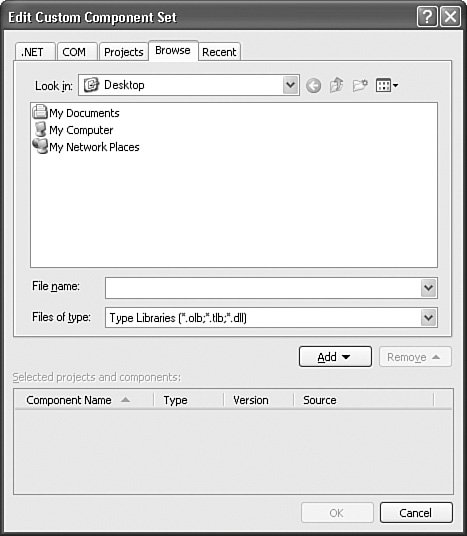
Editing the Custom Component SetA custom component set is a list of components that you manually specify. Using a custom list might be useful in situations in which you want to browse a list of components from a variety of different "buckets." Instead of wading through each of the other scopes, you could include only those types that you care about in the component list. You add to the custom component list by selecting the Edit Custom Component Set option in the Browse drop-down or by clicking on the ellipses to the right of the drop-down. This will launch an editor dialog box in which you can add or remove entries in this list (see Figure 5.9) Figure 5.9. Editing the custom component set. Adding a component to the set is as easy as selecting from one of the prepopulated object lists (available via the .NET, COM, or Projects tabs) or by browsing directly to the container assembly via the Browse tab. You can select an object or objects and then click the Add button. The current set members show up at the bottom of the dialog box. You can also select a current member and remove it from the list by clicking the Remove button. Browsing ObjectsThe Object Browser consists of a toolbar and three different panes: an objects pane, a members pane, and a description pane. Again, the similarity here to the Class View window is obvious. The toolbar, objects pane, and members pane function identically to the Class View objects pane and members pane. You click down through the tree view to view each individual object's members; the toolbar aids in navigating deep trees by providing a forward and back button. Figure 5.10 shows the Object Browser in action. Figure 5.10. The Object Browser.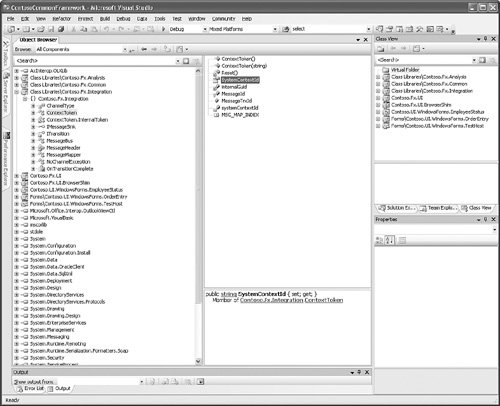 The hierarchical relationships, icons, and actions possible within the panes are the same (and therefore we won't rehash them here). The description pane, however, is a new concept. Description PaneWhen an item is selected in either the Object Browser's objects pane or members pane, the description pane will provide detailed information about the selected item. The data provided is quite extensive, and includes
Where possible, the description pane will embed hyperlinks within the data that it displays to allow you to easily navigate to related items. As an example, a declared property of type string might show the following description: public string SystemContextId { set; get; } Member of Contoso.Fx.Integration.ContextTokenNote the use of hyperlinking: Clicking on the string identifier will navigate to the string data type within the Object Browser window. Similarly, clicking on the Contoso.Fx.Integration.ContextToken hyperlink will navigate the browser to the class definition for the ContextToken class. Tip You can click on an assembly in the objects pane and quickly add it as a reference to the current project by clicking on the Add to References button, located on the Object Browser's toolbar. |
EAN: 2147483647
Pages: 195