Section 4.3. The Post-Dump Slideshow
4.3. The Post-Dump SlideshowOnce you've imported a batch of pictures into iPhoto, what's the first thing you want to do? If you're like most people, this is the first opportunity you have to see, at full-screen size , the masterpieces you and your camera created. That's the beauty of iPhoto's slideshow feature, which comes complete with the tools you need to perform an initial screen of the new pictureslike deleting the baddies, rotating the sideways ones, and identifying the best ones with star ratings. Figure 4-8. Here's iPhoto's way of telling you that you just tried to feed it a file that it can't digest: an EPS file, Adobe Illustrator drawing, or PowerPoint file, for example.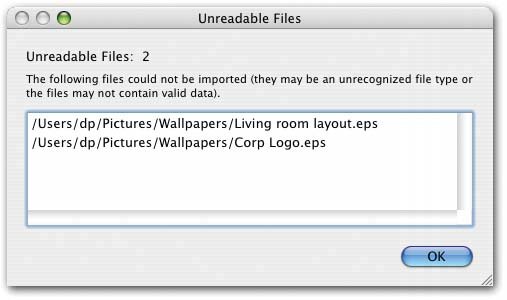 To begin the slideshow, click the Last Roll icon in the Source list at the left side of the screen to identify which pictures you want to review. Note: On a freshly installed copy of iPhoto, this icon is labeled Last Roll. If you've fiddled with the iPhoto preference settings, it may say, for example, "Last 2 Rolls" or "Last 3 Rolls," and your slideshow will include more than the most recent batch of photos. If that's not what you want to see, just click the actual photo that you want to begin the slideshow (in the main viewing area). Now Option-click the Play button ( iPhoto fades out of view, and a big, brilliant , full-screen slideshow of the new photos begins, accompanied by music. Tip: If you just click the Play button (instead of adding the Option key), you summon the Slideshow dialog box instead of starting the show. This dialog box has lots of useful options; for instance, you can choose the music for your slideshow. If you merely want a quick look at your new pix, however, Option-clicking is the way to bypass it. You can read more about slideshows in general in Chapter 7. What's useful here, though, is the slideshow control bar shown in Figure 4-9. You make it appear by wiggling your mouse as the show begins. Figure 4-9. As the slideshow progresses, you can pause the show, go backward, rotate a photo, delete a bad shot, or apply your star rating to a picture, all courtesy of this new control bar.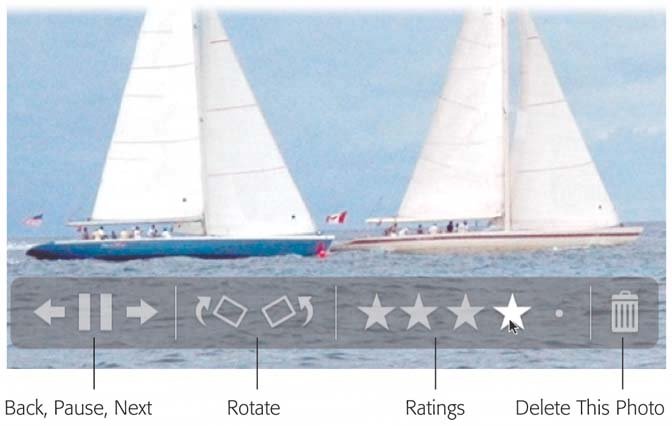 This is the perfect opportunity to throw away lousy shots, fix the rotation, and linger on certain photos for more studyall without interrupting the slideshow. You can even apply a rating by clicking the appropriate star in the band of five; later, you can use these ratings to sort your pictures or create smart albums . See Chapter 5 for full detail on rating stars and smart albums. Here's the full list of things you can do when the onscreen control bar is visible:
Tip: There are keyboard shortcuts for all of these functions, too, that don't even require the control bar to be on the screen (Section 7.5). Click the mouse somewhere else on the screen to end the slideshow. Tip: You might want to use the new full-screen editing mode, rather than the slideshow mode, for your first post-dump look at the pictures (Section 5.5.3). It doesn't advance the slides automatically, but it does offer far more editing power, plus handy thumbnails that let you see similar shots side-by-side. |
 Show in Toolbar command to turn off the names of the tool icons you dont use very often.)
 EAN: 2147483647
Pages: 183