Finding the Next Selection to Reverse
| For this task, we will again "cut out" another sub-clip from our main clip, running.avi, to create the source for one more reverse action clip. We'll create with this clip even more of the "back and forth" that we gave the first set of clips, by creating additional copies of the clip. Find the Another Section of the Clip to Reverse
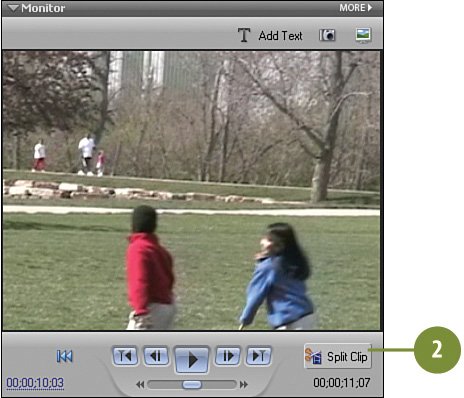
|


Hollywood Special Effects with Adobe Premiere Elements 3
ISBN: 0789736128
EAN: 2147483647
EAN: 2147483647
Year: 2006
Pages: 274
Pages: 274
Authors: Carl Plumer
- ERP Systems Impact on Organizations
- Challenging the Unpredictable: Changeable Order Management Systems
- The Second Wave ERP Market: An Australian Viewpoint
- Context Management of ERP Processes in Virtual Communities
- Relevance and Micro-Relevance for the Professional as Determinants of IT-Diffusion and IT-Use in Healthcare