Getting Help with the Design Checker
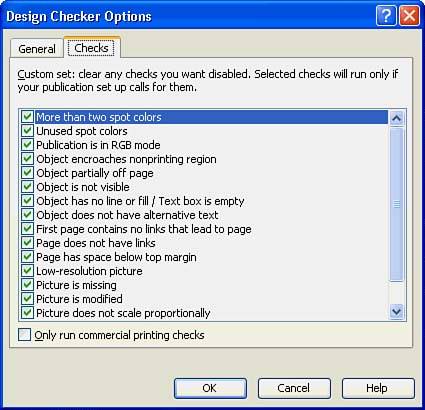
| Publisher includes a special design tool called the Design Checker that you use after you create your publication. The Design Checker analyzes your publication and offers suggestions on how to improve it. When you select Tools, Design Checker, Publisher opens the Design Checker task pane. To learn what kinds of design elements that Design Checker analyzes, click the Design Checker Options link at the bottom of the task pane and then click the Checks tab to select from the kinds of publication elements you want the Design Checker to critique. You can uncheck one or more of the options if you want to limit the Design Checker to just those items you've selected. By default, Publisher checks for any and all possible problems with your publication, such as text that flows into an overflow area which you have not properly linked. When you start the Design Checker by clicking the Design Checker button on your toolbox, the Design Checker analyzes your publication and searches for the problems listed within the Options dialog box (shown in Figure 24.5). Figure 24.5. The Design Checker analyzes your publication for common design problems. Use Design Checker to look over your publication after you've completed the initial design, added your text, and placed your figures. The Design Checker acts like a last-minute proofreader that finds mistakes that are easy to overlook. For example, the Design Checker can locate text that will not fit within its text box but continues into a special overflow area, meaning that a text box is not large enough to hold all the text that's there. The Design Checker does not leave you hanging once it finds a problem. Point to any problem shown in the Design Checker task pane and a down arrow appears to the right of that problem. The Explain option gives you detailed instructions on how you might go about correcting the problem that Publisher's Design Checker just located.
|
EAN: 2147483647
Pages: 272
- Chapter IV How Consumers Think About Interactive Aspects of Web Advertising
- Chapter V Consumer Complaint Behavior in the Online Environment
- Chapter VI Web Site Quality and Usability in E-Commerce
- Chapter X Converting Browsers to Buyers: Key Considerations in Designing Business-to-Consumer Web Sites
- Chapter XVI Turning Web Surfers into Loyal Customers: Cognitive Lock-In Through Interface Design and Web Site Usability