Working on the Slide
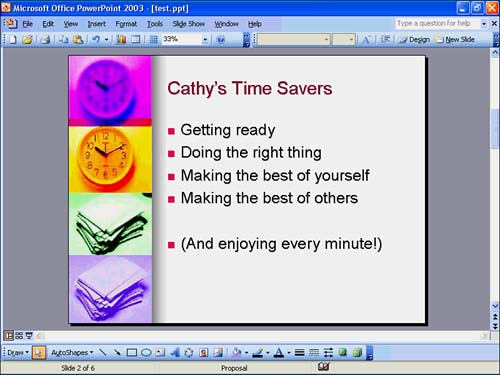
| While in Normal view, you can look at and edit the selected slide in the slide pane. As Figure 12.3 shows, the slide's viewing area appears in a full-screen view when you close both the left pane and the task pane. You can make edits directly on the slide and see the results of those edits as you make them. Use the slide pane for viewing changes to your slide's design or for inserting graphical elements into the slide. Figure 12.3. By closing the surrounding panes, you devote more screen area to editing individual slides. To move from slide to slide while viewing a single slide at a time, perform any of the following:
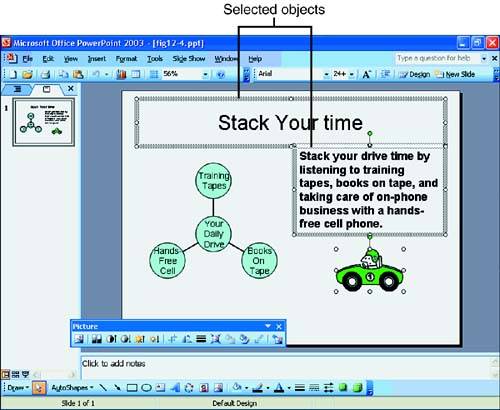
When you want to edit a text (or graphic) object on an individual slide, click that object. PowerPoint displays the object surrounded by sizing handles. PowerPoint treats a slide's title as a single object and the slide's bulleted set of items as another object. If you've inserted other elements onto the slide, such as a sound or video clip, you can click on that object and move, edit, or delete the object as well. Figure 12.4 shows a busy slide with multiple selections. By holding Ctrl when you click over objects on the slide, you select each of those objects at the same time so that you can apply the same formatting task to the selected items. When you want to change the font or screen size of multiple objects at one time, select them all at once and perform the change only once. Figure 12.4. Select multiple objects to apply a uniform edit to them at once. To Do: Edit a Slide's TextTo edit a slide's text, perform these steps:
If graphic images appear on the slide, double-click them to edit the images with the graphic-editing tools.
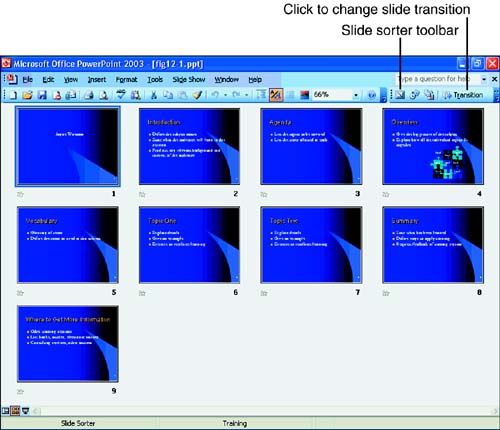
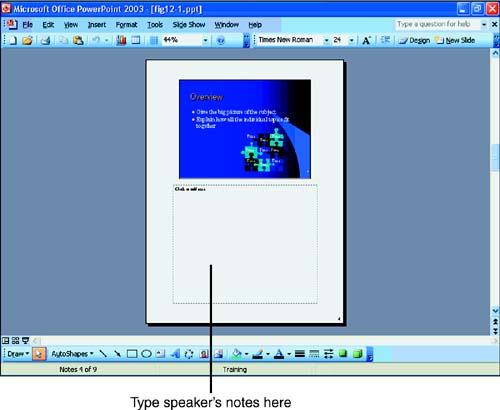
Using the Slide Sorter ViewUse the Slide Sorter view to rearrange slides, not to edit text or graphics on individual slides. When you display the Slide Sorter view, PowerPoint presents several of your presentation slides, as shown in Figure 12.6. The Slide Sorter view enables you to quickly and easily drag and drop slides to reorder your presentation. Although you can rearrange slides from the outline, the Slide Sorter view lets you see the overall visual results of your slide movements. Figure 12.6. Rearrange slides in the Slide Sorter view. Use your mouse to drag slides from one location to another in the presentation. Remember that the Undo command (Ctrl+Z) reverses any action that you accidentally make. You also can use the Windows Clipboard to copy, cut, and paste, although dragging with your mouse is easier. The Clipboard holds up to 24 entries that you can copy, cut, and paste, as with Word and Excel. To delete a slide, click the slide once and press the Delete key. One of the more advanced (but useful) slide-sorter features involves the Slide Sorter toolbar, which appears at the top of the Slide Sorter view (refer to Figure 12.6). When you click the Transition button, the Slide Transition task pane appears. These transition effects determine how the slide show feature transitions ( dissolves ) from one slide to the next when you display your presentation. The next two lessons discuss PowerPoint's slide show in more detail. For now, click a Transition button inside the Transition task pane to see the various ways that PowerPoint can move from one slide to the next. Using the Notes Page ViewWhen you select View, Notes Page, PowerPoint displays your slide, as shown in Figure 12.7, with a blank area at the bottom of the screen for speaker notes. This Notes Page view contains a slide image and, below it, a notes box for the slide. Therefore, the speaker's notes contain the slides that the audience sees as well as notes the speaker wrote to tell the audience about each slide. Your audience does not see the speaker's notes. You click inside the notes box to type or edit slide notes. Figure 12.7. Prepare speaker's notes using the Notes Page view. The Notes Page view is designed to allow printing of the notes for the speaker. However, the speaker can also display the Notes Page view during a presentation to eliminate paper shuffling. If the speaker's computer has two video cards and two monitors , PowerPoint can send the slides to one monitor and the speaker's slides and note pages to the other. When the speaker moves to the next slide, the speaker's notes change as well. When you're ready to return to the Normal view, simply double-click the slide image.
|
EAN: 2147483647
Pages: 272