9.3. Adding a Prebuilt Behavior Adding a behavior in Flash is similar to adding an action: In both cases, you add ActionScript code to the Actions panel. But in the case of adding an action, you have to type the ActionScript code; when you add a behavior to your animation, Flash types the code for you. Figure 9-7. Top: Smiley as he first appears, before you move your mouse over his left squinched-up eye.
Bottom: Because Smiley's left eye is a button symbol, mousing over it tells Flash to turn your arrow cursor into a pointing finger. Clicking Smiley's left eye lets you drag Smiley around the test window. He stays where you drop him (until you click his left eye and drag him again). 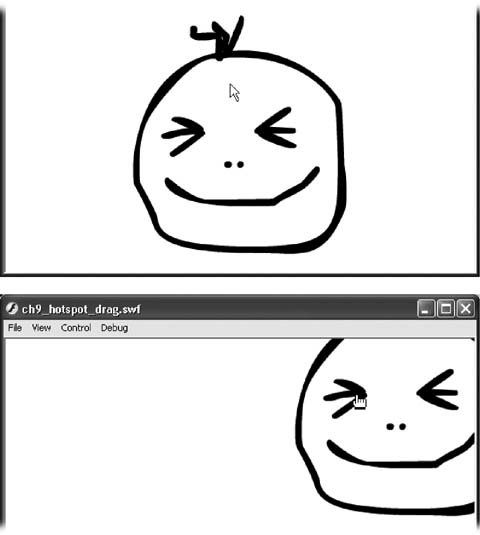
Adding a behavior actually requires a few more steps and clicks than it would take an experienced scripter to type a quick ActionScript from scratch. But behaviors let you reap the benefits of ActionScript without learning anything about scripting. Flash includes only a couple dozen behaviors, one of which does the same thing as the ActionScript described in the previous section. Here's how to make a button object draggable using a behavior: -
Open the document hotspot_drag_begin.fla . You can download this file from the book's "Missing CD" page. For a working copy, download drag_behavior.fla. -
On the Stage, click Smiley's left eye . Flash highlights the instance of the leftEye button symbol and displays instance- related properties in the Properties tab of the Property Inspector. -
In the Property Inspector, click the "Instance name " field, type myLeftEye-Instance , and hit Return . -
Choose Window  Behaviors . Behaviors . Flash displays the empty Behaviors panel you see in Figure 9-8. Figure 9-8. Always select the object you want to add a behavior to before you open the Behaviors panel; not only does Flash decide which behaviors to show you based on the object you selected, but you also need to make sure Flash associates your behavior with the right object. 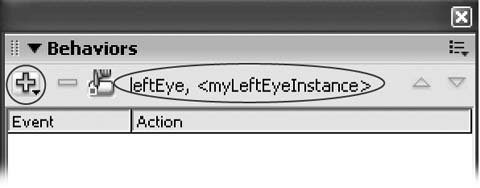 -
Click the Add button (the + sign) . Flash displays a pop-up menu containing several different categories of behaviors. -
Choose Movieclip Start Dragging Movieclip, as shown on the top of Figure 9-9. (It would be great if behaviors shielded you completely from ActionScripts scripting model, but they don't; you have to know how to drill down to the Start Dragging Movieclip behavior.) The wizard Flash displays depends on the behavior you choose. In this case, Flash displays the Start Dragging Movieclip dialog box (Figure 9-9, bottom). Figure 9-9. Top: These lists are a lot shorter than the ones you see in the Actions paneland browsing the options you see here may give you some great ideas for customizing your animation!
Bottom: Flash asks you which movie clip (animation) you want to make draggable when Smiley's left eye is clicked. The example file you work with in this section contains just one animation, so the choice is simple: _root. 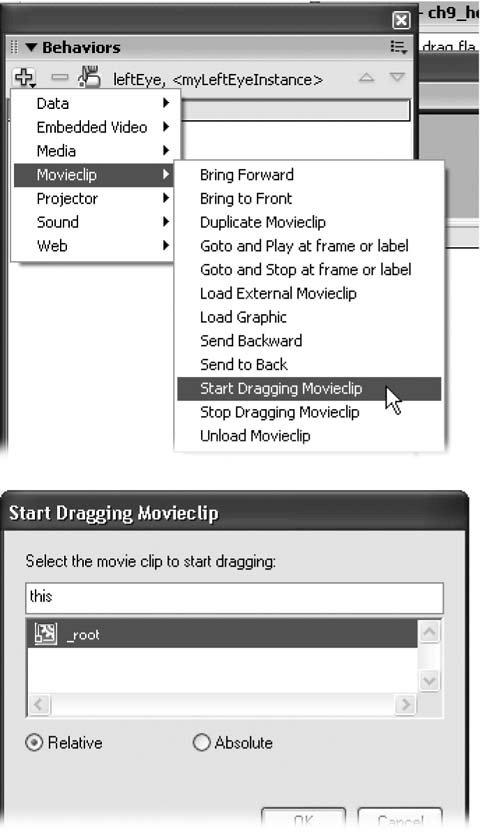 -
Click OK to accept the single option highlighted . The Start Dragging Movieclip dialog box disappears. The Behaviors panel shows you the results of your hard work (Figure 9-10, top). Figure 9-10. Top: Clicking the Event or Action portion of the completed behavior pops up a list or a dialog box, respectively, that you can use to modify your behavior without typing a lick of ActionScript code.
Bottom: Opening the Actions panel shows you the code Flash generated for you. This is like the code you typed into the Actions panel yourself in the actions example, but Flash reminds you that it (and not you) wrote this code. 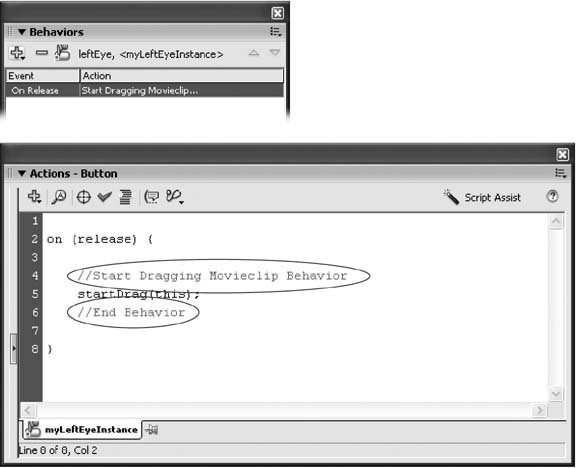 -
Click the Add button again . Flash displays the same pop-up list of behaviors shown in Figure 9-9 (top). -
This time, choose Movieclip Stop Dragging Movieclip . Flash displays the Stop Dragging Movieclip dialog box shown in Figure 9-11. Figure 9-11. Flash doesn't need any extra information from you to generate this behavior, so it displays a simple confirmation dialog box. Clicking OK tells Flash to go ahead and generate the necessary ActionScript code. 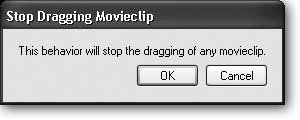 -
Click OK . The Stop Dragging Movieclip dialog box disappears. In the Behaviors panel, you see the second behavior (Figure 9-12, top). Figure 9-12. Top: A single event (On Release) triggers both behaviors. For this example, you want On Press to trigger the Start Dragging behavior, and On Release to trigger the Stop Dragging behavior. To make that change
Bottom: click the On Release event next to Start Dragging Movieclip, as shown here, and then choose On Press from the drop-down list. 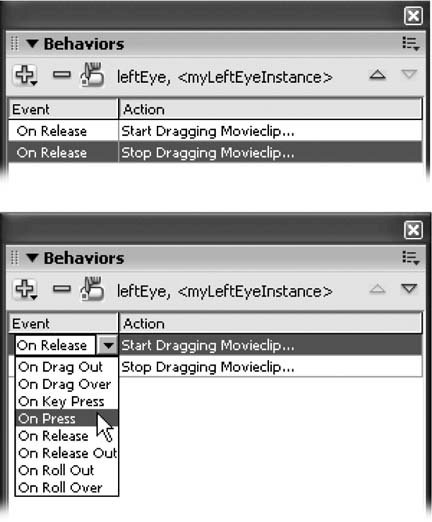 -
Click the On Release event next to Start Dragging Movieclip (see Figure 9-12, bottom) and then, from the drop-down list, choose On Press . Flash redisplays the event as shown in Figure 9-13 (top). Figure 9-13. Top: There, that's better: Now pressing Smiley's left eye should let you drag the image, and releasing it should drop the image.
Bottom: It's always a good idea to double-check the code Flash generates by opening the Actions panel. If you spot anything amiss (or just want to add some additional logic), you can tweak the code yourself. 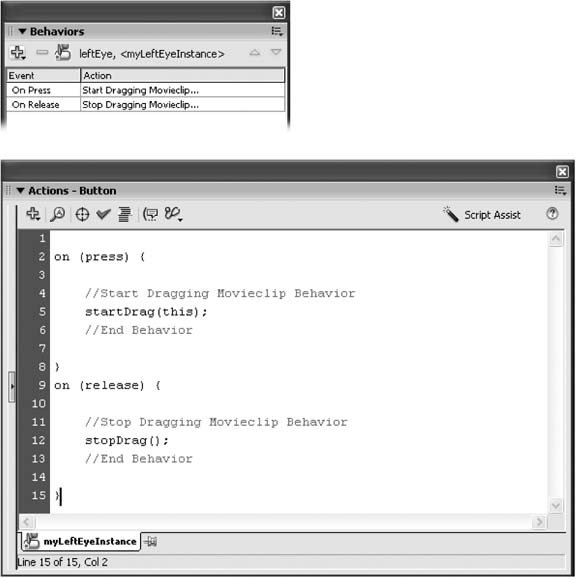 -
Test your newly added behaviors by selecting Control Test Movie . The Flash Player (test window) appears. As expected, clicking on Smiley's left eye lets you drag the face around the test window. When you release your mouse button, Flash drops Smiley right where you repositioned him.  |