| Although most current computers (that is, those manufactured from 2000 onward) have enough power to handle digital video capture and editing, Studio includes a performance test so that you can be sure your computer has what it takes. Run this test as soon as you install Studio to identify any problems that may prevent smooth operation. If you're using a disk that contains lots of data for your capture and edit drive, you should defragment the drive before performing this test. During normal disk operation, Windows copies and deletes files all over the drive, sometimes splitting up longer files when writing them to disk. Defragmenting the drive reunites all file components and packs the files efficiently together on the drive, opening up large contiguous spaces for the performance test and video editing projects. The Windows Disk Defragmenter has a tool that lets you analyze the drive to see if it needs defragmenting. We'll skip that test and defragment anyway, just to be sure your disk is in the optimal condition to take the performance test even if you're not in dire need of defragmenting, it can only help. To defragment your capture drive 1. | From the Windows desktop, choose Start > Accessories > System Tools > Disk Defragmenter (Figure 2.31).
Figure 2.31. The long and winding road to the Disk Defragmenter utility, a hard drive's best friend. 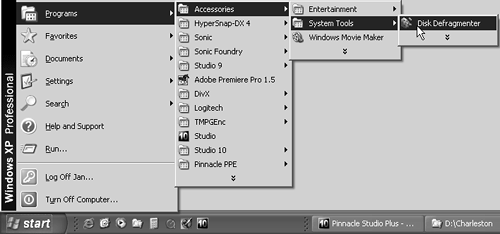
The Disk Defragmenter application window appears.
| 2. | Choose the video capture disk by selecting it in the application window; then click the Defragment button (Figure 2.32).
Figure 2.32. Select your target drive and click the Defragment button to get started. 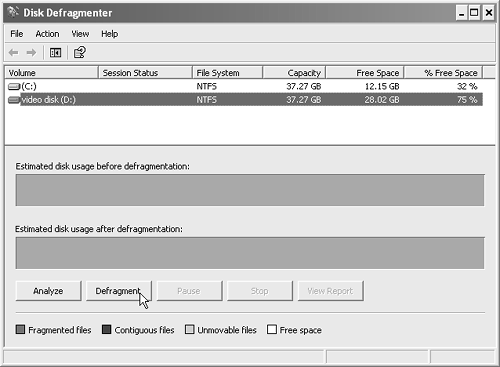
While you're waiting, go get a cup of coffee. You're pretty much done, but if you care to watch, here's what you should be seeing:
The program analyzes disk usage before defragmenting. Although you can't see it in the black-and-white screen shots, most of the small lines surrounded by white spaces are fragmented files that will be consolidated during the defragmentation process (Figure 2.33).
Figure 2.33. The Disk Defragmenter first analyzes your file and then starts to consolidate files, compacting them to the inner tracks of the drive. 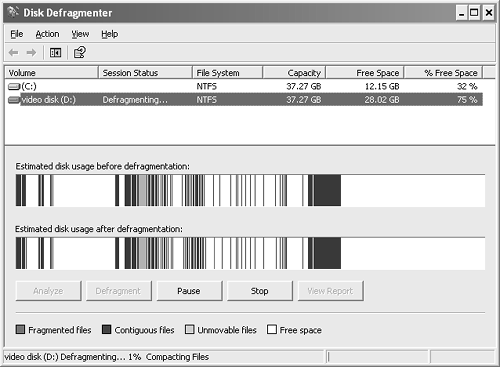
In the defragmented disk, which is ready for testing, all files are consolidated and efficiently packed, leaving plenty of contiguous disk space (Figure 2.34).
Figure 2.34. The freshly defragmented disk has wide open spaces, perfect for efficient video capture. 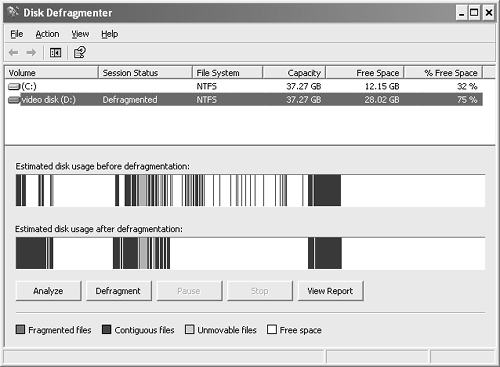
|
 Tips Tips
Depending on the size of the drive and how much data is on the disk, defragmenting can take anywhere from 30 seconds to several hours, during which time you shouldn't use your computer. Keep this in mind before starting this operation. Turn off all background programs and don't use the computer when you're defragmenting the drive. If any program writes data to disk while the system is defragmenting, the Disk Defragmenter may stop and then restart, extending the completion time significantly. Large files slow the disk defragmentation process. If you have large video files or other files on the capture drive that you don't need, delete them and any other extraneous files before defragmenting.
|