66 Preprocessing Images for Premiere Pro in Photoshop
#66 Preprocessing Images for Premiere Pro in PhotoshopThere are four types of edits you can perform on images: resizing, reframing, corrective, and artistic. Premiere Pro can perform all four, which in many instances makes preprocessing your images in Photoshop a choice rather than a necessity.
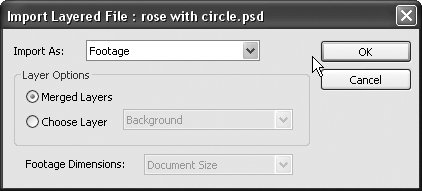
There are some notable exceptions. Premiere Pro can't import an image larger than 4096x4096 in resolution, so you'll have to use Photoshop to resize larger images down to that size or smaller to import them in Premiere Pro. You'll also have to work in Photoshop to access filters that Premiere Pro doesn't share, especially red-eye reduction and other image-centric effects. But if you're working with 67 megapixel images, you can skip Photoshop, as Premiere Pro is quite adept at working with large images. In addition, if you plan to apply pan-and-zoom effects to an image, you'll produce better results with the original image, because Premiere Pro can access all the original pixels during zooming. In contrast, if you resize the image in Photoshop down to 720x480 resolution and then apply a pan-and-zoom effect, Premiere Pro will have to make pixels up to create the zoom, which can lead to distortion or pixelation. On the other hand, if you're creating a slide show with 100 images, all of which you plan to process identically, Photoshop has automation features that are superior to Premiere Pro's in this regard, and they will save you a great deal of time. When preprocessing in Photoshopespecially when you're working with a large number of imageskeep two rather obvious (but still worth mentioning) thoughts in mind. First, before batch processing all of your images, process one image, import it into Premiere Pro, and preview the result to check your adjustments (measure twice, cut once). Second, always resize to a copy of the image, and never overwrite the original image. Finally, if you're importing single-layer Photoshop files into Premiere Pro (or After Effects), import them as Footage, not as a Sequence (Figure 66). For a discussion of these issues, see #61. Figure 66. When importing single-layer Photoshop files into Premiere Pro, be sure Footage is selected from the Import As pull-down. |
EAN: 2147483647
Pages: 148