Previewing a Presentation
Microsoft Office Specialist You can use print preview to see how your presentation will look before you print it. While in print preview, you have the option of switching between various views, such as notes, slides, outlines, and handouts, or even between landscape and portrait orientation.
If you are using a black and white printer to print a color presentation, you need to verify that the printed presentation will be legible. For example, red text against a shaded background shows up well in color, but when seen in black and white or shades of gray, the text tends to be indistinguishable from the background. To prevent this problem, you can preview your color slides in pure black and white or grayscale to see how they will look when you print them. Pure black and white displays colors in black and white, whereas grayscale displays colors in shades of gray.
You can see how your slides will look when printed on a non-color printer while working in Normal view. On the View menu, point to Color/Grayscale, and then click Grayscale or Pure Black and White.
In this exercise, you will preview presentation handouts. Then you ll switch to Pure Black and White view and change the way a slide looks in black and white.
USE the PrintPreview presentation in the practice file folder for this topic. This practice file is located in the My Documents\Microsoft Press\PowerPoint 2003 SBS\PrintingPresent\PreviewingPresent folder and can also be accessed by clicking Start/All Programs/Microsoft Press/PowerPoint 2003 Step by Step .
OPEN the PrintPreview presentation.
-
On the Standard toolbar, click the Print Preview button.
The screen switches to print preview and displays the first slide as it will print with the current settings.
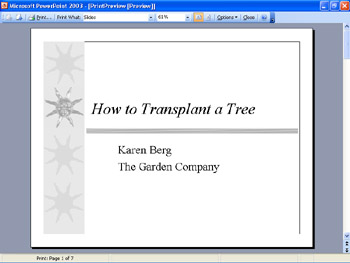
Important If you are printing on a non-color printer, the slide is shown in grayscale.
-
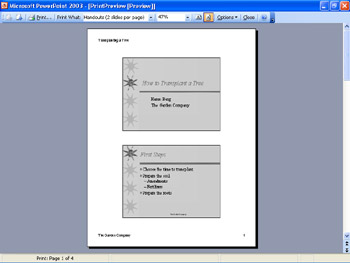
On the Print Preview toolbar, click the down arrow to the right of the Print What box, and click Handouts (2 slides per page) .
The preview screen displays your presentation in handout format with two slides per page.
-
On the Print Preview toolbar, click the Options button, point to Color/Grayscale , and then click Color (On Black and White Printer) .
Troubleshooting If you are printing to a color printer, click Color instead.
The preview screen displays your presentation with a shaded background.
Troubleshooting Don t worry if your slides are more or less shaded than the ones shown here. Different printers can produce slightly different preview results.
-
On the Print Preview toolbar, click the Next Page button.
The preview screen displays the next handout page.
-
Position the pointer (which changes to a magnifying glass with a plus sign) in the preview area, and then click the center of the top slide.
The zoom percentage increases to display a magnified view of the slide.
-
Click the center of the slide again.
The zoom percentage decreases to display the original view of the slide.
-
On the Print Preview toolbar, click the Previous Page button.
The preview screen displays the previous handout page.
-
On the Print Preview toolbar, click the Close Preview button.
The preview screen closes , and your slide appears in Normal view with the Slides tab of the Outline/Slides pane active.
Troubleshooting If your screen is not in Normal view, click Normal on the View menu, and then click the Slides tab.
-
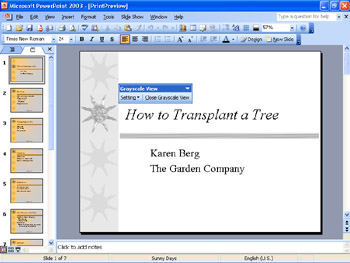
On the Standard toolbar, click the Color/Grayscale button, and then click Grayscale .
The slide switches from color to grayscale and the Grayscale View toolbar opens. You can still see the slide thumbnails in color on the Slides tab, making it easier to compare the active slide in color and black and white.
-
At the bottom of the scroll bar to the right of the Slide pane, click the Next Slide button.
The next slide appears in black and white with its slide thumbnail in color.
-
In the lower-left corner of the window, click the Slide Sorter View button.
All of the slides appear in the Slide Sorter view in black and white.
-
Double-click Slide 1 to display it in Normal view.
-
On the Grayscale View toolbar, click the Setting button, and then click Black with Grayscale Fill .
The slide background changes from white to gray.
-
On the Grayscale View toolbar, click the Setting button, and then click White .
The slide background is white again.
-
On the Grayscale View toolbar, click the Close Grayscale View button.
The slide switches back to color.
-
On the Standard toolbar, click the Save button to save the presentation.
CLOSE the PrintPreview presentation.
EAN: N/A
Pages: 145