Customizing Your Workspace
In this topic, we show you various ways to customize the look of your Word window so that you can work with the program the way you find most convenient . First, we look at ways to give you more space to view your documents by hiding white space in Print Layout view. Then we explore the task pane and show you how to display non-printing characters , which can make editing documents much easier. Finally, we review how you can work with multiple documents in multiple windows at the same time.
Hiding White Space
In Print Layout view, you can display more of the document by hiding the white space at the top and bottom of each page and the gray space between pages. Follow these steps:
-
Scroll the document upward until you can see the gray space above the page.
-
Point to the gray space, and when the Hide White Space button appears, click once.
The gray space becomes a thin line, and the top white margin of the document disappears. To make the white space reappear, you would point to the space between the pages and click the Show White Space button.

Hiding white space for all documents To hide white space by default, on the Tools menu, click Options, click the View tab, deselect the White space between pages check box, and then click OK.
Working with the Task Pane
At the beginning of this chapter, you turned off the New Document task pane that was sitting along the right side of the screen. You can use this task pane to create new documents and open existing ones, and you can use other task panes to perform other common tasks .
Information about: The New Document task pane, page 21
Information about: The Clipboard task pane, page 28
If you want to work with the task pane at hand but you don t want it to take up so much space, you can resize it, as you ll see if you follow these steps:
-
On the View menu, click Toolbars and then Task Pane .
-
Point to the task pane s left border. When the pointer turns into a two-headed arrow, hold down the mouse button and drag to the right as far as you can.
The results are shown in this graphic:
-
Drag the left border to the left again until all the links on the task pane are visible.
-
Click the down arrow at the right end of the task pane s title bar.
Word displays a menu of other available task panes shown in this graphic:

To switch to a different task pane, you click its name on the menu. (You can also use the Back and Forward buttons in the task pane s title bar to cycle through the available task pane types.) You will work with several of these task panes as you work your way through this course.
-
Click the Close button in the upper-right corner of the task pane.
The task pane disappears.
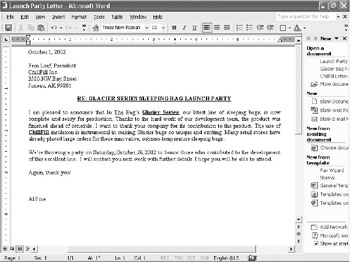
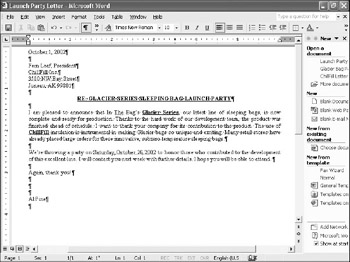
Displaying Non-Printing Characters
If you want to be able to see non-printing characters, such as paragraph marks and spaces, you can turn them on with the Show/Hide button. Let s display non-printing characters now:
-
On the Standard toolbar, click the Show/Hide button.
As you can see in the graphic on the next page, a paragraph mark indicates each time you pressed Enter, and a centered dot indicates each time you pressed the Spacebar.
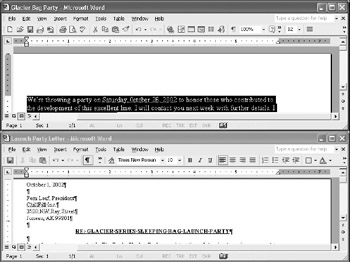
Arranging and Sizing Windows
At times you might want to display more than one document on your screen at the same time. Follow these steps to see how to arrange open windows so that you can see them all at once:
-
Display the Windows taskbar, and click the Glacier Bag Party taskbar button to activate that document.
-
On the Window menu, click Arrange All .
Now the two open documents each occupy half of the screen, as shown in this graphic:
Changing the page magnification You can use the Zoom box located on the Standard tool- bar to change the page magnifi- cation of your documents. Click the down arrow to the right of the Zoom box, and then click the zoom percentage you want. To see more of your document at a smaller size, click a zoom percentage that is less than 100%. To see less of the document at a larger size , click a zoom percentage that is greater than 100%. You can also click PageWidth, Text Width, Whole Page, or Two Pages to view your document accordingly .
Notice that the title bar of the active window is a different color than that of the inactive window. Any entries you make and most commands you choose will affect only the document in the active window.
-
In the Glacier Bag Party window, click the Maximize button (the middle of the three buttons at the right end of the window s title bar).
The window expands to fill the screen, completely obscuring the Launch Party Letter window. The Maximize button changes to a Restore Down button.
-
Click the Restore Down button to return the window to its previous size.
-
In the Glacier Bag Party window, click the Close button to close the document, and click Yes to save any changes.
-
Maximize the Launch Party Letter window.
EAN: N/A
Pages: 74