| You learned in Chapter 17, "Exporting iMovies," that you can create an iDVD project directly from iMovie if you'd like. That would open your iMovie directly into iDVD, including any chapter markers you've added to make it easier for viewers to skip to specific scenes. If you wanted to add clips rather than your entire iMovie, there are three methods for importing video: -
Select File, Import, Video. -
Open the Movies tab in the Customize tray window. -
Drag the file directly into the DVD from a Finder window.  | Remember that video clips imported with iMovie have automatically been encoded in the appropriate format for them to be compatible with iDVD. iDVD supports only QuickTime movies with linear video tracks. Other formats, such as QuickTime VR, MPEG, Flash, streaming or encrypted movies, or QuickTime spanned movies, cannot be added to your iDVD project. If you try to import a file that is not compatible with iDVD, a message saying "Unsupported File Type" will appear. |
Using the iMedia Browsers The integration between the applications that make up iLife (iTunes, iPhoto, iMovie, and iDVD) is apparent in iDVD's iMedia browser tabs. "iMedia browsers" is the collective term for the Audio, Photos, and Movies tabswhich link directly to the folders on your hard drive that contain your iTunes library, your iPhoto library, and the default location for storing iMovie projects. These tabs give you direct access to these elements so you can incorporate them into your DVD projects. In order for these tabs to function, however, you need to make sure you are using compatible versions of each of the i-applications. Please see Chapter 10, "Introducing iLife," for more information. To use the Audio and Photos browser tabs, you will also need to have opened iTunes and iPhoto at least once after they've been updated to compatible versions so your media libraries can be cataloged in a format that iDVD understands. | | While iPhoto and iTunes make it more difficult to move the location of your media, iMovie lets you store your movie files anywhere you'd like. To solve the problem of the Movies browser not knowing where to locate your movies files, you can add paths to them in the Movies section of the iDVD preferences. |
Task: Importing Video Files When you choose a theme for your DVD in iDVD, the DVD buttons consist of either small images or text buttons that represent the video you've imported. -
Open the folder containing your video clips and drag one directly from the Finder into the iDVD window (see Figure 19.4). Figure 19.4. You can drag QuickTime movies (at the left) directly into the iDVD window, and the filename becomes the DVD button name . 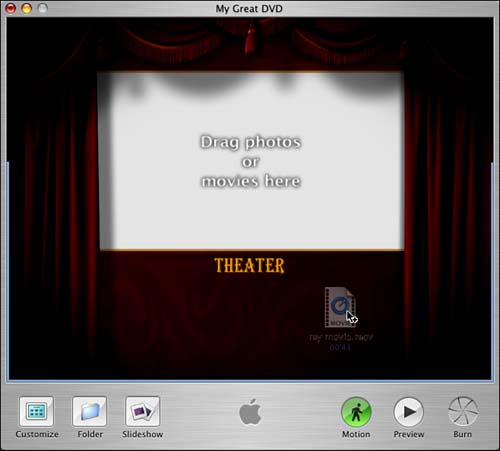 -
Continue dragging the clips into the project, until you end up with something like Figure 19.5. Figure 19.5. iDVD automatically creates titles from the filenames of the imported QuickTime movies. 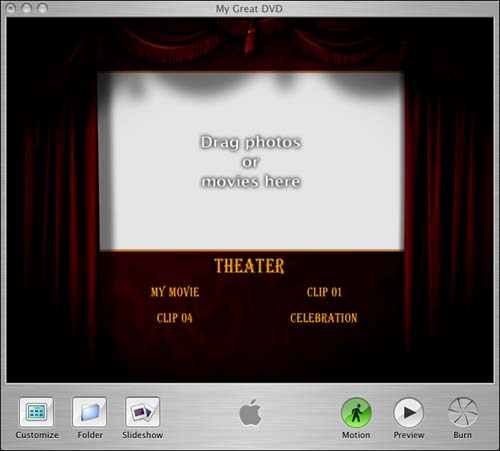 -
At this point, you could click the Preview button in the main iDVD window to preview the project, which is always a good way of seeing whether things turned out the way you wanted them to. As you add files to your project, it's wise to keep an eye on the size of your files. (DVDs hold a lot of information, but video takes up a lot of space!) You can monitor the size of your project in the Status tab, as seen in Figure 19.6. Figure 19.6. Encoder status: iDVD encodes your video clips while you work on your project. 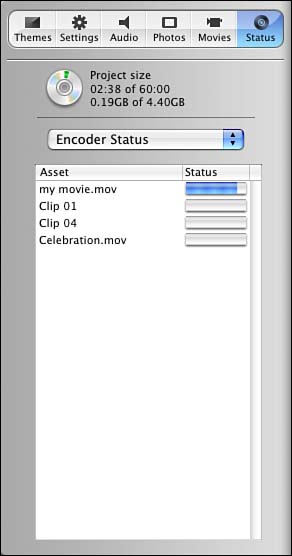 Remember, you may need to click the Customize button to get to the Status tab. |