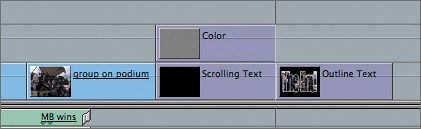
| There is more to the list of video generators than just text. There are color mattes, render items, such as Gradient and Noise, and shapes. A color matte can add a simple color background to use behind text. Like all generated items, color mattes can be sized, cropped, or even animated. In this exercise, you will edit and crop four color mattes and place them around the Scrolling Text clip to frame the credit roll. 1. | Click the Generator pop-up menu and choose Matte > Color.
| 2. | Connect the v1 source control to the V1 destination track, and move the playhead over the Scrolling Text clip. Edit the color matte as a Superimpose edit.
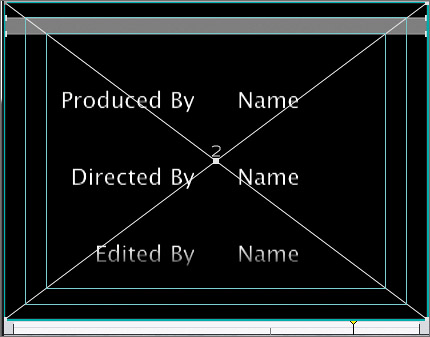
| 3. | In the Canvas, click the View pop-up menu and choose Show Title Safe. Press W to toggle to the Image+Wireframe mode in preparation for the next step.
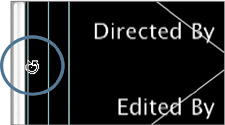
NOTE You may want to review the Adding Text Finished sequence to see how these color mattes will look in the final version. | 4. | In the Timeline, select the Color clip. Press C to select the Crop tool, and move the pointer into the Canvas over the turquoise bounding line on the bottom of the image.
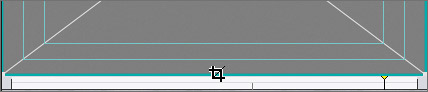
| 5. | When you see the Crop tool appear, drag up until the lower portion of the matte is in line with the upper title safe line. Drag down from the top of the matte to the outer bounding line, which identifies the action safe area. You should see a thin horizontal bar at the top of the image area.
Because you have cropped the color matte, the text beneath it is revealed.
| 6. | Press A to return to the default Selection tool. To duplicate this already cropped Color clip, Option-drag it up to the V3 track. Remember to release Option before releasing the mouse to make an Overwrite edit. Repeat this two more times for a total of four Color clips. Play these clips.
TIP With a little concentration, you can still use the Shift key in this step to ensure you are positioning the copied clip directly above the original. The trick is this: don't release the Shift key before releasing the mouse. 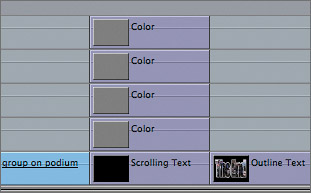
In the Canvas, you still see only a single gray bar because the four Color clips are currently stacked on top of each other.
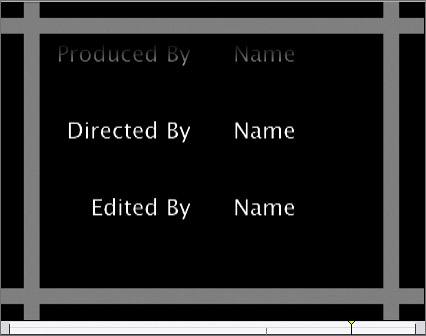
| 7. | In the Timeline, select the V3 clip. In the Canvas, drag the bar down until it sits between the action safe and title safe boundary lines in the lower portion of the image area. Hold down Shift to prevent any horizontal adjustments.
| 8. | In the Timeline, select the V4 clip. To rotate this clip 90 degrees, move the pointer over one of the rotation handles and drag clockwise in a circular motion until the matte is vertical. You can also use Shift to help snap to the 90-degree position.
| 9. | Repeat this process for the V5 Color clip, but position it to the left, completing the square.
With the cropped mattes in position, you can now change each bar's color. As a color reference, you will use the colors found in the Logo FLAT.jpg file at the head of the sequence.
| 10. | Move the playhead to the start of the sequence so the Logo FLAT.jpg clip appears in the Canvas. Double-click the V2 Color clip to open it in the Viewer, and in the Controls tab click the Select Color tool.
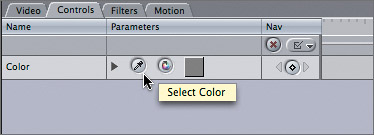
| 11. | In the Canvas, click in the blue background of the graphic to choose this color for the V2 Color clip.
| 12. | Follow the same process to add colors to the other three Color clips. Use a different color for each bar. Choose your colors from the graphic at the head of the sequence.
|
NOTE It's not necessary to match the color bars as they appear in the Adding Text Finished sequence; but it is necessary to take the colors from the graphic image.
|