| Although you've used the date() function in various capacities throughout this book, it's a useful enough function to merit more specific coverage. The only thing the date() function does is return date and time information in a format based upon the arguments it is fed, but you would be surprised how useful that can be! date("formatting"); In Chapter 6, Control Structures, you saw that date ("A"); returned the values AM or PM . There are a long list of possible options for formatting as indicated in Table 13.1. These different parameters can also be combined, so that date("lFj,Y"); would return, for example, Friday January 26, 2001 . The date() function can take another argument called a timestamp. A timestamp is a number representing how many seconds it has been since midnight on January 1, 1970 a moment referred to as the epoch . As you saw in Chapter 12, Cookies, the time() function returns the timestamp for the current moment. The mktime () function can return a timestamp for a particular time and date. mktime (hour, minute, second, month, day, year); So the code $Timestamp =mktime (12, 30, 0, 12, 27, 1997); would assign to $Timestamp the number of seconds from the epoch to 12:30 on December 27, 1997. That number could then be fed into the date function like so: date("D", $Timestamp);, returning Sat, which is the three-letter format of that day of the week. Let's use the date() and mktime() functions to create an online calendar, where you'll see these two functions used multiple times. To use date(): -
Create a new PHP document in your text editor (Script 13.5). <?php Script 13.5. This fairly long script uses two of PHP's date and time functions date() and mktime() to generate an accurate calendar. The form at the bottom will allow the user to display different months and years . 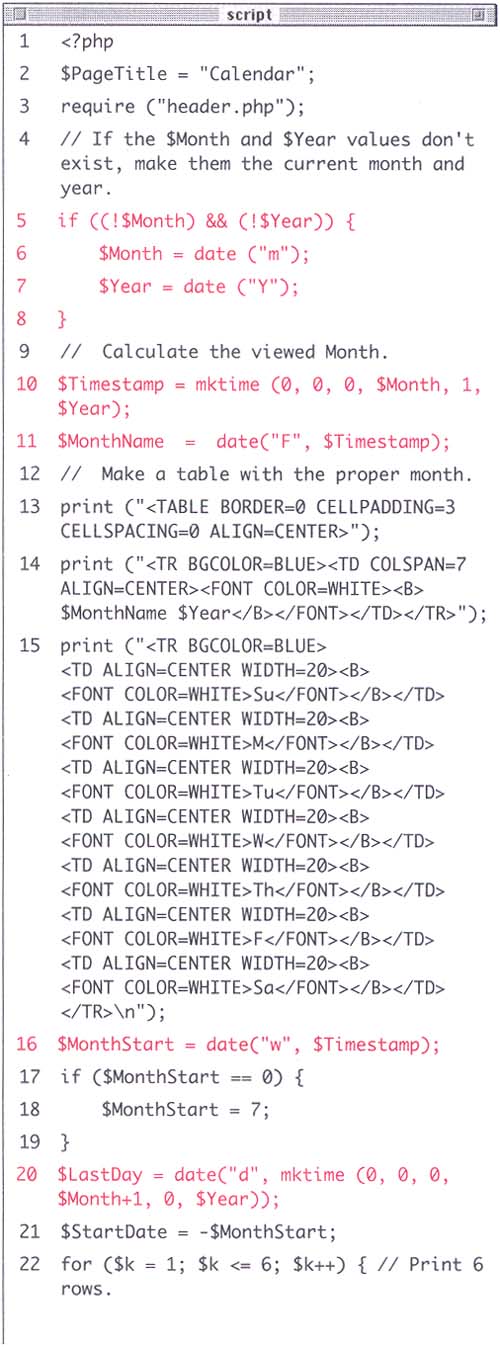  -
Assign the $PageTitle variable a value and include the header file. $PageTitle="Calendar"; require ("header.php"); You'll go ahead and continue to develop more pages all as part of the same large scale Web site, so they'll use the same included files as those you created earlier in the chapter. -
Assign default values to $Month and $Year, if they don't exist. if((!$Month)&&(!$Year)){ $Month = date ("m"); $Year = date ("Y"); } The first time the user comes to this page, no month or year values will be passed to the page. The PHP will go ahead and use the current month (e.g., 1 ) and year (e.g., 2001 ) if that is the case. -
Create a timestamp referring to the specific month and year. $Timestamp=mktime(0,0,0,$Month,1, $Year); For the timestamp, you feed the mktime() function zeros for the hour, minutes and seconds and then one for the day of the month. The month and the year will be calculated based upon the page values. -
Determine what month it is in written form. $MonthName=date("F",$Timestamp); Feeding the date() function a capital F returns the name of the month (e.g., January ). -
Create a table to display the calendar. print("<TABLE BORDER=0 CELLPADDING=3 CELLSPACING=0 ALIGN=CENTER>"); -
Print a caption using the month and year. print("<TRBGCOLOR=BLUE> <TD COLSPAN=7 ALIGN=CENTER> <FONT COLOR=WHITE><B>$MonthName $Year</B></FONT></TD></TR>"); -
Print out the days of the week. print("<TRBGCOLOR=BLUE> <TD ALIGN=CENTER WIDTH=20> <B><FONT COLOR=WHITE>Su</FONT></B> </TD><TD ALIGN=CENTER WIDTH=20> <B><FONT COLOR=WHITE>M</FONT></B> </TD><TD ALIGN=CENTER WIDTH=20> <B><FONT COLOR=WHITE>Tu</FONT></B> </TD><TD ALIGN=CENTER WIDTH=20> <B><FONT COLOR=WHITE>W</FONT></B> </TD><TD ALIGN=CENTER WIDTH=20> <B><FONT COLOR=WHITE>Th</FONT></B> </TD><TD ALIGN=CENTER WIDTH=20> <B><FONT COLOR=WHITE>F</FONT></B> </TD><TD ALIGN=CENTER WIDTH=20> <B><FONT COLOR=WHITE>Sa</FONT></B> </TD></TR>\n"); -
Determine the first day of the week for that month. $MonthStart=date("w",$Timestamp); This line will assign the day of the week, in numerical form from 0 to 6, to the $MonthStart variable for the calendar's month and year. Because the first day of the month was used in establishing the timestamp, this code will identify that particular day. You need to do this in order to see if the month begins on a Monday, Tuesday, etc. -
Make sure the $MonthStart value is usable. if($MonthStart==0){ $MonthStart = 7; } If $MonthStart is equal to 0, which means that the month begins on a Sunday, you'll run into problems using that number when the script executes, so you turn a 0 into a 7. -
Determine the last day of the month. $LastDay=date("d",mktime(0,0,0, $Month+1,0,$Year)); $LastDay will be assigned a value of a number such as 01 , 22 , or 30 , which is equal to the last day of that month. This is determined by using as the day and the next month ($Month+1 ) as the month in the mktime() function. Mathematically, the number of seconds to day 0 of the next month will be the same as the number of seconds to the last day of this month. -
Choose a starting date based upon the first day of the month. $StartDate=-$MonthStart; Since the calendar is going to begin on a Sunday, you need to determine how many days to skip before the first day of the month occurs. If the first day of the month is a Tuesday, then $MonthStart is equal to 2, which means that $StartDate will be equal to negative 2, insuring that two blank days are created before the numbering starts. -
Code a loop that will print out the calendar rows (weeks). for($k=1;$k<=6;$k++){ print ("<TR BGCOLOR=WHITE>"); The calendar will use 6 rows, so the following section of code will be repeated 6 times by the for loop. -
Create a second loop that will print out the calendar columns (days). for($i=1;$i<=7;$i++){ The calendar will have 7 columns, one for each day of the week. -
Increase the value of $StartDate by one. $StartDate++; The value of $StartDate will be printed each day to create the date. So with each iteration of the loop, this value needs to be increased. -
Code a conditional for when to print out the $StartDate. if(($StartDate<=0) ($StartDate>$LastDay)){ print("<TD BGCOLOR=GREEN>  </TD>"); }elseif(($StartDate>=1)&& ($StartDate<=$LastDay)){ print("<TDALIGN=CENTER> $StartDate</TD>"); } First, if $StartDate is less than 0 (in other words, the month hasn't begun yet) or greater than the number of days in the month ($LastDay), the page will print out a blank green space. If $StartDate is at least one but still not more than the number of days in the month ($LastDay), the page will print out the number itself. -
Close the second for loop, close the table row, and then close the first for loop. } print ("</TR>\n"); } -
Finish the table. print("</TABLE>\n"); -
Now you'll make a simple HTML form that submits the page back to itself. print("<FORM ACTION=\"calendar.php\" METHOD=GET>\n"); -
Create two pull-down menus : one for the month and one for the year. print("Select a newmonthtoview:\n"); print ("<SELECT NAME=Month> <OPTION VALUE=1>January</OPTION>\n <OPTION VALUE=2>February</OPTION>\n <OPTION VALUE=3>March</OPTION>\n <OPTION VALUE=4>April</OPTION>\n <OPTION VALUE=5>May</OPTION>\n <OPTION VALUE=6>June</OPTION>\n <OPTION VALUE=7>July</OPTION>\n <OPTION VALUE=8>August</OPTION>\n <OPTION VALUE=9>September</OPTION>\n <OPTION VALUE=10>October</OPTION>\n <OPTION VALUE=11>November</OPTION>\n <OPTION VALUE=12>December</OPTION>\n </SELECT>\n"); print ("<SELECT NAME=Year> <OPTION VALUE=2001>2001</OPTION>\n <OPTION VALUE=2002>2002</OPTION>\n <OPTION VALUE=2003>2003</OPTION>\n </SELECT>\n"); You can put whatever years you want here. Notice that these two menus will generate variables called $Month and $Year once the form is submitted. At that point in time, thanks to the conditional beginning on line 5, these new values will be used instead of the default. -
Create a submit button and close the form. print("<INPUT TYPE=SUBMIT NAME= SUBMIT VALUE=\"Submit!\">\n"); print ("</FORM>\n"); -
Include the footer file and close out the PHP. require("footer.php"); ?> -
Save the script as calendar.php, upload it to the server, and test it in your Web browser (Figures 13.6 and 13.7). Figure 13.6. Upon first coming to the calendar page, you will see the calendar displayed for the current month. Using the form at the bottom allows you to see other months (Figure 13.7).  Figure 13.7. Regardless of what month and year is selected, this script will always display an accurate calendar.  Tip Instead of determining the last day of the month like I've done here on line 20 (by referring to the zero second of the first day of the next month), you could also use the date("t"); format, which returns the number of days in a month. The rest of the script would need to be slightly altered then to use this new value.
|