| Guides are lines you can use to set the placement of objects on the canvas. For example, guides are helpful for aligning buttons or positioning the center point of an object. In this exercise, you'll use the guides to draw a circle for the logo. The guides will mark the center point of the circle. 1. | Begin by creating a new document. Set the canvas size to 400 pixels for the width and height, and make the canvas color white.
You can alter the canvas size later by choosing Modify > Canvas > Canvas Size, or by using the Crop tool to crop the document, or by choosing Modify > Canvas > Trim Canvas to trim the empty edges of the canvas.
Tip There are other ways to change the canvas size. Make sure nothing is selected and then click Canvas Size in the Property inspector. You can also use the Crop tool and drag the handles outside the canvas area and then press Enter (PC) or Return (Mac). | 2. | Save your file in the Projects folder and name it sweet_creations_logo.png.
The page rulers must be visible for you to access the guides. If you don't see the page rulers, choose View > Rulers. A check next to the command indicates that the rulers are turned on. To hide the rulers, choose the command again to remove the check.
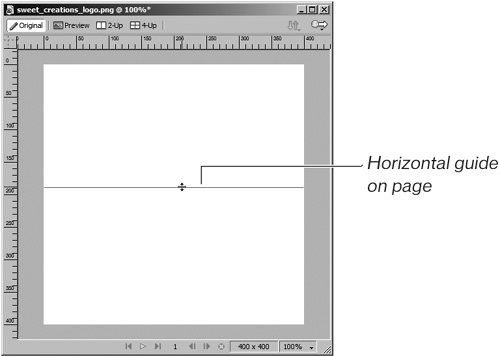
| 3. | Drag from the top ruler to place a horizontal guide centered between the top and bottom edges of the canvas.
As you drag, you'll see a green line (the guide) move on the canvas. Release the mouse when you are at the center of the canvas. Don't worry about the exact placement of the ruler guide since you will adjust it in a later step.
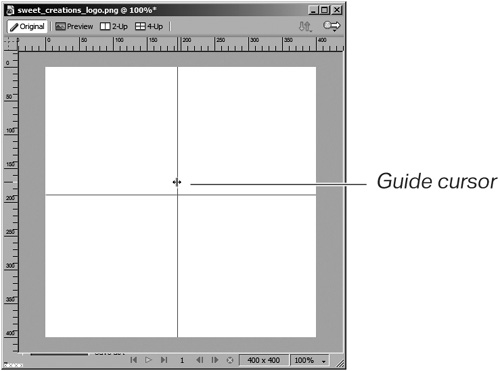
 | 4. | Drag another guide from the left ruler to place a vertical guide on the page.
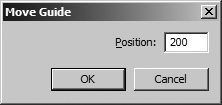
 | 5. | Select the horizontal guide by double-clicking it with the Pointer tool. In the Move Guide dialog box that opens, type 200. Then click OK.
When you drag a guide from the rulers, you are visually placing the guide on the page. When you enter a value in the Move Guide dialog box, you are moving the guide to a set position (in pixels) on the canvas.
 Note To drag a guide from the rulers, you can have any tool selected from the Tools panel. When you move the tool pointer over the rulers, it changes to the pointer cursor. To select or move a guide on the canvas, you need to switch to the Pointer tool. The same is true for selecting objects on the canvas you need to use the Pointer tool. | 6. | Repeat the previous step for the vertical guide. Enter 200 in the Move Guide dialog box for this guide.
You can also move a guide by dragging it to a new location. When you move the pointer over a guide, it changes to the guide movement pointer, indicating that you have the guide and not another object. This works only if the guides are not locked (see the next step).
Note To remove a guide from the canvas, just drag it out of the canvas area. | 7. | Choose View > Guides > Lock Guides.
You may want to lock the guides or rulers to avoid moving them inadvertently. You can also use the Guides dialog box to lock the guides. Choose View > Guides > Edit Guides to open the Guides dialog box (PC) or the Grids and Guides dialog box (Mac). Here you can change the color of the guides, show or hide guides, turn Snap to Guides on or off, lock the guides, and clear all of the guides from the page. You can also change the color of slice guides (slices are discussed in Lesson 7) and show or hide the slice guides.
 Note Double-clicking a guide does not open the Move Guide dialog box if the guides are locked. |
|