Web Page Workflow Implementation
| < Day Day Up > |
| With the navigation and templates in place, the next step is to develop a workflow process for content based on information provided by the users at the design review. You may want to begin with a pilot to learn more about how your organization will choose to implement these new business processes. Start with just one section of the site, and identify the parties involved in the approval process. This workflow is based on standard CMS routing and approval functionality. The task of the pilot is implementation of a sample workflow. For instance, a document may be routed from an author to a content editor and to an additional approval level such as a manager or legal review. I recommend that a representative workflow be chosen , as it may be copied and customized for subsequent workflows that are established. Some routing and approval processes are better in theory than in practice. Complicated business rules can create content bottlenecks and delay content publication, thereby undermining the portal's raison d'EAtre. This concept is not easy to explain but becomes quite apparent when a sample workflow is tested . People in the approval loop quickly learn how important it is to stay on top of their content responsibilities. There are five levels in the MCMS approval process. You can omit some levels, but note that some levels have multiple steps. These levels are:
Start by writing out the business rules for approval in plain English, also known as pseudocode. For instance, the press release section might have the following rules:
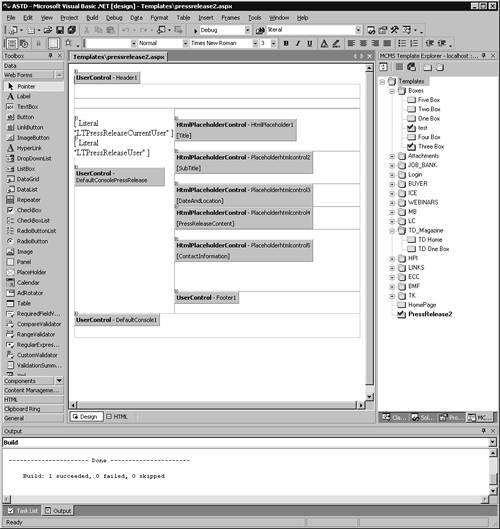
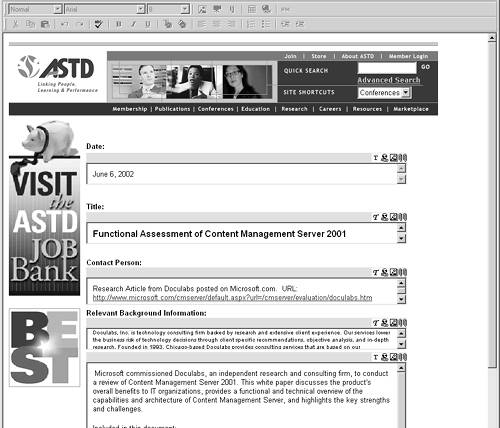
Now let's take a closer look at how the steps are implemented in CMS. Template DesignerThe template designer is a web programmer with skills in graphic design and HTML programming. Using Visual Studio.NET, the template designer creates a template for a press release containing placeholder controls for content to be provided by the authors. The template contains standard elements such as masthead, copyright information, and navigation, as shown in Figure 9.14. Figure 9.14. Template Design for a Press Release If multiple channels are supported, the designer may create multiple templates to match each of the channels. For instance, the default template could be for a browser on a computer or workstation, but a second template could be for a PDA or a cellular phone. Each of the placeholders in a template has properties that determine the content that is allowed. For instance, a placeholder may restrict the author to enter plain text only without hyperlinks , graphics, or even a specific font. The appearance of the text entered is determined by the template itself. This approach would make sense for fields such as the press release title or date, for instance. On the other hand, a placeholder may allow images to be inserted, such as photographs, or file attachments. The power to insert such objects is one of the reasons why an approval process is needed, as these could create security or performance problems for users. Templates have to be set up only once, so template building is intense at the beginning of projects and tapers off as the portal reaches maturity. Moreover, design elements are likely to be shared among templates by means of the resource library, so the tenth template is easier to create than the first. If authoring will be performed in Word rather than in the browser interface to the template, the template designer must allow for this choice in the process and plan for how the Word authoring will map to the template, using the MCMS Content Connector wizard. AuthorWith the template in place, the author fills in the placeholders in the template. For a press release, this would mean entering information such as the date, title, contact person, phone number, and body of the press release, as shown in Figure 9.15. Figure 9.15. Press Release Template in Author View The placeholders are now rendered as fields of the appropriate type. Icons on the fields indicate the type of entry that is allowed, such as plain text, hyperlinks, formatted text, or attachments. If prompted, the user can upload graphics to reside on a page or documents to be stored as attachments to a page. Finally, the author specifies additional page properties such as the start and end date for publishing the content. Each time the page is saved, the old version is stored as well to allow rollback to a previous version. The author finally submits the finished page to the editor. As soon as the page is submitted by the author, the editor is notified. She views the page by means of the web interface and edits the material directly. Again, each saved version is stored, so the author can review the editing marks and differences between the original and edited versions. Figure 9.16 shows the page status for a document that has been flagged by the author as complete and ready for editorial review. Figure 9.16. Editor Notification If there are no editors or moderators, pages are automatically published when approved by the author. You may also have scenarios with editors or moderators or both. In the latter case, if the editor approves the page, it is forwarded to the moderator for final approval. Editors and ModeratorsThe moderator checks the page and the publication date, and then approves or disapproves the page. The moderator can change the page or its properties. Moderators have special tools available in MCMS. The Production Manager is a web interface that allows moderators to see a list of pages in the product process, and then go from page to page to move it through the process (Figure 9.17). Figure 9.17. MCMS Production Manager Page If you want to publish pages without editor or moderator approval, you can simply not assign an editor or moderator to the channel where the page is published. This means that the author makes the decision on when the page is approved. The author can defer publishing by entering the start date in the page properties. SubscriberAs soon as the publication date for an approved page arrives, it becomes visible to all the users of the site. Subscribers do not have access to any of the administrative features of MCMS. From their perspective, content management is invisible. To define the approval process, go to the Channel Manager program. Select the channel on which you would like to define the approval process. If needed for your workflow, add editors and moderators to the process so they will receive the pages and approve them. Figure 9.18 shows the user rights assigned to a specific channel. Figure 9.18. Adding an Approval to the Channel Rights groups are assigned roles along with the permissions that are mapped to these roles. In the example shown in the figure, a group called ASTDDevelopers has the rights to design templates. A special group called Career Channel Editors has been created just for this channel to grant rights for maintaining a single channel without elevating the users to this status for the entire site. Adding Workflow Email NotificationThe out-of-the-box tools of MCMS provide web interfaces to monitor content management tasks , such as Production Manager and Approval Assistant. The problem with these tools is that they require users to go to a URL to see whether they have any pending web pages to approve. Your users will be thankful if you take this a step further and enable what MCMS calls workflow email notification . This function advises reviewers of events as they occur in the approval cycle. The following code shows how to create email notification to reviewers when a page is submitted for approval. It uses the Microsoft Internet Information Services (IIS) Simple Mail Transfer Protocol (SMTP) service and Collaboration Data Object (CDO) COM components to send email programmatically. [1]
TIP Workflow email notification requires the ASP .NET version of Microsoft Content Management Server ( MCMS 2002). To implement workflow email notification:
To register the event, follow the steps outlined in the help topic "Registering for Publishing Events Using HTTP Modules." Be sure to check the help file to get the code that matches your release of the product. |
| < Day Day Up > |
EAN: 2147483647
Pages: 164