Build the User Interface in Macromedia Flash MX
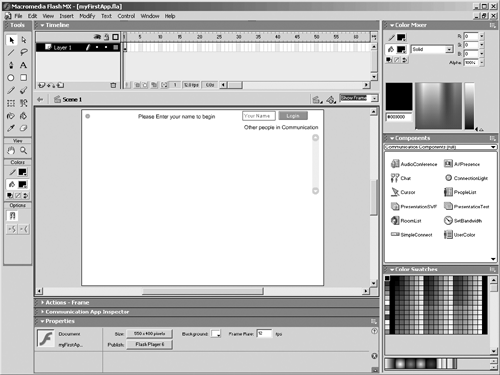
Build the User Interface in Macromedia Flash MXIf you haven't already done so, familiarize yourself with the Flash MX authoring environment (see Figure 3.2). In this series of chapters, you won't be getting into any advanced techniques; however, you should be familiar with the user interface, the timeline, and working with Flash UI components . The tutorials included with Flash MX are a good resource to learn the basics of the package. Figure 3.2. Match your Flash MX environment to look similar to this. In this exercise, you will create a simple Flash movie that will connect with the Communication Server and display a list of other people who have also connected. When finished, your Flash MX window should look like Figure 3.2. SimpleConnectThe SimpleConnect component handles and maintains all server communication between the Flash player and the Flash Communication Server. SimpleConnect also provides a handy Login prompt for users to identify themselves . Using the SimpleConnect is easy. These next steps introduce you to the process of using the component in your applications:
rtmp://[computer name][:port]/myFirstApp That's it for setting up the connection. It's really that simple. This SimpleConnect component takes away the need for any ActionScript to make connections. To leverage additional features, however, you may need to customize this component. Don't worry; for this exercise, that won't be necessary. Note Note the value myFirstApp. This is a direct reference to the folder you just created on the server in the applications folder. Notice how the applications folder was not declared here. This is because this folder is seen by the virtual host as the default folder for applications. It is mapped internally to the root of the Communication Server (in this case, localhost). Adding the PeopleList ComponentWith the connection handled by SimpleConnect, let's add one more component that will let us see who is connected to the server. The PeopleList component displays a list of users who are currently logged into the server. Follow these steps to add the PeopleList component:
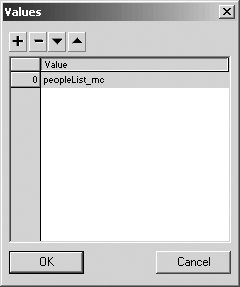
With the component placed on the stage, you need to connect it to the Communication Server connection. This is done in the SimpleConnect component. Follow these steps:
Tip Each Flash UI component connects to the SimpleConnect the same way. Declaring each instance name in the Flash Communication components list allows it to connect to the server. If you want to skip ahead, try placing a Chat UI component on the stage, giving it an instance name, and declaring it with the SimpleConnect. We will cover this in the next chapter. Adding the ConnectionLight ComponentConnectionLight is a simple utility component that you have already seen in action. The Administration Console uses this component to show you when you are connected to the server. It will visually tell your users if they are connected. Add it by following these steps:
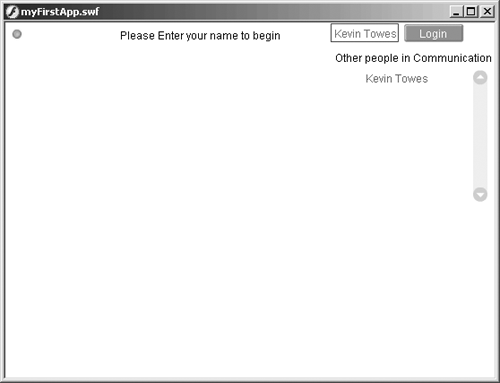
The ConnectionLight changes color to yellow or red to illustrate a slow or closed connection with the Communication Server. Clicking on the component displays information about the local connection with the server. Details include the data latency rate and real time upload and download rates. It is a great tool to include in any Communication application. That's it! You have just created your first Flash Communication application. Make sure that the SimpleConnect Properties panel looks like Figure 3.6. If you like, add in some simple user text prompts, using the Text tool, for your application (as shown in Figure 3.7). Now, let's test this movie and watch it connect. Don't forget to save your Flash file before you move on. Figure 3.6. The Properties window for the SimpleConnect UI component should look like this before you test. Figure 3.7. The myFirstApp.swf file running in the Flash MX debug player. |
EAN: 2147483647
Pages: 200


