This section walks through only the tasks necessary to install VMS 2.3 and CSA MC 4.5 using the Microsoft Database Engine (MSDE) database in a single-server installation. For additional information regarding using MS SQL and multiserver CSA MC deployments, refer to the CSA MC installation guide for details. If you are upgrading from a previous version of CSA, it is advisable to also refer to the appropriate installation documentation provided with the product. When you are certain that your server hardware and software platform meets the minimum requirements, you may proceed with the following steps:
Step 1. | Insert the VMS2.3 installation CD into the drive and wait for the splash screen to appear. Then click Install, as shown in Figure A-4.
Figure A-4. VMS Installation Splash Screen 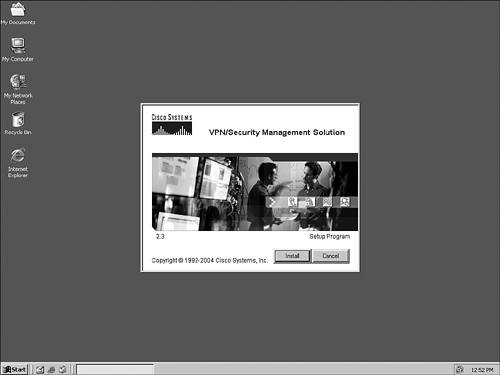
|
Step 2. | Click Next to continue.
|
Step 3. | Read the license agreement and click Yes if you agree to the terms. (See Figure A-5.)
Figure A-5. VMS Installation License Agreement 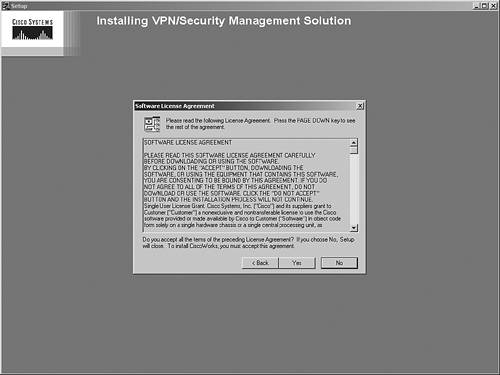
|
Step 4. | Read the installation recommendations and documentation information, and then click Next.
Note It is recommended that you install the Security Monitor on a separate server than the MC components for scalability. |
Step 5. | Designate the appropriate installation directory or leave the default of C:\Program Files\CSCOpx, as shown in Figure A-6.
Figure A-6. Installation Directory 
|
Step 6. | Choose the components you want to install, as shown in Figure A-7. Common Services and the Security Monitor are the only applications other than the CSA MC that should be installed on this server. You should not attempt to install other applications on this server because of possible software conflicts and the highly restrictive nature of the local CSA that will be installed as part of the CSA MC installation process.
Figure A-7. Select Components to Install 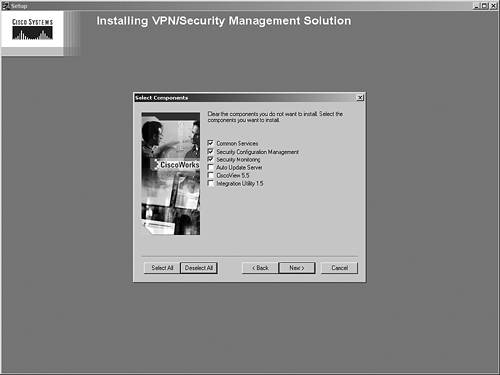
|
Step 7. | View the required drive space and memory for the options you have selected.
|
Step 8. | Provide a password for the default VMS admin user. The password must be at least five characters long. After completing the installation, you can create additional administrative and viewer accounts locally or point the VMS server to an external server for authentication, such as RADIUS, LDAP, or NDS servers.
|
Step 9. | Click Yes for the installation to create the CASUSER account, which it will use to run system processes without the need for root privileges.
|
Step 10. | Provide a password for the VMS application server database.
|
Step 11. | View the summary prior to installation to verify the installation settings. You can click Show Details to view all settings, including the passwords you entered during the pre-installation interrogation process. Figure A-8 shows the details screen.
Figure A-8. Verify Installation Settings with Details 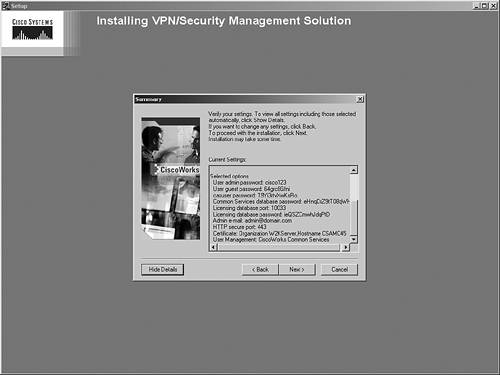
|
Step 12. | Click Next to commence the installation, as shown in Figure A-9.
Figure A-9. Installation of Common Services Begins 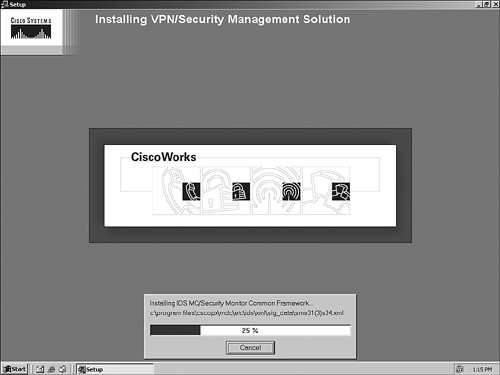
|
Step 13. | Restart the installation process, this time selecting the CSA MC as the only component to install. Then click Next, as shown in Figure A-10.
Figure A-10. Begin Installation of CSA MC 4.5 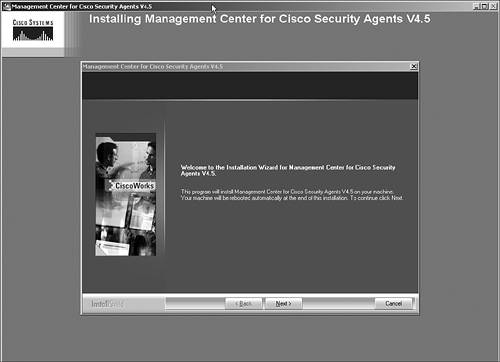
|
Step 14. | If you are running IIS, you will be prompted to exit out of the installation and stop the World Wide Web Publishing Service before proceeding.
|
Step 15. | Choose whether the SQL database will be local or on another server. For this example, the installation is a local MSDE installation, as shown in Figure A-11.
Figure A-11. Choose Database Location 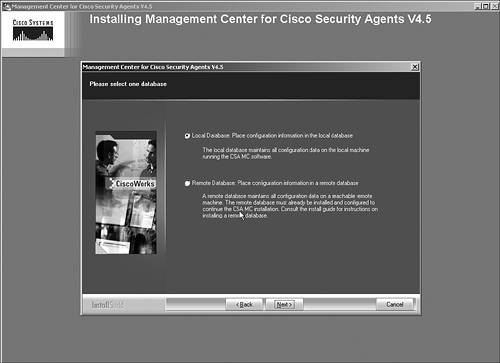
|
Step 16. | The installation now informs you that it needs to proceed with the MSDE installation prior to installing the CSA MC. After the MSDE component has been installed, you must reboot the server and restart the installation of the CSA MC.
|
Step 17. | Choose the destination of the MSDE database on the local server, as shown in Figure A-12. The default is C:\Program Files\Microsoft SQL Server.
Figure A-12. Choose MSDE Installation Location 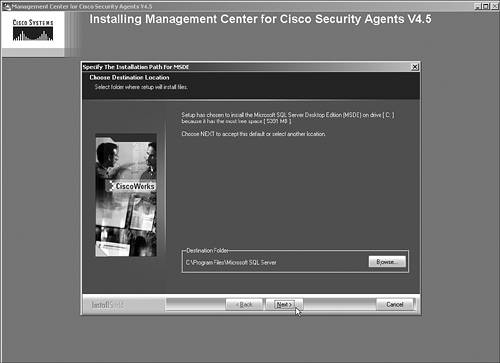
|
Step 18. | Upon installation completion, reboot the server and begin the CSA MC installation again.
|
Step 19. | You are now prompted for the CSA MC license file. Choose the appropriate file from your hard drive and continue.
|
Step 20. | Click Install to begin the installation process. The CSA MC V4.5 installation begins by copying the files, as shown in Figure A-13. Figure A-14 shows the start of the configuration process.
Figure A-13. CSA MC V4.5 Begins with Copying Files 
Figure A-14. Product Configuration Commences 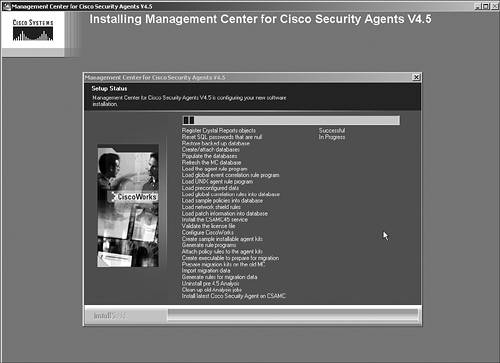
|
Step 21. | When installation completes, a restart is required and you are informed that the system will reboot in 2 minutes.
|
Step 22. | After reboot, you can start CiscoWorks from the Windows Programs menu on the server to verify a successful installation, as shown in Figure A-15.
Figure A-15. Verify Installation of All Components 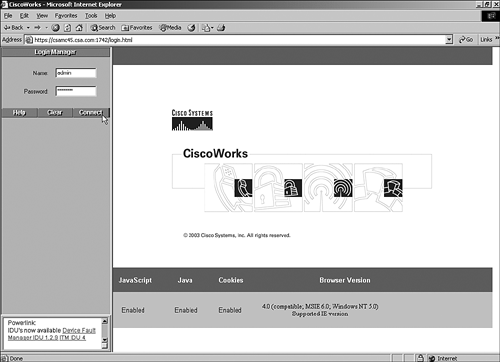
|