| The most functional type of forms in SharePoint are XML forms, which are created using the recently popular Extensible Markup Language (XML). XML forms are extremely functional and can be tied in directly to SharePoint so that the results of the forms are directly entered into a list in the site. There is a catch, however. To be able to fill out these forms, your users need to utilize a Windows SharePoint Servicescompatible XML viewer such as Microsoft Office InfoPath 2003. InfoPath makes creating and customizing forms a piece of cake, and it is recommended that you install InfoPath just to try out this functionality. NOTE  | Unfortunately, in modern IT infrastructures it is rare to run into environments that have fully deployed InfoPath. Although this may change in the future, this fact makes it difficult to roll out ambitious forms projects in SharePoint. |
If you have InfoPath installed, it is a good idea to build some forms and test how they can be directly integrated into your SharePoint site. To do this, you can follow the steps outlined here: 1. | Open InfoPath 2003 by clicking Start, All Programs, Microsoft Office, Microsoft Office InfoPath 2003.
| 2. | On the Fill out a form bar on the right side of InfoPath, choose Design a Form.
| 3. | From the Design a new form section, choose Customize a Sample.
| 4. | Choose a form to test from the list of sample forms shown in Figure 22.2. Click OK.
Figure 22.2. Choosing a sample InfoPath form. 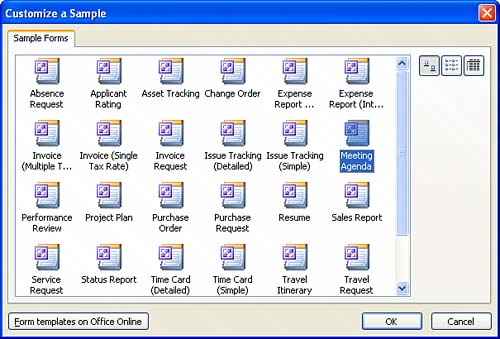
| 5. | When the sample form opens in InfoPath, play around with some of the available options. InfoPath offers rich options for various forms that can be built. When you are finished making customizations, choose File, Save.
| 6. | Click Publish to save the form into SharePoint.
| 7. | When the Publishing Wizard is displayed, click Next to continue.
| 8. | On the next screen, shown in Figure 22.3, choose to publish the form to a SharePoint form library by selecting the second option and clicking Next.
Figure 22.3. Publishing an InfoPath XML form to a SharePoint form library. 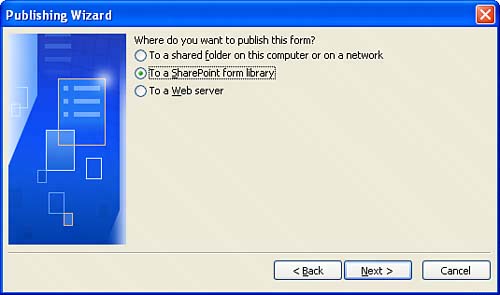
| 9. | Choose Create a new form library (recommended) and click Next.
| 10. | Enter the HTTP location of the site you want to add the form to (for example, http://servername/sites/marketing) and click Next.
| 11. | Authenticate if prompted.
| 12. | Type in a name and a description for the form library. Click Next.
| 13. | The next screen, shown in Figure 22.4, is critical to capturing the right type of data into SharePoint. Choose the fields from the form that you want entered into SharePoint columns. These fields will be entered in as a list and can be utilized for many different purposes in your SharePoint site. Click the Add, Remove, and Modify buttons to add in the proper columns. Click Finish when you are finished.
Figure 22.4. Choosing the XML forms data to use for column names in a SharePoint site. 
| 14. | The form will then be uploaded as a template into the XML forms library you created. At the final screen, select whether to notify users and then click Close to finish the process.
|
Anyone who accesses the forms library you just created will be able to fill out the form and have the information inputted directly to the site. |