WORKING WITH PHOTOSHOP S SPECIALTY LAYERS
WORKING WITH PHOTOSHOP'S SPECIALTY LAYERSIn addition to layers that contain your artwork's pixels, Photoshop uses a number of other types of layers. Adjustment and fill layers change the appearance of regular layers below them without actually changing their pixels. Type layers contain any text you add to an image. As long as the type layer is not converted to a regular layer (using the Layer, Rasterize, Type command), the text remains editable and vector based for sharp output to PostScript devices. Shape layers, which simulate vector objects, are filled with a color, pattern, or gradient that is selectively exposed by using one or more vector paths. Adjustment and Fill LayersUsing fill and adjustment layers over a regular layer enables you to create effects and color corrections nondestructivelyno pixels are permanently changed. Fill layers can be added to create overall tonal shifting and colorization, patterns, and effects. Adjustment layers are used in place of the Image, Adjustment commands (which make permanent changes to the image). They affect all the layers beneath, not just the adjoining layer, so more layers can be affected globally by the placement of your adjustment layer. You can restrict the effect of an adjustment layer to the one layer immediately below it by Option-clicking (on the Mac) or Alt-clicking (in Windows) the line between the layer and the adjustment layer in the Layers palette. To create a fill layer, choose Layer, New Fill Layer and choose from the three types: Solid Color, Gradient, or Pattern. These fill layers are also available from the palette by clicking the black-and-white circle button on the Layers palette. To create an adjustment layer, first start with an image. (Hint: Open a JPEG file of a photograph to see the difference adjustment layers can make.) Choose Layer, New Adjustment Layer and choose the Curves option. The Curves dialog appears for you to make some curves adjustments. After you make changes to the diagonal line in the Curves dialog, click OK. Your Curves adjustment layer is created. Notice that the small black-and-white circle icon appears on the left side of the adjustment layer. At any time, you can double-click this icon and open the Curves dialog to adjust the curves again. If you want to hide this adjustment, click the eye icon to turn off the visibility of the adjustment layer. Your original image layer is intact without change. The separate adjustment layer makes it easy to alter the look of your image without worrying about changing individual layers permanently. The different types of adjustment layers are
You can create multiple adjustment layers for an image layer to affect the layer in different ways. And you can create Adjustment Layers to affect multiple layers at the same time. The nondestructive nature of adjustment and fill layers means you can experiment with an image until you're satisfied with the results, without actually changing the original image data or risking a burning contrast or oversaturation that can destroy an image. You can always remove or replace an adjustment layer later with no permanent effect to your image or a drastic increase in the image size. In addition, each adjustment can always be changed, so you can go back and tweak your layers againyou don't have to start over. Type LayersType layers are created with the Type tool. Clicking in the canvas with the Type tool automatically creates a new layer that contains the vector-based type. The type's appearance is regulated through the Options bar and the Character and Paragraph palettes. You can rasterize type layers or convert them to shape layers that can be modified as paths. To rasterize the type layer, use the Layer, Rasterize, Type command or Control-click or right-click the layer and select Rasterize Layer from the context menu (see Figure 6.17). Figure 6.17. A type layer shows a different layer icon than a pixel or shape layer.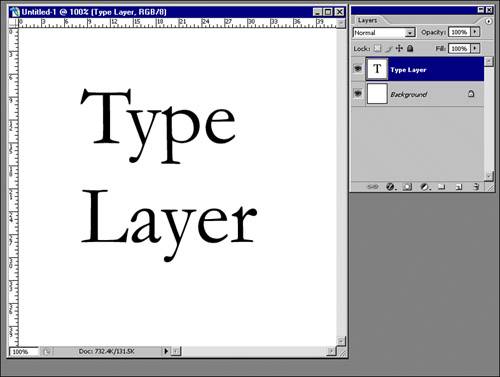 Shape LayersVector shape layers are layers that use vector masks on selective exposed parts of the layer. They can be filled with colors, patterns, or gradients. The exposed parts simulate vector objects and appear as artwork in your image. The individual path segments and anchor points of the vector mask can be edited with the Direct Selection and Path Selection tools and the various pen tools (see Figure 6.18). There are several ways to create shapes. Using one of the Shape tools nested in the toolbox, choose the Shape Layers button in the Options bar. Draw the shape in your canvas. The vector mask of the Shape layer is created using the current foreground color. Figure 6.18. Two shape layers created in the document. The different shape tools visible in the toolbox and the Custom Shape Picker reveal many of the shapes available in the library. In the Layers palette, the Shape layers have been created as vector masks.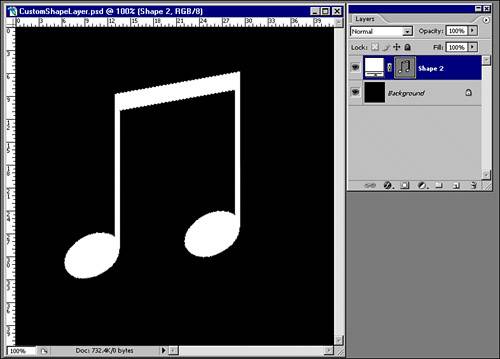 Using the Pen tool, you can create a Shape layer by changing the Pen's options in the Options bar. Click the Shape Layers button in the Options bar and create your vector shape layer (see Figure 6.19). Figure 6.19. Use the Pen tool to create solid fill layers with a vector mask custom shape. You can save custom shapes, whether created by converting a type layer or with the Pen tool, in the Custom Shapes Library. Use the Edit, Define Custom Shape command. You can later reuse these shapes with the Custom Shape tool by selecting them from the Custom Shape Picker. |
EAN: 2147483647
Pages: 426