UNDERSTANDING LAYER BLENDING OPTIONS, OPACITY, AND TRANSPARENCY
| Transparency means allowing light to pass through. When you think of transparency, think of windows or cellophane; your eye can see through an object to whatever is behind it. In Photoshop, you can set a transparency level of a layer by adjusting the Opacity slider in the Layers palette. By default, a layer's opacity is 100% (See Figure 6.12). You can change a layer's opacity so that objects in layers underneath become visible. Click the Opacity slider pop-up and move the slider or enter a percentage in the text field for the opacity (see Figure 6.13). Figure 6.12. Setting the Opacity slider to 100% makes the selected layer fully opaque.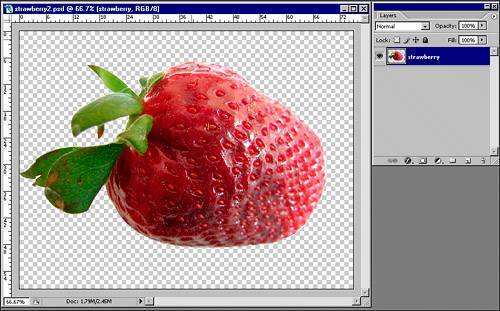 Figure 6.13. Setting the Opacity slider to 50% adjusts the opacity of the selected layer and its elements.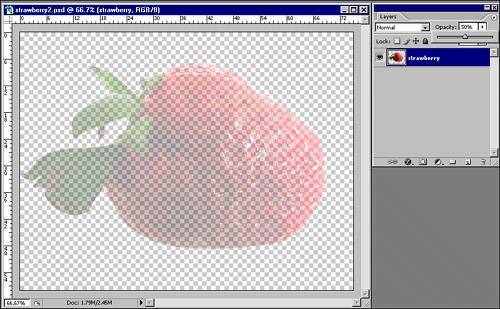 A lot of people know about blending modes because they are accessible from the pop-up menu on the palette, but the Blending Options make the layer's blending modes a lot more powerful. Blending Options are also great fun and extremely useful when you are trying to get that blending effect just right in your design. Control-click (on the Mac) or right-click (in Windows) a layer and select Blending Options from the context menu to open the Layer Style dialog (see Figure 6.14). Although this dialog is the same as the one that opens when you select a layer style, choosing Blending Options from the left pane displays the Blending Options section at the top with the default settings. Figure 6.14. The Layer Style dialog doubles as the Blending Options dialog, with the default settings visible at the top.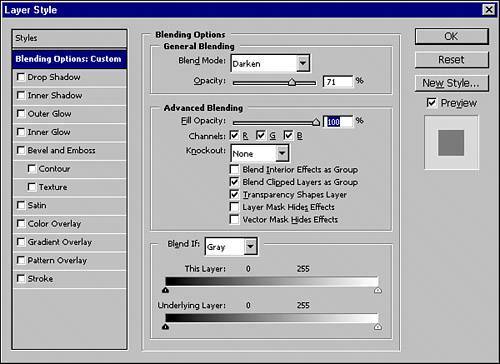 These advanced blending options enable you to change the opacity and fill opacity for the blending modes (see Figure 6.15). You can also manipulate the two gradients at the bottom to control the blending for both the current layer and the layer underneath. Check the boxes for each of the channels to include or exclude those channels when the layer is blended. The Blend If drop-down menu enables you to blend specific channels. Changing the Blend If drop-down menu to Cyan in a CMYK image, for example, enables you to move the sliders in the gradient so that you can blend in more or fewer of the cyan pixels in the image. Figure 6.15. Advanced blending options give you more control over blending modes.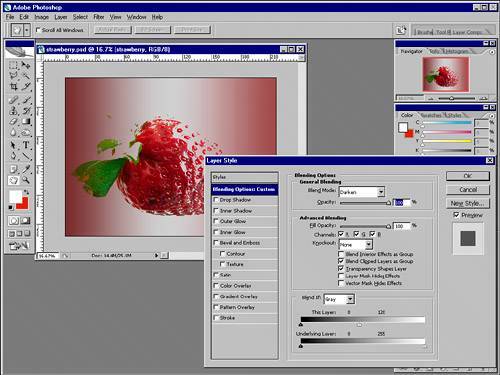 Adjusting the Fill Opacity slider (or entering a percentage number in the numeric field) affects only the contents of the layer, not the layer styles applied to it. Notice how the stroke outline and drop shadow are still visible, but the layer content is totally transparent (see Figure 6.16). Figure 6.16. Only the filled contents of a layer are affected by adjusting the Fill Opacity slider on the selected layer.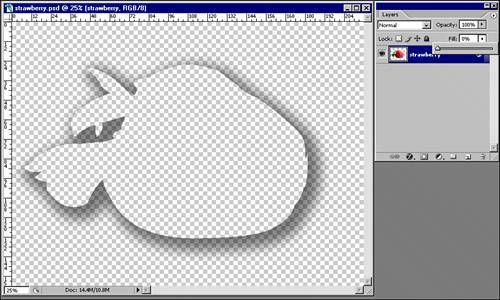 |
EAN: 2147483647
Pages: 426