Using Custom Controls with C .NET
Using Custom Controls with C# .NET
Even though using a custom control within Visual C++ .NET is fairly easy, using it within other .NET languages is even easier due to the support of the Windows Form Designer, which Visual C++ .NET currently lacks. You will now create a C# Windows application similar to the Visual C++ .NET test harness you created earlier.
For reasons that will become clearer in a moment, open a new instance of Visual Studio .NET rather than adding the C# project to your current solution. Click New, Project from the File menu and select Visual C# Projects from the list of project types and select Windows Application from the list of project templates. Give your project the name CSharpTestHarness and click OK to create the project.
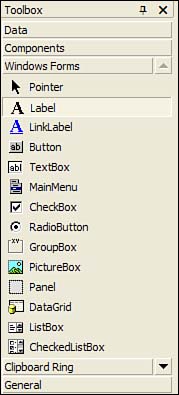
After the project files are created, Visual Studio .NET will open the Windows Form Designer so that you can create your user interface. Adding controls within C# involves the use of the Toolbox, which by default is displayed on the left side of the IDE (see Figure 23.6). If you scroll through the list of controls under the Windows Forms category in the Toolbox, you'll notice that the control you created earlier is not shown. To add your custom control to the Toolbox, right-click anywhere on the Toolbox and select Customize Toolbox. On the Customize Toolbox dialog, select the .NET Framework Components tab.
Figure 23.6. Adding controls with Visual C# .NET is accomplished with the Toolbox.
To add your control to the list of components, click the Browse button, navigate to the DLL that was created when you built your control, and click on Open. The control will then be added to the list of .NET Framework components, as shown in Figure 23.7. Once you click OK to close the Customize Toolbox dialog, scroll down the list of controls contained on the Toolbox, and you should see your ShapeControl, as shown in Figure 23.8.
Figure 23.7. Add controls to the Toolbox using the Customize Toolbox dialog.
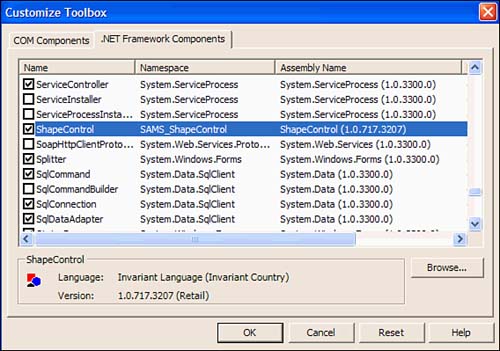
Figure 23.8. Adding controls onto a form with Visual C# .NET is accomplished with the Toolbox.
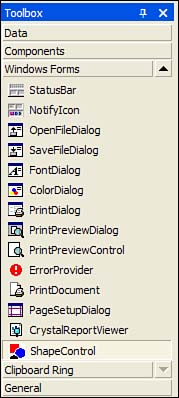
| | If you look at Figure 23.8 you'll notice that the icon for the ShapeControl is different from what you have on your Toolbox. You can customize that icon by creating a 16x16 bitmap file and placing it within the same directory as the assembly. To associate the control with the bitmap file, add an attribute to your control class named ToolBoxBitmap and place the name of the bitmap file as the parameter to that attribute. |
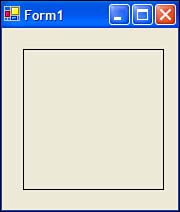
To add your custom control to the Windows Form for your C# application, drag the ShapeControl control from the Toolbox and drop it onto the Windows Form displayed in the Windows Form Designer. As you can see, adding custom controls within Visual C# .NET is much easier due to the support of the Windows Form Designer. You can now compile your C# project and run the application. Your results should look similar to Figure 23.9.
Figure 23.9. Using Visual C# .NET to test your custom control is simple with the help of the Windows Form Designer.
| Top |
EAN: 2147483647
Pages: 237
- Using the Programmers Pane
- Real-World Example 2: Delete a Parent Document and All Its Children: DeleteParentAndChildren
- Real-World Example 3: Schedule an Agent Robot to Refresh All the Documents in a View: Robot-DailyRefreshAllDocs
- Real-World Example 3: Dynamic Tables
- Writing Java for Domino Applications
- Chapter IV How Consumers Think About Interactive Aspects of Web Advertising
- Chapter V Consumer Complaint Behavior in the Online Environment
- Chapter VIII Personalization Systems and Their Deployment as Web Site Interface Design Decisions
- Chapter IX Extrinsic Plus Intrinsic Human Factors Influencing the Web Usage
- Chapter XVIII Web Systems Design, Litigation, and Online Consumer Behavior