Trimming Down Timeline Clips from the Source Monitor
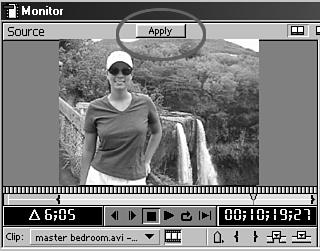
| As you saw in the preceding sections, there are many ways to trim clips directly in your edited sequence. Even though you will choose certain techniques over others, it's good to be familiar with all the various methods, because you never know when a situation will arise where one method of trimming (or some other aspect of editing) is better suited for that particular situation than another. To be honest, I have not found the technique I'm about to discuss very effective. The only time I think it might come in handy is if you want to view the source footage to make a better determination of where and when to trim a shot from your rough cut. (If in the course of your editing you come across a situation where this technique is the best method to use, please let me know. You can e-mail me at dchominsky@pfsmarketwyse.com.) To use the original digitized footage in the Source Monitor to trim a clip, do the following:
The clip that is loaded into the Source Monitor is not the original full-length source clip, but more of a subclip the portion of the clip that was edited into the timeline. Therefore, all your trims will change the duration of the clip in the timeline. Premiere automatically uses these new in and out points and changes the duration of the clip directly in the timeline. If the new duration will be less than the clip's original duration, an empty space is left in the timeline for the difference in its original duration. Select the Track Selection tool in the Timeline window to move the rest of the clips on that track and close any gaps left by any clip adjusted to have a shorter duration. |