Using a Single Windows Virtual Machine with Multiple Mac User Accounts
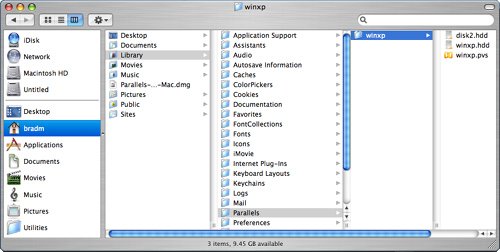
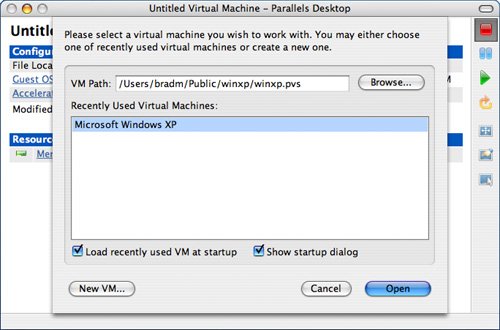
| Because being able to run Windows is so useful, you'll probably want to allow everyone who uses your Mac to do so. There are two basic approaches to doing this. You could create a VM under each Mac user account, install Windows on it, and then each user would have a separate VM under which they can run Windows. However, there are a number of problems with this approach. One is that each disk image will consume large amounts of disk space. Another is that you will have a separate Windows environment for each user, which means you have to install applications in each environment, perform updates to each, and so on. This would be a pain and could be expensive if you have license applications for each environment. However, the biggest problem is that you will also have to activate Windows in each environment, which means that you'll have to pay for a Windows license for each Mac user account. A better way to do this is to store the disk image for your Windows virtual machine in a location where all the people who use your Mac will be able to access it and thus everyone can run the same Windows environment. You can create Windows user accounts to provide each user with his own Windows account. This saves disk space, but more importantly, you'll only have to work with a single Windows environment. By default, Parallels Desktop for Mac stores the disk image file in your Library folder within your Home folder. This means that the file is not accessible from other Mac user accounts and so other people who use your Mac with their own user accounts can't use the virtual machine you created. To allow this, you'll need to move your disk image files to a public location and make sure the files' permissions allow everyone who uses your Mac to change them. Then, under each Mac user account, point Parallels Desktop for Mac to the virtual machine you want to use. Finally, create a Windows user account for each user. First, move the disk image and point the VM to its new location:
Tip When you quit Parallels Desktop for Mac, choose the Power Off option in the close sheet to make sure all the files open in the Windows are properly closed before Parallels Desktop for Mac quits. Now, you have to make sure everyone who uses your Mac can read and write to the VM files:
If one user tries to open a VM that is already opened by another user, a warning dialog will appear (see Figure 7.17). If that happens, the user should choose not to open the VM by clicking No to make sure that the other users don't lose data. Move back into the user account that has the VM open and shut it down before using it under another user account. Figure 7.17. When someone else is already using a VM, this warning sheet will appear when another user tries to open it.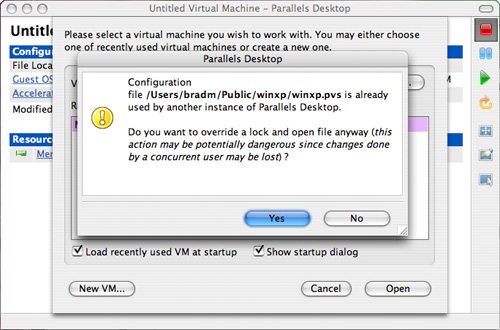 After you've enabled access to each user, you can create a Windows user account for each person. This will keep each Windows environment within the VM personalized for everyone with whom you share the VM. You'll learn how to set up Windows user accounts in Chapter 8, "Running Windows in a Virtual Machine." |
EAN: N/A
Pages: 58