| If you choose the manual option, you must manually move songs and playlists onto the iPod. To do this, use the following steps: 1. | Connect your iPod to your computer.
| 2. | Select the iPod you want to update. If it isn't expanded already, click the Expansion triangle next to the iPod on the Source List. In the iTunes Content pane, you will see all the songs in the iPod's music library. Under the iPod's icon on the Source List, you will see the playlists it contains (see Figure 5.6).
Figure 5.6. When you configure an iPod for manual updating, you can expand it on the Source List to see the playlists it contains. 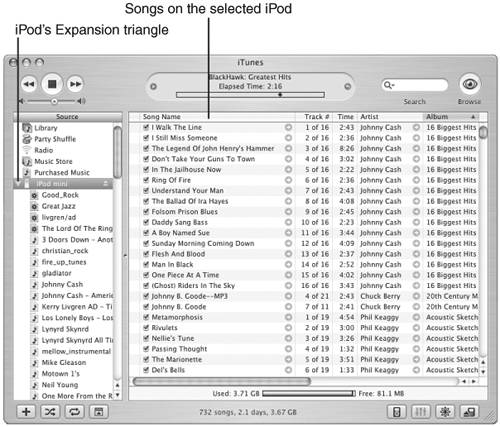
| 3. | To add a playlist to the iPod, drag it onto the Source List and drop it on the iPod icon (see Figure 5.7). When you are over the iPod, the plus sign will appear next to the pointer to show you that you can release the mouse button. When you do so, the playlist and the songs it contains will be moved onto the iPod.
Figure 5.7. When you drag a playlist into an iPod, it and the songs it contains will be moved into the iPod's library. 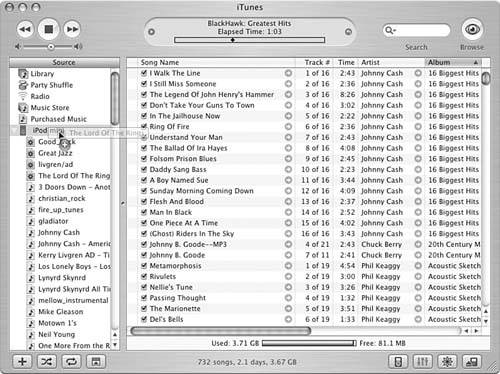
Note  | As songs are moved onto the iPod, you will see information about the process in the iTunes Information area at the top of the iTunes window. |
| 4. | To remove a playlist from the iPod, select it by clicking it in the list of playlists under the iPod and pressing the Delete key. You will see a prompt asking you to confirm that you want to delete the playlist.
Note | When you remove a playlist from an iPod, you only remove the playlist, not the songs it contains. You can still play those songs by browsing for them. |
| 5. | Click OK. The playlist will be deleted from the iPod.
| 6. | To add songs to the iPod, select the source containing those songs, such as the Library. The contents of that source will be shown in the Content pane. Drag the songs you want to add from the Content pane and drop them on the iPod's icon. The songs you selected will be copied into the iPod's music library.
| 7. | To remove songs from the iPod, select the iPod on the Source List, select the songs you want to delete in the Content pane, and press the Delete key. These songs will be deleted from the iPod. They will also be deleted from any playlists on the iPod containing them.
Tip  | If you don't want to be bothered by the confirmation prompts, check the Do not ask me again check box. |
| 8. | When you are done updating the iPod, unmount it by selecting its icon and clicking one of the Eject buttons (see Figure 5.8). After the iPod has been successfully unmounted, it will disappear from the Source List and you will see the "OK to disconnect" message on its screen.
Figure 5.8. Before you disconnect an iPod that you have manually updated, you must eject it. 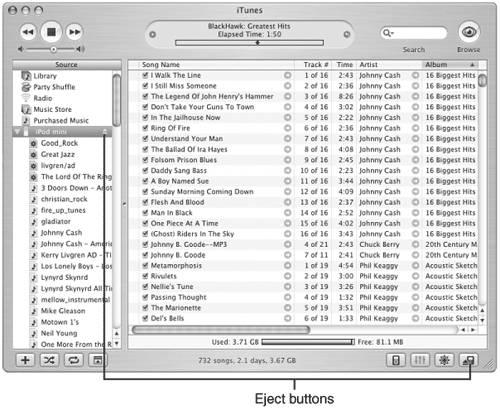
| 9. | Disconnect your iPod from your computer.
|
You must eject an iPod that you manually update before disconnecting it because iTunes doesn't know when it should shut down any processes it is using that are related to the iPod. Because it is, in effect, a hard disk, the iPod must not be in use when you disconnect it; otherwise, its data can be damaged. When the update process is handled by iTunes automatically, it "ejects" the iPod for you. When you do the update manually, you need to tell iTunes that you are done so that it can prepare the iPod to be disconnected safely. Caution  | Don't disconnect your iPod from your computer unless the "OK to disconnect" message is displayed on its screen. If you do so, you can damage its data. It is also safe to disconnect your iPod when the large battery charging icon or battery charged icon appears on the iPod's screen. |
|