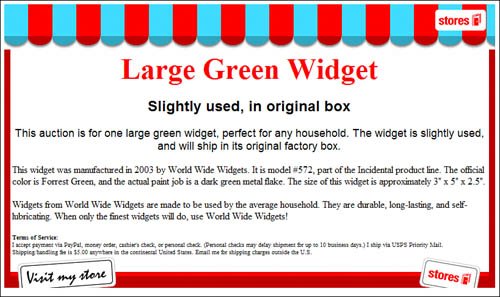
Enhancing Your Listing with Listing Designer
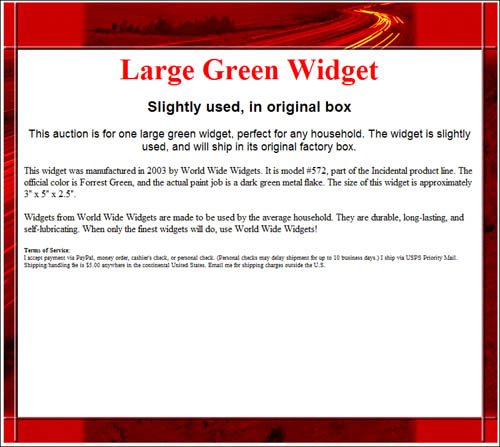
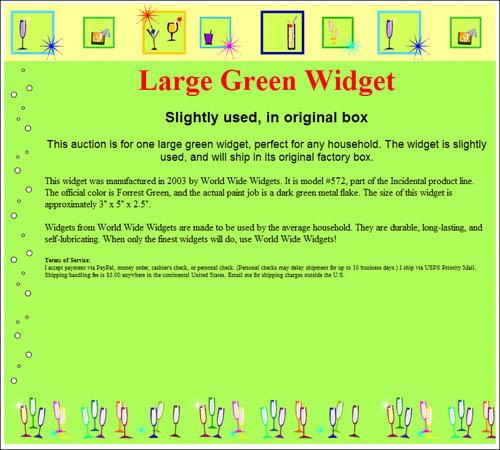
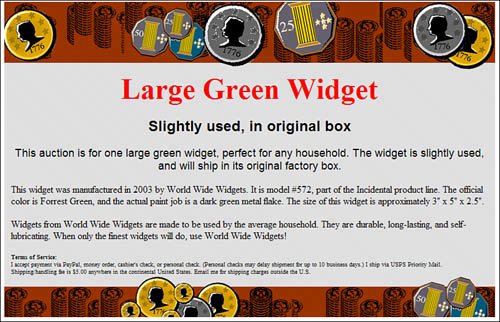
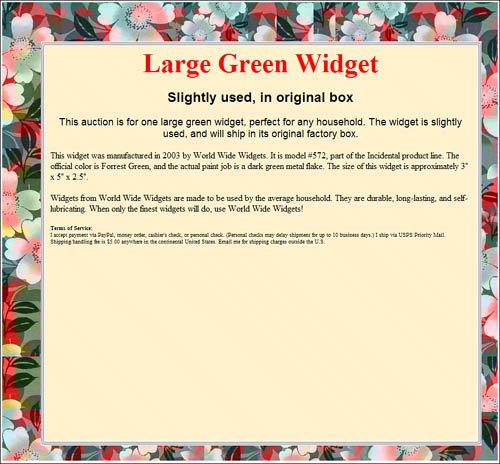
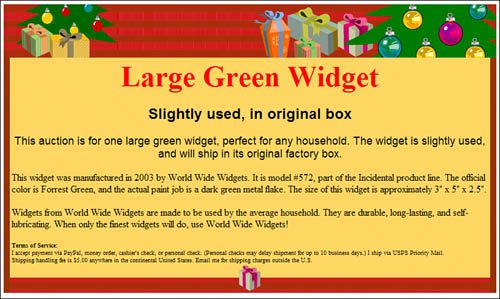
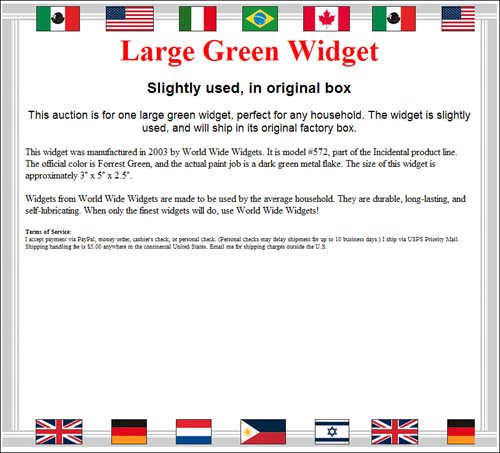
| eBay's text editor lets you format your listing text, but doesn't let you add anything in the way of graphic interest. For that you need to use eBay's Listing Designer, also accessible from the Describe Your Item page. Listing Design lets you apply predesigned templates, which it calls themes, to your item description. This feature isn't free; you pay 10 cents per listing to use Listing Designer. Listing Designer also lets you customize the placement of the photos in your item listing. Normally, eBay sticks your photos below the listing; you don't have a choice in the matter. But when you use Listing Designer, you now can choose to put your photos at the top, bottom, left, or right of your item description. For many sellers, the customized photo placement alone is worth the 10-cent price of using Listing Designer. Choosing a ThemeAs just discussed, Listing Designer lets you apply one of more than 200 different visual themes to your listing. While these themes aren't near as sophisticated or versatile as a full-featured listing template, they do add a little visual spice to your listings. A theme typically consists of some sort of background color or graphic, typically surrounded by a graphic border of some sort. The theme does not include any text formatting; you'll still need to format your item description text in the text editor. But by combining some simple text formatting with a colorful Listing Designer theme and custom photo layout, you can create listings that stand out from the standard eBay text-only listings. Selecting a theme is as easy as scrolling to the Listing Designer section (under the Description section, as shown in Figure 2.5) and checking the Enhance Description with a Theme and Layout option, pulling down the Theme list to select a category, and then selecting a specific theme within that category. A thumbnail of the selected theme is displayed next to the pull-down list. Figure 2.5. Selecting a Listing Designer theme.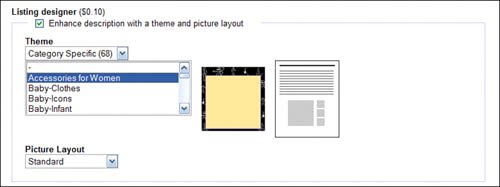 eBay organizes its Listing Designer themes into seven major categories:
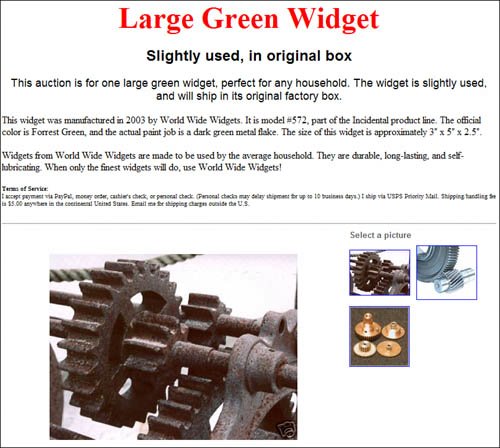
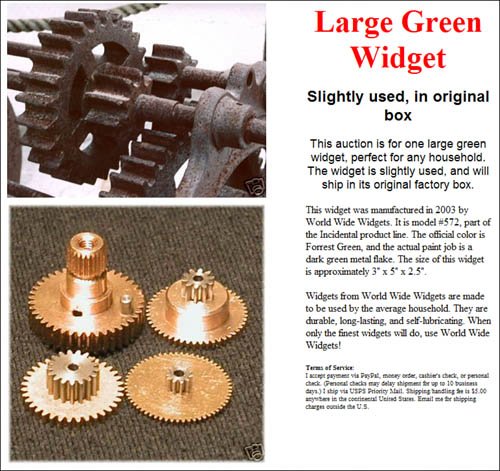
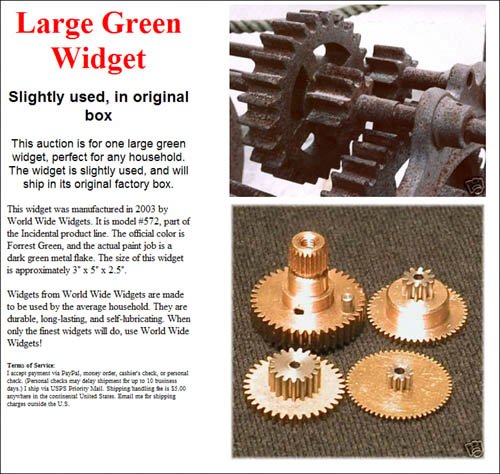
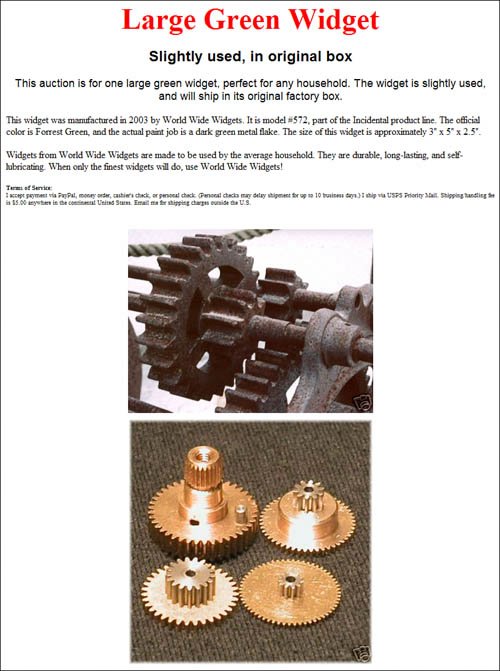
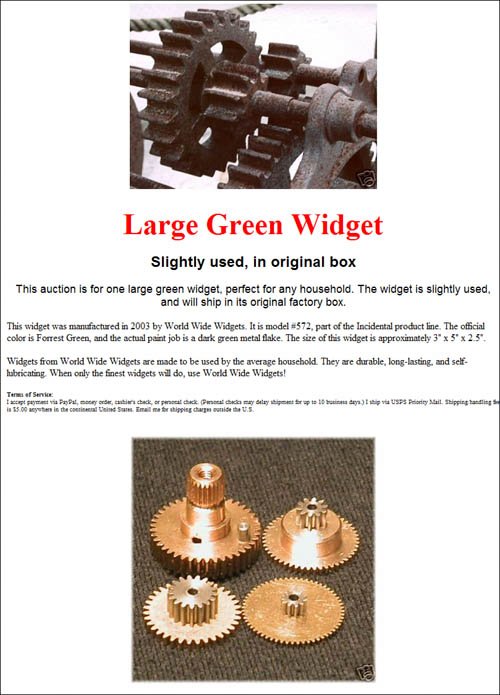
Selecting a Picture LayoutOnce you've selected a Listing Designer theme, you can select how you want your photo(s) to appear in your listing. All you have to do is pull down the Picture Layout list and select one of the following options:
Previewing Your ListingUnfortunately, you can't preview how your listing will look with the Listing Designer theme directly from the Describe Your Item page. You have to click the Continue button at the bottom of the page to advance to the Review and Enhance Your Listing page. Scroll down to the Review Your Listing section, and you'll see your listing displayed within the short scroll box, as shown in Figure 2.18. This probably won't give you a good idea of how the listing will really look in a web browser, so click Preview in a Window to open a full-size preview of your listing in a new browser window, as shown in Figure 2.19. Figure 2.18. Your themed listing displayed in the middle of the Review and Enhance Your Listing page.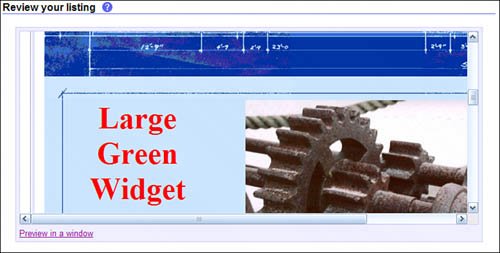 Figure 2.19. The same listing, previewed full-size in a separate window.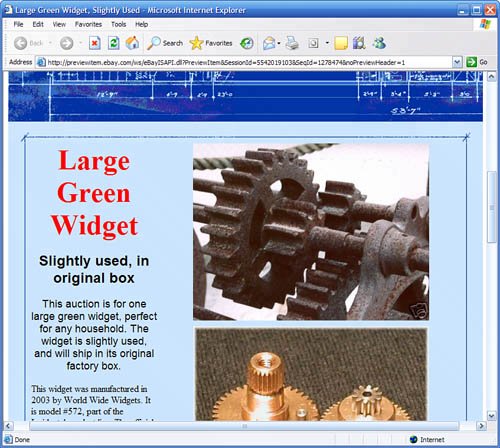 |

EAN: 2147483647
Pages: 101