Adding and Removing Fonts


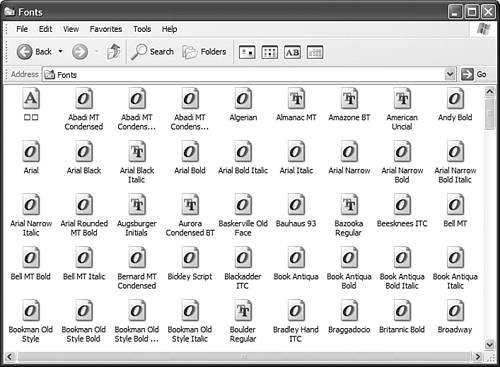
Windows XP comes with a large number of common fonts pre-installed for use in your favorite software programs. You use these fonts to both display text onscreen and to print text from your printer.

Previewing Fonts

To see what fonts are installed on your system, follow these steps:

1.

From the Control Panel, click the Fonts icon.

2.

When the Fonts window is displayed, as shown in Figure 2.23, double-click any font icon to view a sample of that font at various type sizes.

Figure 2.23. Manage all your system fonts from the Fonts window.


3.

Click the Print button to print a sample of the font.

4.

Click the Done button to close the display window.

TIP

To select multiple fonts, hold down the Ctrl key while clicking additional listings.


Installing New Fonts

Although Windows XP installs many font files during setup, you may want to add additional fonts from third-party vendors or Web sites. To install a new font, follow these steps:

1.

From the Control Panel, click the Fonts icon.

2.

When the Fonts window appears, select File, Install New Font.

TIP

You can also install fonts directly from My Computer. Simply copy the new font files from an installation disk and paste them into the WindowsFonts folder.

3.

When the Add Fonts dialog box appears, select the drive and folder that holds the fonts you want to install.

4.

Fonts available at the location you specified are listed now. Select the font(s) you want to add.

5.

Select the Copy Fonts to Fonts Folder check box.

6.

Click OK to add the fonts you selected.

Removing Unwanted Fonts

TIP

You can also delete fonts directly from My Computer. Just select a font file from the WindowsFonts folder and select Delete This File.


If you find you have too many fonts installed on your system or have fonts that you seldom use, if ever, you can use the Control Panel to delete these font files from your system.

1.

From the Control Panel, click the Fonts icon.

2.

When the Fonts window appears, right-click the icon for the font you want to delete and select Delete from the pop-up menu.

3.

Windows asks if you're sure you want to delete this font. Choose Yes to delete, and the font file is uninstalled from your system and sent to the Recycle Bin.

Installing too many fonts on your system not only consumes a lot of hard disk space, it also eats up system memory and can cause your system to run slower than normal. If your system is running sluggishly, you may want to remove some unused fonts. This enhances the performance of your system performance and frees up some disk space.


Microsoft Windows XP for Home Users Service Pack
Windows XP for Home Users, Service Pack 2 Edition
ISBN: 0321369890
EAN: 2147483647
Year: 2003
Pages: 270

flylib.com © 2008-2017.
If you may any questions please contact us: flylib@qtcs.net